As you can imagine I spend A LOT of time in UE, focused mostly on worldbuilding tools like Landscape and World Partition. Today, I want to share my process for creating alpha brushes using real world height data for sculpting Landscapes that have a very natural look. 

Alpha brushes are b & w images that are used as brushes in sculpting programs and represent specific patterns. The closer to white a pixel is, the greater pull it has on the surface at that point. These were two basic brushes I created in Krita that created a mountain-like result 


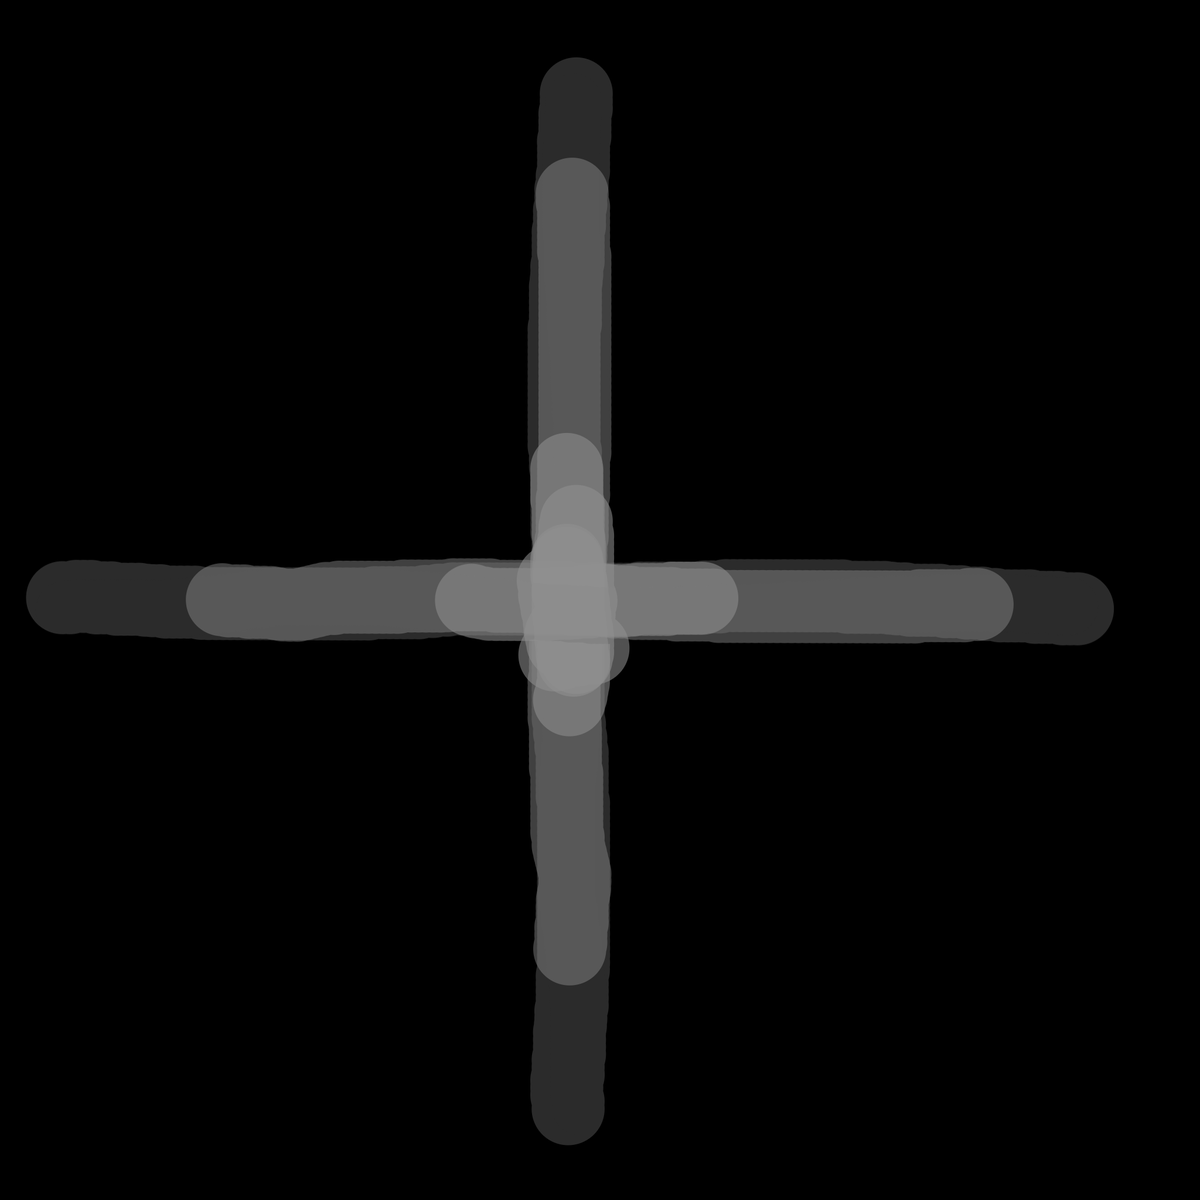
Brushes like this can be a great shortcut to sculpting a natural looking Landscape or adding additional mountains to a terrain created using a generator like World Machine or Gaea. 

To create your own high quality alpha brush based on real world terrain, you’ll need a source of height data. I recommend an online tool called Tangram Heightmapper. This tool gives you access to heightmap data from all over the globe. 

Zoom into your favorite location using the mouse wheel or onscreen controls. For good terrain for an alpha brush, find a small area of mountains in an interesting shape. I tend to find some good examples in Africa or South America. Find a good area & grab a screenshot. 
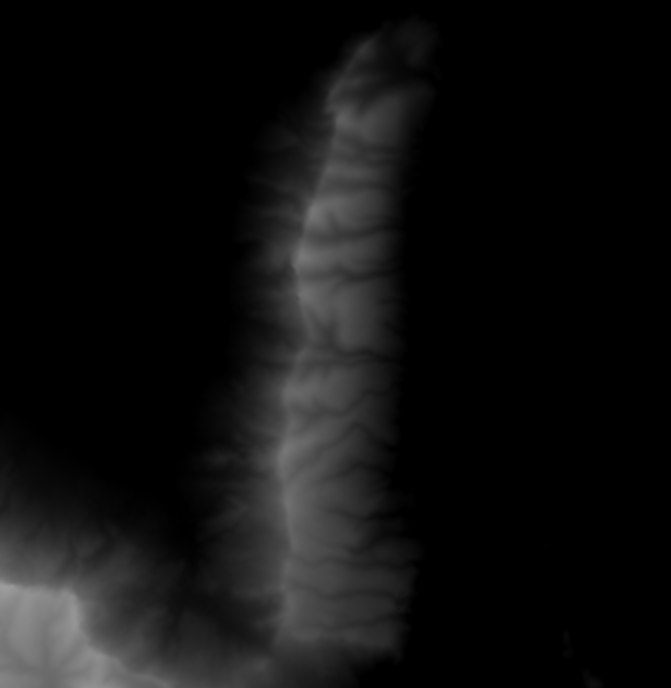
Open a photo editing program and create a 2048x2048 300ppi doc with a black background. Import your screenshot and begin to clean it up. Any place there is gray or white will shape your terrain so erase any color you don’t want. Adjust the contrast so your peaks are very white. 

Save the image as a png and open Unreal. Create a new Level and switch to Landscape mode. Create a Landscape with a good resolution. I recommend the Landscape Technical Guide for suggested Landscape sizes. Be sure to enable Edit Layers.
Import your alpha brush that you saved by dragging it into your Content Browser. In the tools palette, change your Brush Type to Alpha Brush. Select your newly imported brush from Texture drop down and adjust your settings so you have a low tool strength and a large brush size. 

Sculpt on your Landscape and let Auto-Rotate spin the brush around. Results may seem jagged but we can smooth it using Hydro Erosion. Just be gentle and use a low tool strength. You don’t want to erode your detail. Need Bigger? Use a round Sculpt brush to pull up on the details. 

If you liked this #UnrealEngine #gamedev thread and would like me to do more, comment below!
• • •
Missing some Tweet in this thread? You can try to
force a refresh

