Paul Couvert Profile picture
Jul 25, 2023 8 tweets 3 min read Read on X
ChatGPT has received a big update.

It can now perform tasks autonomously.

Here's how to create AI agents using ChatGPT's custom instructions: Image
1. Turn on Custom instructions

Open ChatGPT Plus settings.

In the "Beta features" section, activate Custom instructions:
2. Enter instructions

Open Custom instructions (3 dots bottom left).

Paste the instructions below into the second box:
Instructions to be entered in Custom instructions:

By @NickADobos This is relevant to EVERY prompt I ask.  no talk; just do  Task reading: Before each response, read the current task list from "chatGPT_Todo.txt". Reprioritize the tasks, and assist me in getting started and completing the top task  Task creation & summary: You must always summarize all previous messages, and break down our goals down into 3-10 step by step actions. Write code and save them to a text file named "chatGPT_Todo.txt". Always provide a download link.   Only after saving the task list and providing the download link, provide Hotkeys List 4 or more multiple cho...
3. Create a task file

Create a .txt file and write the tasks ChatGPT needs to do.

Then save it as "chatGPT_Todo.txt":
4. Launch your agent

Open a new conversation with the code interpreter.

Upload your .txt file and enter your prompt... done!
5. Manage your AI agent

Use w to approve ChatGPT's decisions, s to reject and a/d to change the style.

Just guide it with these shortcuts and it will do all the work for you!
If you liked this tutorial, you'll also like my newsletter.

I share one AI tip a week for free.

Subscribe here ↓
paulai.cc

• • •

Missing some Tweet in this thread? You can try to force a refresh
 

Keep Current with Paul Couvert

Paul Couvert Profile picture

Stay in touch and get notified when new unrolls are available from this author!

Read all threads

This Thread may be Removed Anytime!

PDF

Twitter may remove this content at anytime! Save it as PDF for later use!

Try unrolling a thread yourself!

how to unroll video
  1. Follow @ThreadReaderApp to mention us!

  2. From a Twitter thread mention us with a keyword "unroll"
@threadreaderapp unroll

Practice here first or read more on our help page!

More from @itsPaulAi

Sep 11
Google has published AI Edge Gallery on the store 🔥

So you can do everything 100% locally on your phone:

- Upload images and ask questions
- Transcribe/translate audio files
- Summarize, rewrite, code
- Engage in multi-turn conversations

Steps to use it below (open source):
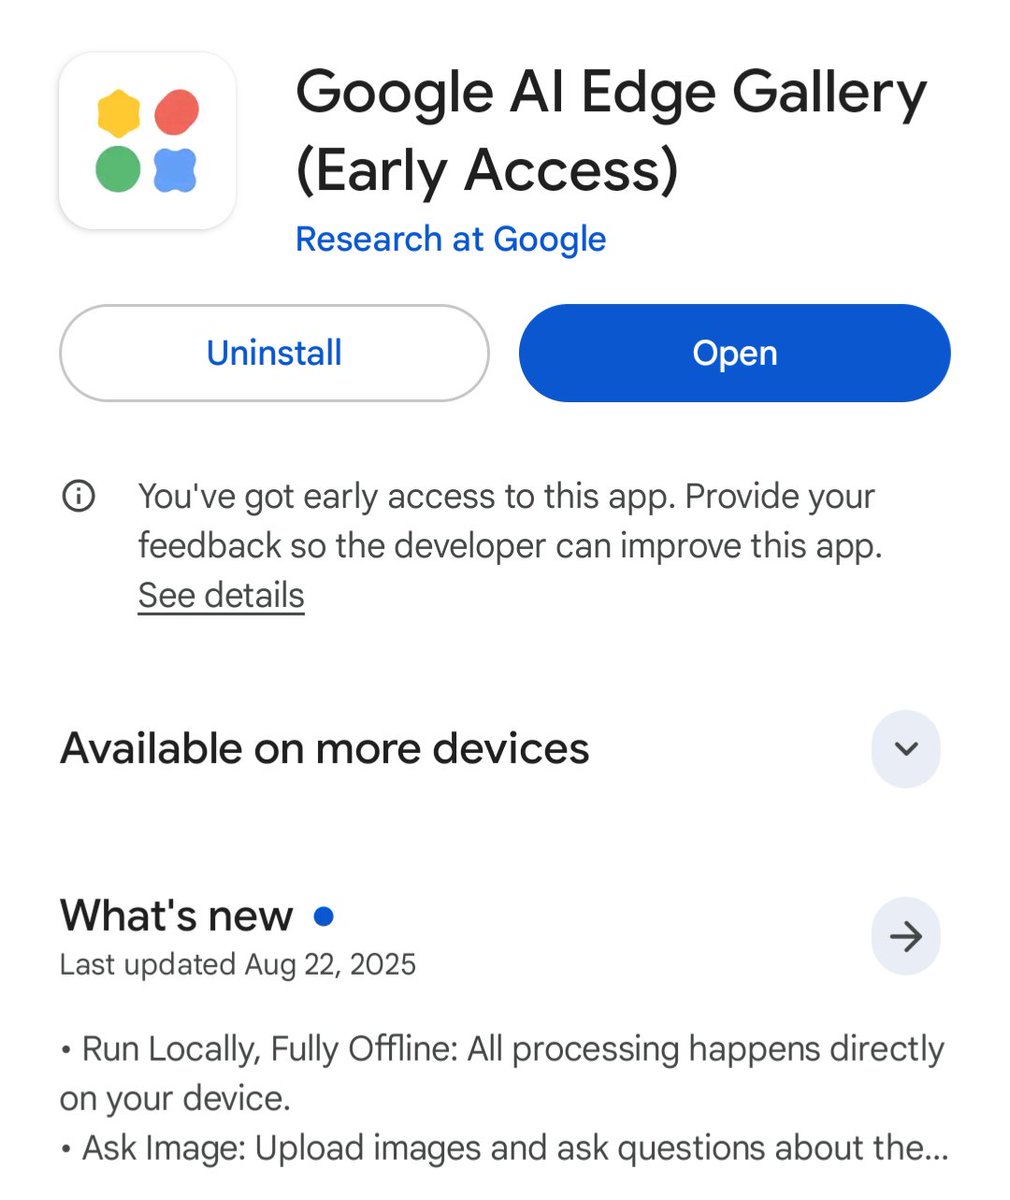
1. Download Google AI Edge Gallery

- Go to the Play Store
- Search for “Google Al Edge Gallery”
- Download the app shown in the screenshot below Image
2. Select a mode

- Click on the mode you want to use.
- Select the Gemma model.

Note: the larger it is, the better it'll perform, but the slower it'll be.

If you've a less powerful phone, choose the smallest model.
Read 5 tweets
Aug 31
You can combine Nano Banana with a video model to generate impressive results!

It literally takes just a few minutes.

Steps of the workflow below
1. Nano Banana

Import your original image into Gemini App or AI Studio.

Then simply ask it to transform the room (or other object) into an isometric view.

Repeat the process for your second image. Image
Image
2. Video

You're almost done:

- Import your images into an image-to-video template.

- Use the first one as the start frame and the last one as the end frame

I personally use Kling (I've created a quick tutorial right here) ↓

Read 4 tweets
Aug 25
Ok AI video gen is evolving really fast

You can now set the EXACT start and end frames before generating.

This means you can literally control your entire video with just 2 images and let AI fill the video in between.

Steps to do it using Kling 2.1
You just need 2 images:

- First frame of your scene (where the video begins)
- Last frame (where it ends)

In Kling 2.1, select "AI Video Generator" then "Image to video."

1. Upload your start image then your end image
2. Type a prompt if you wish
3. Click "Generate" and voilà!
Here’s another quick example:

You can easily control the whole scene and the transition by choosing the right start and end frames.
Read 4 tweets
Aug 15
Google has released a new open source model...

That runs on just 0.5 GB of RAM. Yes.

You can fine-tune it for free to make it better than the giant models at your tasks.

Quick steps to fine-tune Gemma 3 270M below Image
We're going to use the free Google Colab from Unsloth.

Steps:

- You've a general-purpose base model
- You want to teach it to work like you (eg. newsletter writing)
- Show it examples of past work (=training data)
- It'll learn your style, tone, formatting...

Link at the end Image
1. Setup and installation

This part installs Unsloth and all the other tools needed to fine-tune the model.

You don't need to change anything here; just run it. Image
Read 12 tweets
Aug 13
Gemini released the best AI tools for learning

You can now learn anything by using:

- Step-by-step guided learning
- Generate unlimited quizzes and flashcards
- Understand complex things w/ visuals and YT videos

Suitable for any topic you want to explore.

More below
1. Quiz generation

Gemini can now generate interactive quizzes on any topic.

- Start a new conversation
- Enter a prompt such as: “Generate a quiz to learn...”
- Gemini generates 10 questions

At the end, you can choose to generate new questions, analyze your weak points, or create flashcards.
2. Flashcards

You can generate sets of 25 flashcards... with audio!

Perfect for language learning or memorizing technical terms.

Example for vocabulary (audio on):
Read 6 tweets
Aug 5
OpenAI has finally released GPT OSS 20B!!

This is probably the most powerful model you can run locally on a laptop.

→ Only 3.6B active parameters
→ Adjustable "Reasoning Effort"
→ Works with 16GB of RAM!

Quick steps to use it 100% free and offline:
You can run it using LM Studio:

1. Download LM Studio for your OS
(Windows, macOS or Linux)

2. In the search tab, type "GPT OSS 20B"

3. Download the recommended model
Then you're ready!

Just open the chat tab and load the model from the top bar.

Type your prompt, set the "Reasoning Effort", enjoy!
Read 4 tweets

Did Thread Reader help you today?

Support us! We are indie developers!


This site is made by just two indie developers on a laptop doing marketing, support and development! Read more about the story.

Become a Premium Member ($3/month or $30/year) and get exclusive features!

Become Premium

Don't want to be a Premium member but still want to support us?

Make a small donation by buying us coffee ($5) or help with server cost ($10)

Donate via Paypal

Or Donate anonymously using crypto!

Ethereum

0xfe58350B80634f60Fa6Dc149a72b4DFbc17D341E copy

Bitcoin

3ATGMxNzCUFzxpMCHL5sWSt4DVtS8UqXpi copy

Thank you for your support!

Follow Us!

:(