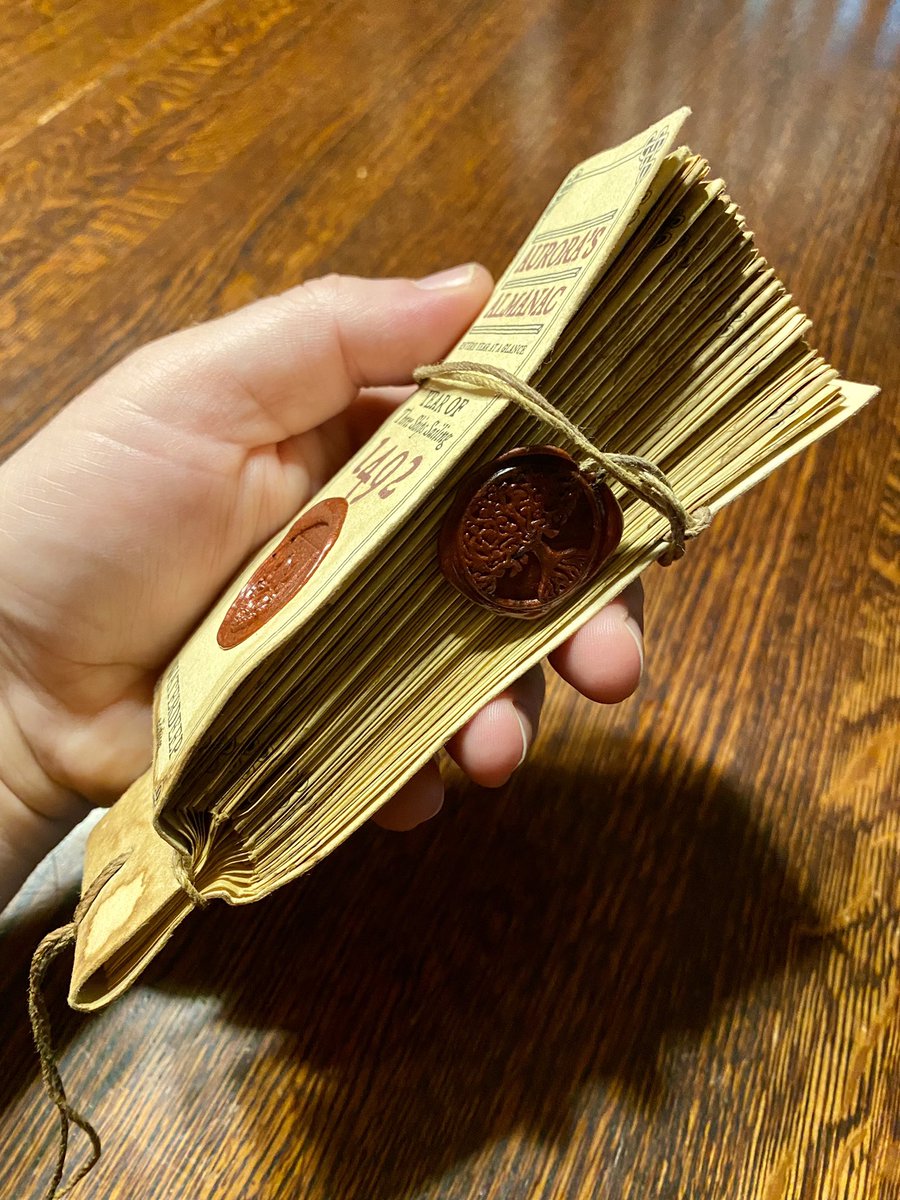
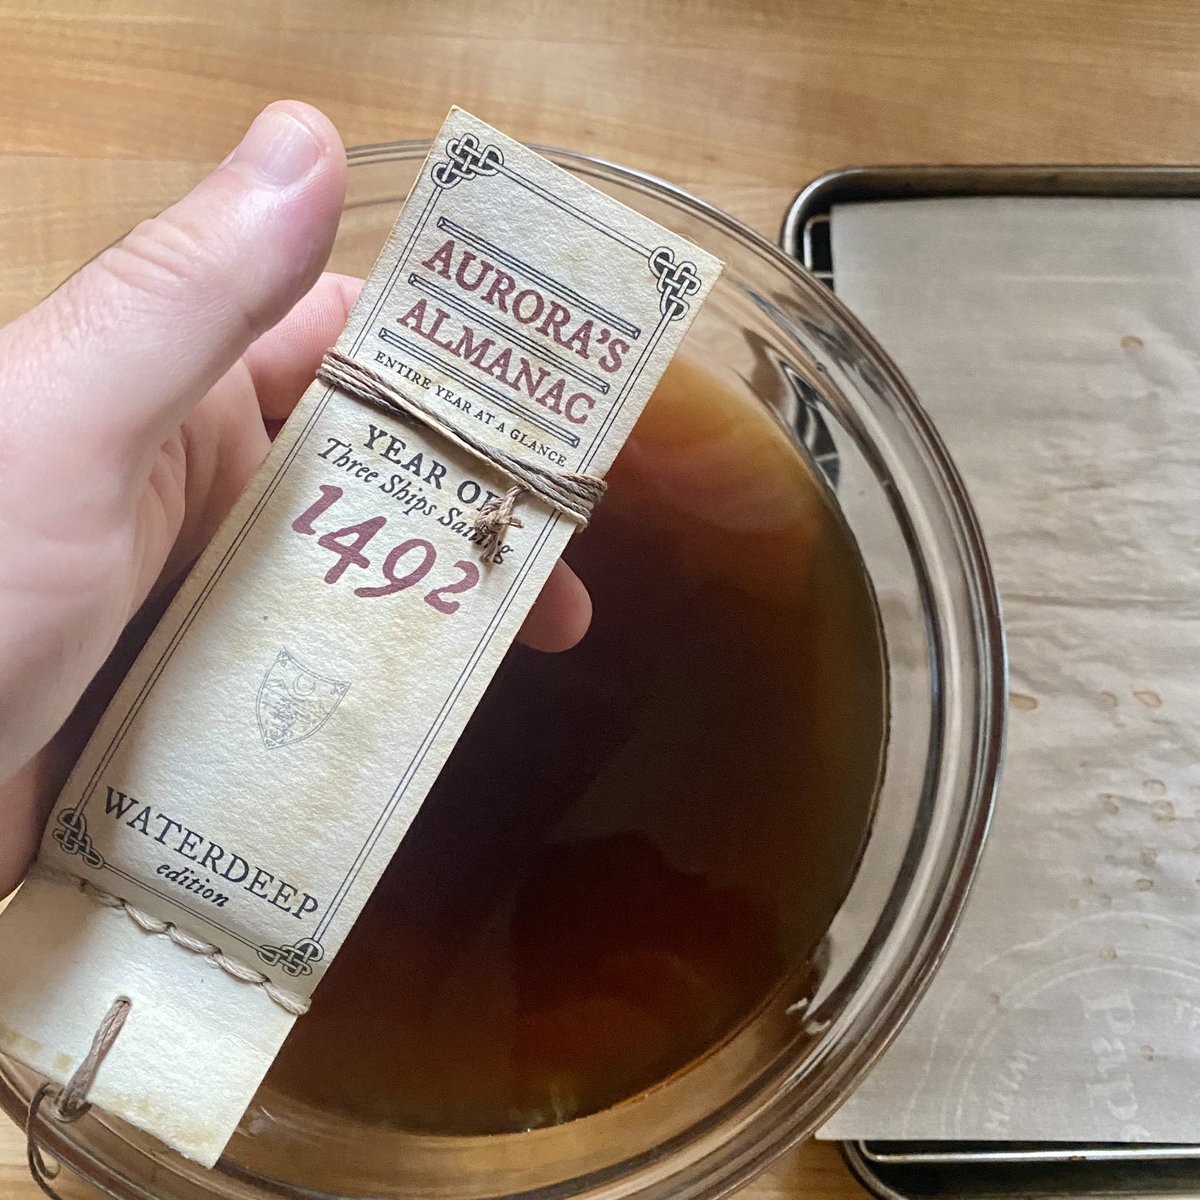
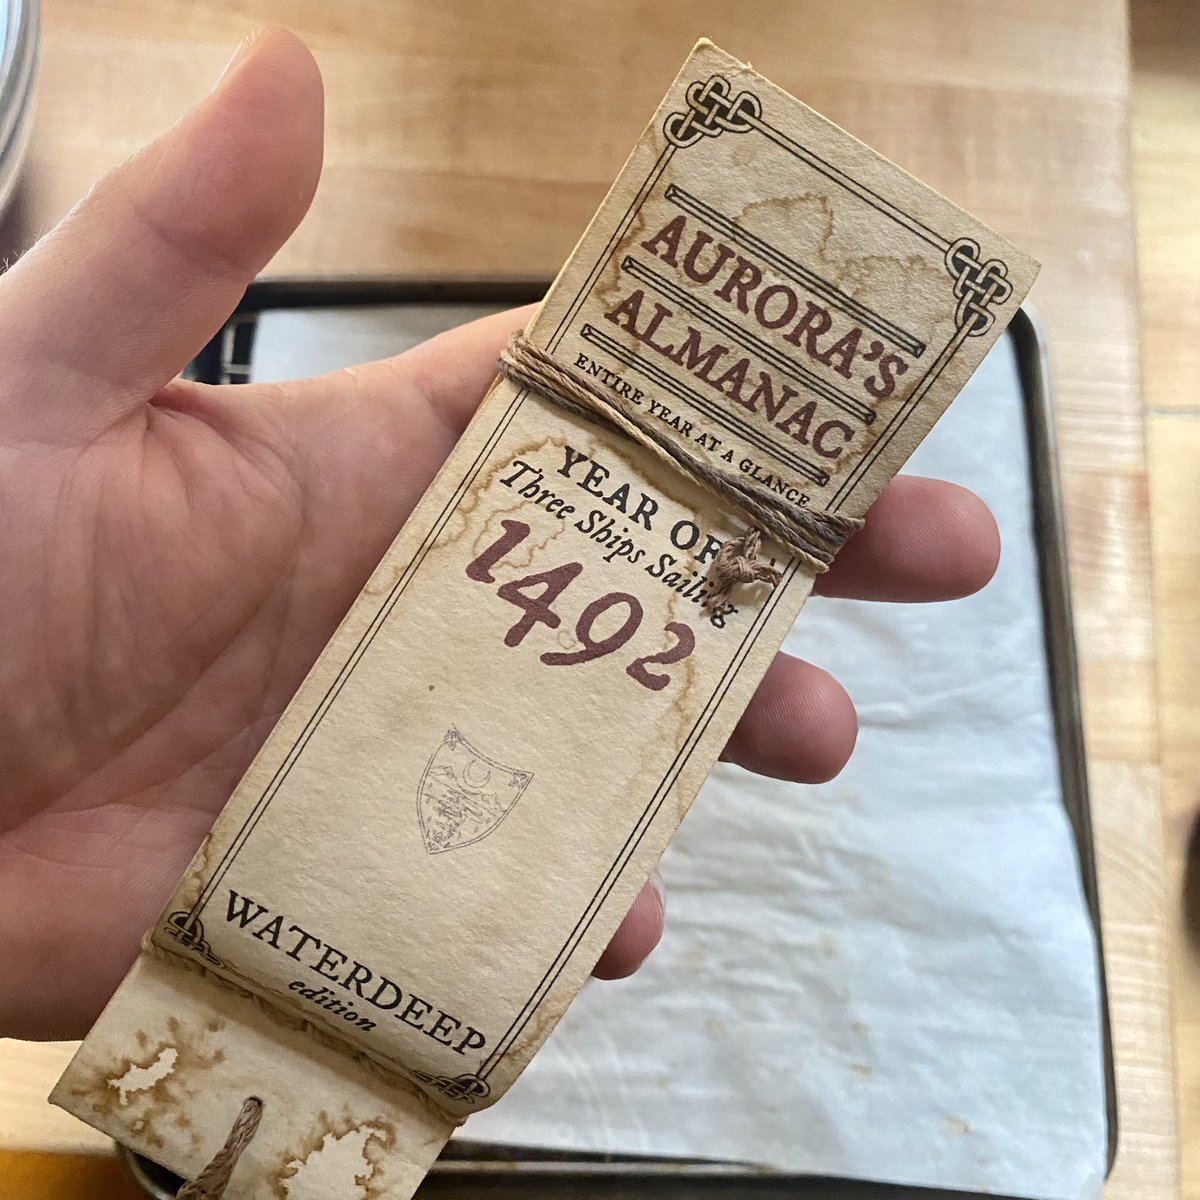
1/ Let’s make a #dnd prop! This is a Waterdeep almanac that I designed over a month (with @TheEdVerse providing some #realmslore via Twitter responses 🙏 Ed!). I’ll link the file in the 🧵. This almanac is a beast with 20 pages. #dungeonsanddragons 


2/ my goal with this 🧵 is to assemble one of these in real time, sharing all of the steps and equipment that I use. But first, a little bit about the almanac. It can be hard to get a clear picture of how this looks, so here is a video
#dnd #dungeonsanddragons
#dnd #dungeonsanddragons
3/ this almanac draws on several sources, the first of which is early printed almanacs (which were bestsellers, second only to the Bible). Thankfully many of these can be found digitized online.


4/ a good (and short) intro to the history of almanacs is the #Wikipedia page which includes many links for more info. When I make #dnd props, even though they are items from a fantasy world, I always do lots and lots of real world research.
en.m.wikipedia.org/wiki/Almanac
en.m.wikipedia.org/wiki/Almanac
5/ another source of inspiration was the modern almanac. I’ve been thinking about this project for over a year and one of the first things I did was buy an almanac at our local grocery store and read it though.
#dnd #dungeonsanddragons
#dnd #dungeonsanddragons


6/ I also drew heavily on @FRWiki, especially re: each date for the calendar pages, plus asked @TheEdVerse via Twitter which resulted in Lady Elgondra Eagleshield (inspired by Foster Florence Jenkins) and Starhaven Titled Varius (inspired by Burke's Peerage)
#dnd #realmslore
#dnd #realmslore


7/ My final source of inspiration was this medieval handwritten almanac which I find stunningly beautiful! The folding format as well as dimensions of my #dnd prop come from this source
#dungeonsanddragons
#dungeonsanddragons


8/ the original is in the @ExploreWellcome collection and the video on this page gives a great sense of how the almanac works when you are reading it. I confess I watched this over and over again when designing this #dnd prop
wellcomecollection.org/works/yckkn796
#dungeonsanddragons
wellcomecollection.org/works/yckkn796
#dungeonsanddragons
9/ obviously there isn’t a canon almanac printed in Waterdeep, so I had to invent something. I did a lot of reading on @FRWiki, @DnDBeyond, and @dms_guild and found Aurora's Whole Realms Catalogue. I thought Aurora would branch out into almanacs #dnd
forgottenrealms.fandom.com/wiki/Aurora%27…
forgottenrealms.fandom.com/wiki/Aurora%27…
10/ btw - you can pick up this wonderful supplement on @dms_guild. It has so much wonderful items and information that I loved reading through it.
dmsguild.com/product/184597…
#dnd #dungeonsanddragons
dmsguild.com/product/184597…
#dnd #dungeonsanddragons
11/ Okay, that was lots of intro, so let's get prop making! Here is the file that I designed. Feel free to make a copy and use it for your home #dnd campaigns. If you make your own copy, please share it with me. I'd love to see it!
#dungeonsanddragons
docs.google.com/presentation/d…
#dungeonsanddragons
docs.google.com/presentation/d…
12/ first step is to print the cover. I have a cheap wide format printer which I used to get a cover that is larger than the rest of my 8.5x11” pages. For the paper, I used some heavy watercolor paper that I cut to 13x19” using extra paper as a guide
#dnd #dungeonsanddragons
#dnd #dungeonsanddragons


13/ two items that I use a lot in making #dnd props in general (and specifically for this prop) are paper cutters. Neither of these are really fancy and I got them both from Amazon

14/ once you’ve got your paper trimmed, print page 41 of the file linked earlier in this 🧵. Make sure to enlarge it to Super B (13x19) in printer options. Here are the printer screens as well as the printed page and final cut cover page #dnd #dungeonsanddragons


15/ I’ve assembled two of these so far, experimenting with aging. One is more weathered and the other has less weathering. Now, I’m going to do a little light aging on the cover before I bind everything together (which I haven’t previously tried) #dnd #dungeonsanddragons


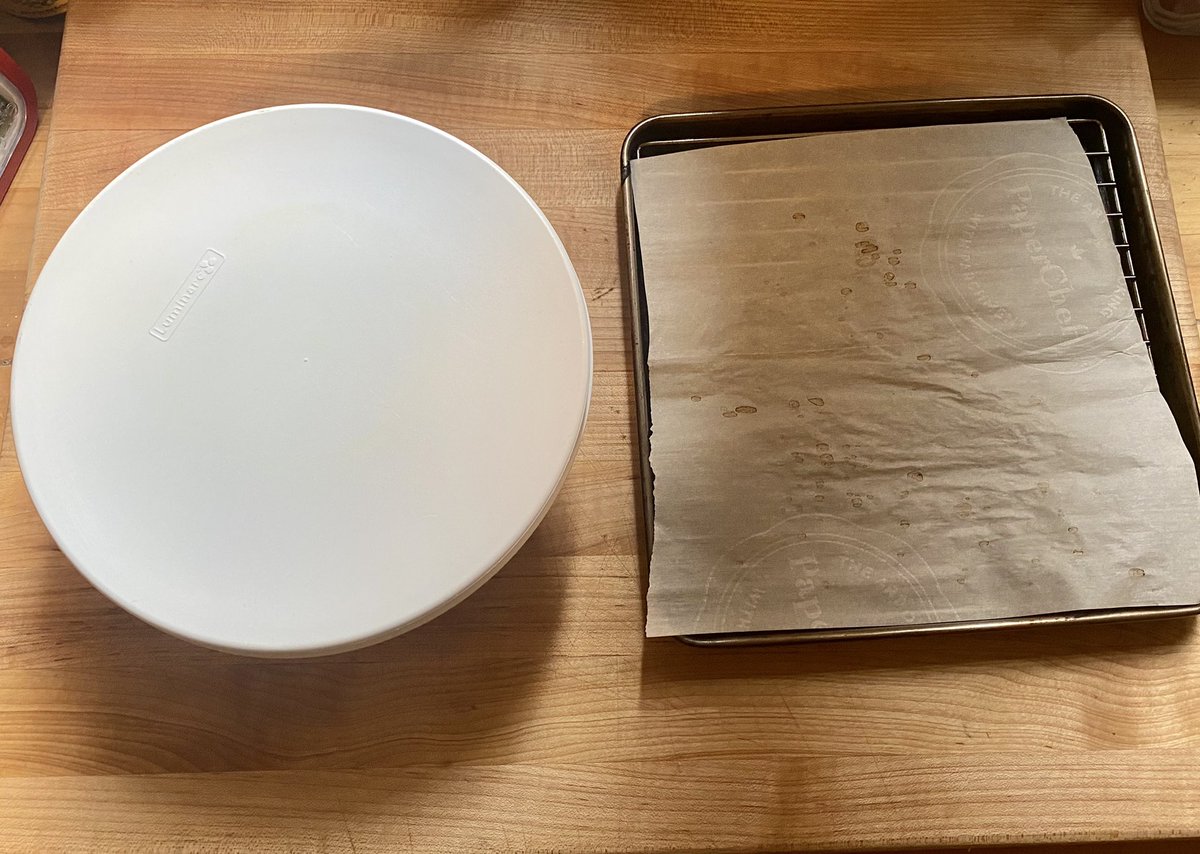
16/ next I’m warming up our toaster oven to 250F and getting the pan ready. I like to have the prop elevated a bit (hence the rack) plus I use culinary/baking parchment so the prop doesn’t get lines on the back from the rack #dnd #dungeonsanddragons


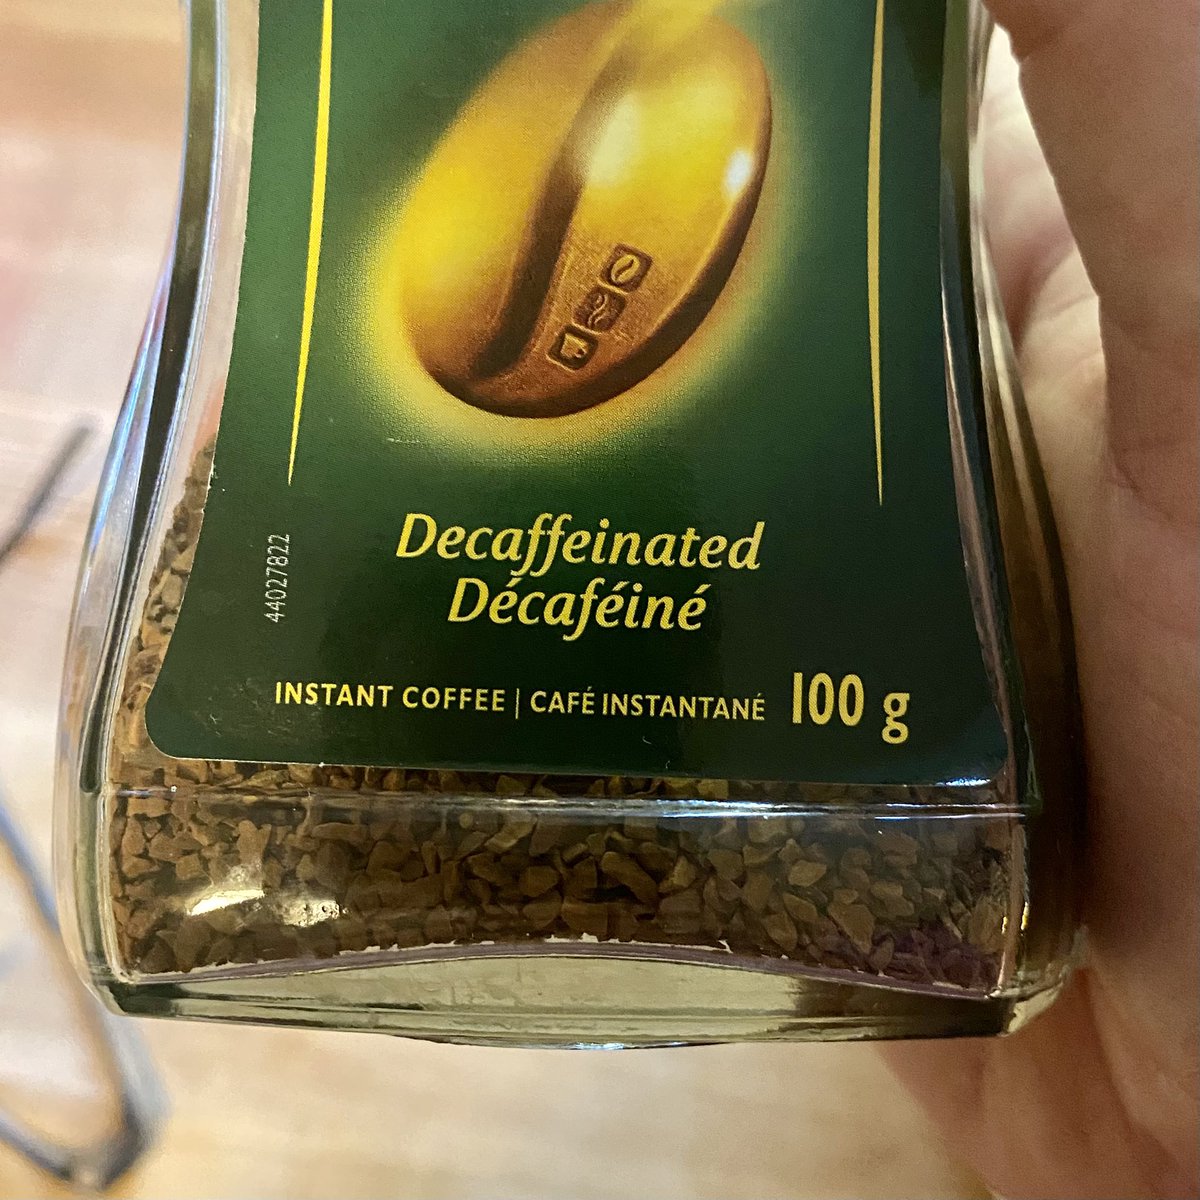
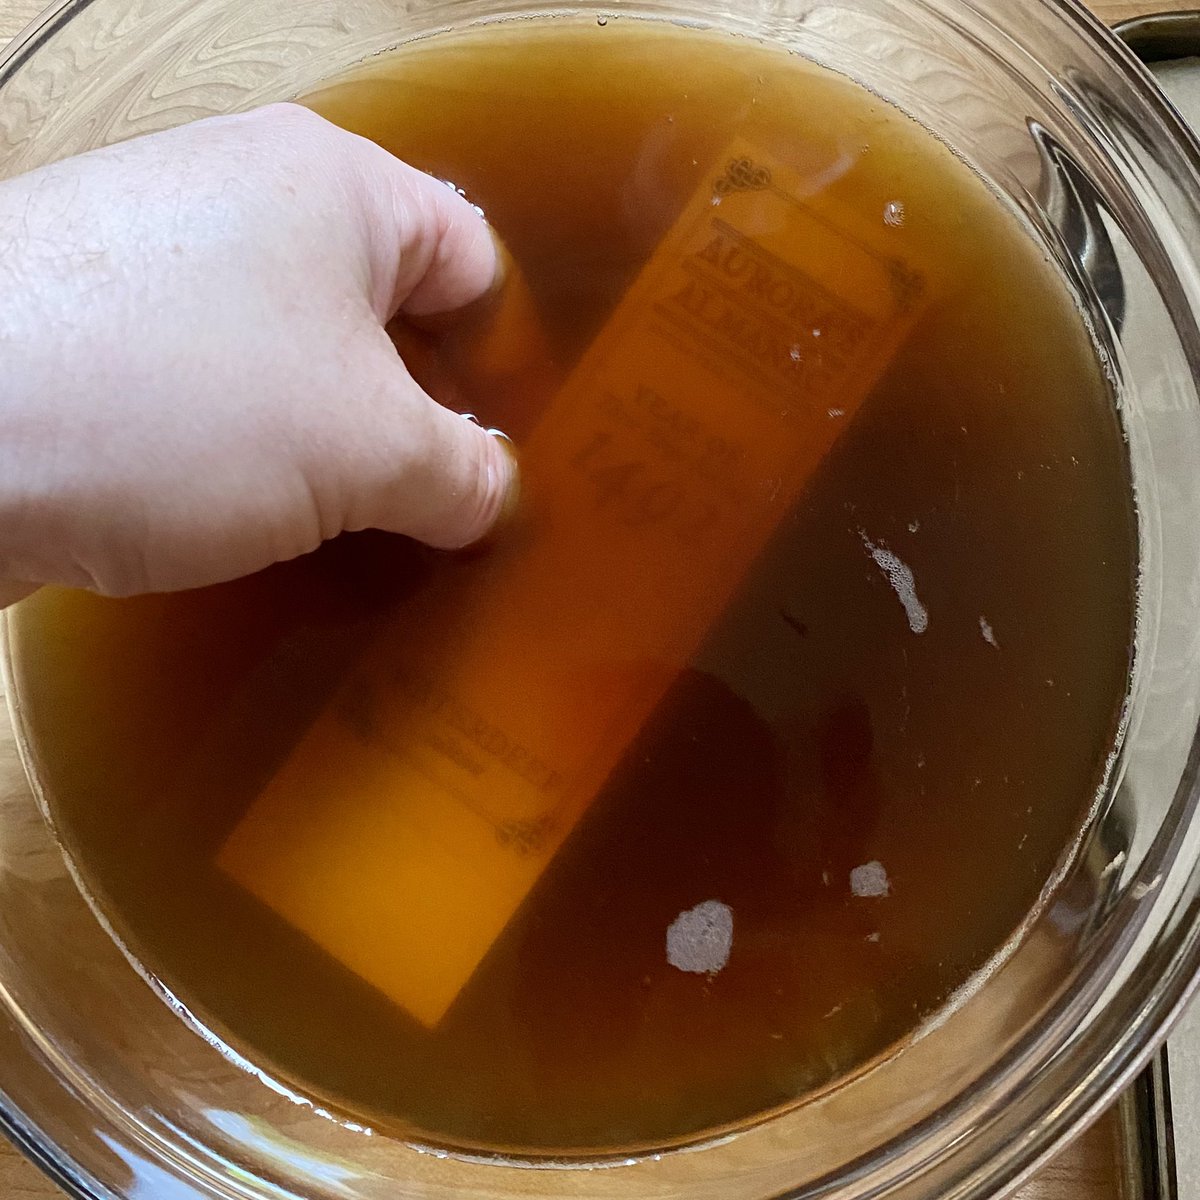
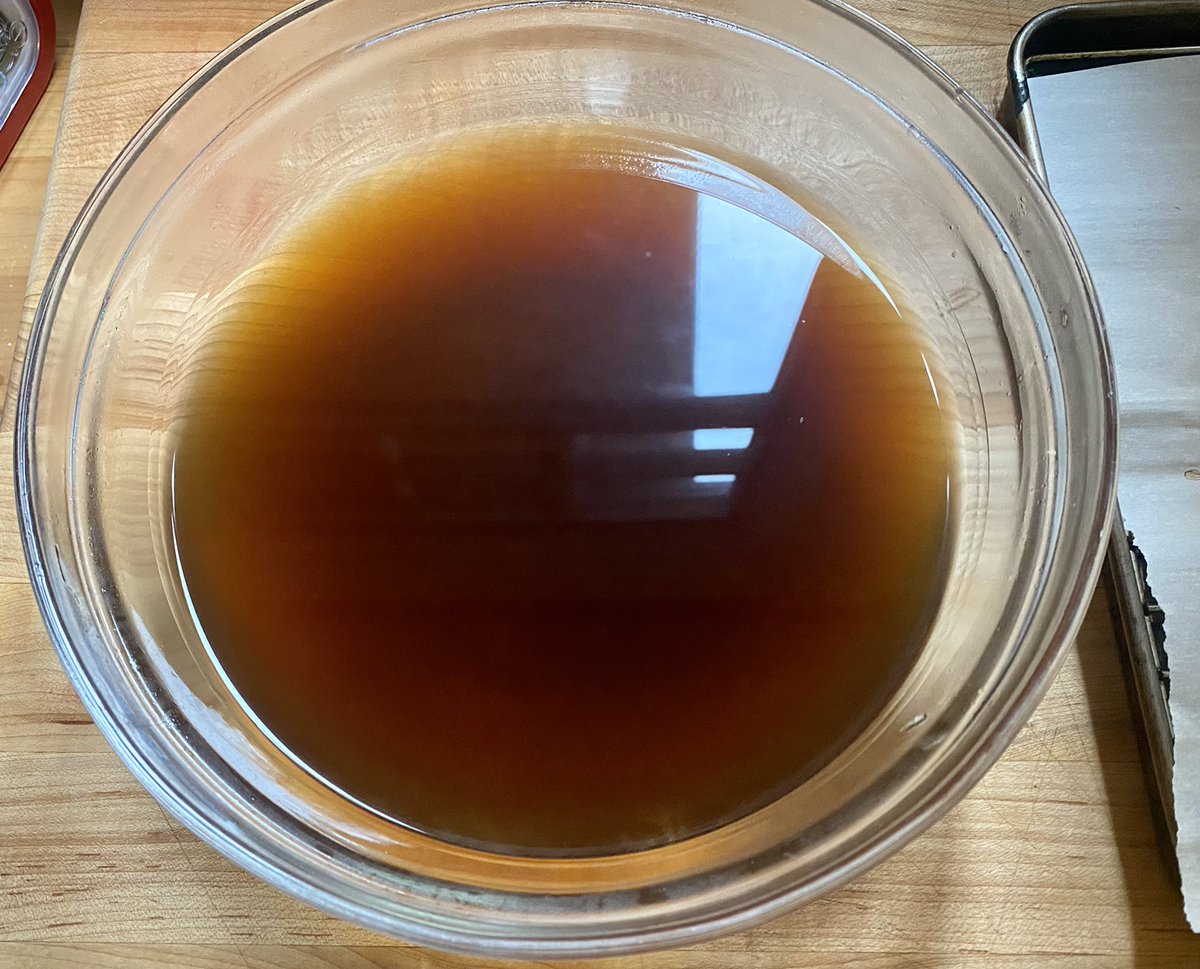
17/ to age my #dnd props, I love using decaf instant coffee. I use the cheapest I can find and mix it up in hot water in a bowl (bonus points for a lid to store the solution of a day or so). I’m a fan of coffee and so love the smell of the resulting props #dungeonsanddragons


18/ PSA - caffeine is transdermal and so it is absorbed through your skin. I like to directly hold my props when aging them, so I use decaf coffee instead of gloves. I learned this one rough night after a day of prop making with normal coffee, wondering “why am I vibrating?!?”
19/ being in the kitchen I realized that I hadn’t eaten lunch yet, so quick break from #dnd prop making for a sandwich and some sparkling water in my Yawning Portal mug (from the event by @Wizards_DnD Stream of Many Eyes) #dungeonsanddragons


20/ back after food and hydration. The toaster oven is warmed up and my aging solution is ready. I folded the cover in half, held it in the coffee bath, onto the baking sheet, and into the oven. Then I set a time for 15 min to check on it
#dnd #dungeonsanddragons
#dnd #dungeonsanddragons


21/ next print out pages 1-40, double siding each page. Hopefully your printer lets you double side your prints! I’m using this Southworth gold colored paper. I like how the color isn’t monochrome and it has a nice thickness (easier to age) #dnd #dungeonsanddragons


22/ I also printed out the contents (using cheap printer paper) and cut the page down. There are so many pages in this build that it is helpful to have a TOC for easy reference #dnd #dungeonsanddragons

23/ time to check the cover! It is still wet on the back


24/ so I’m not crazy about the lighter part of the end, so back into the coffee aging solution, back into the toaster, and set my alarm for 20 min #dnd #dungeonsanddragons


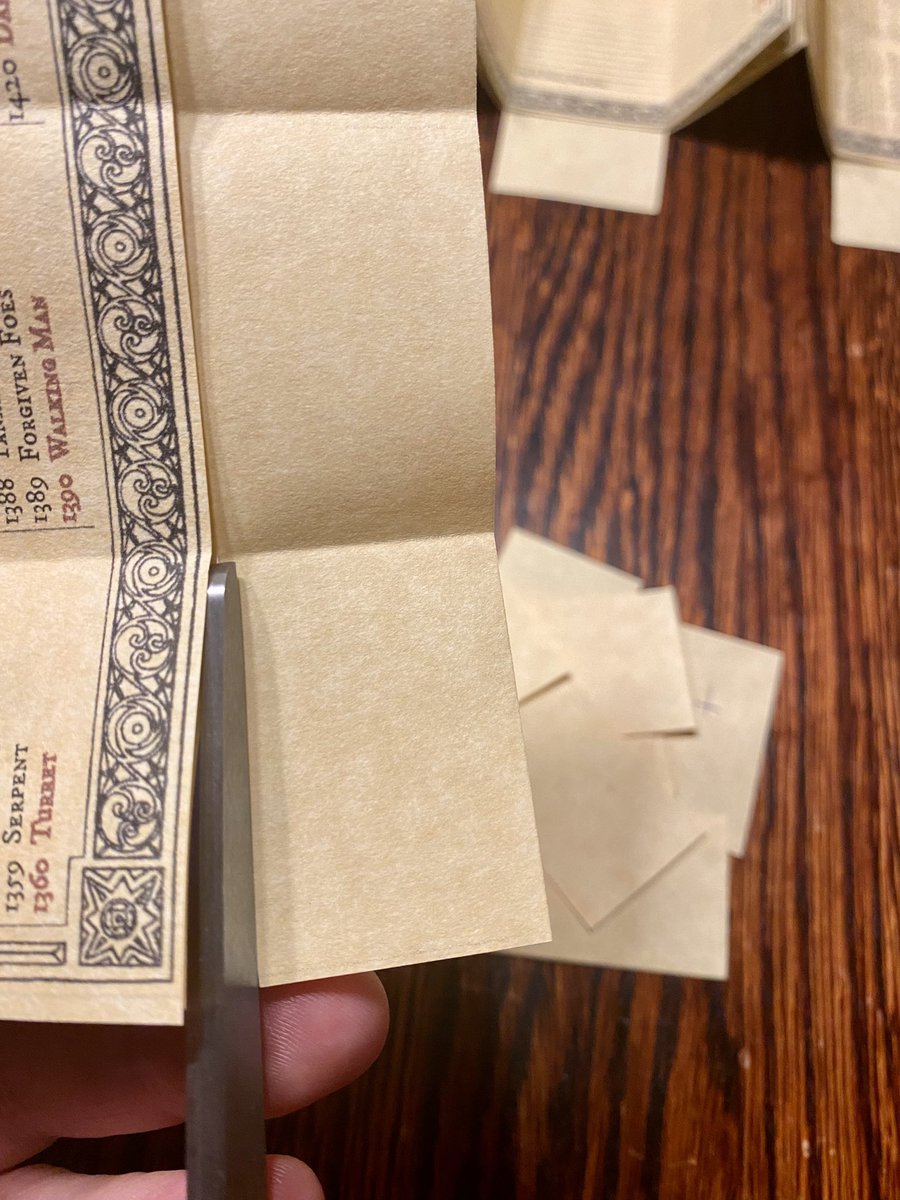
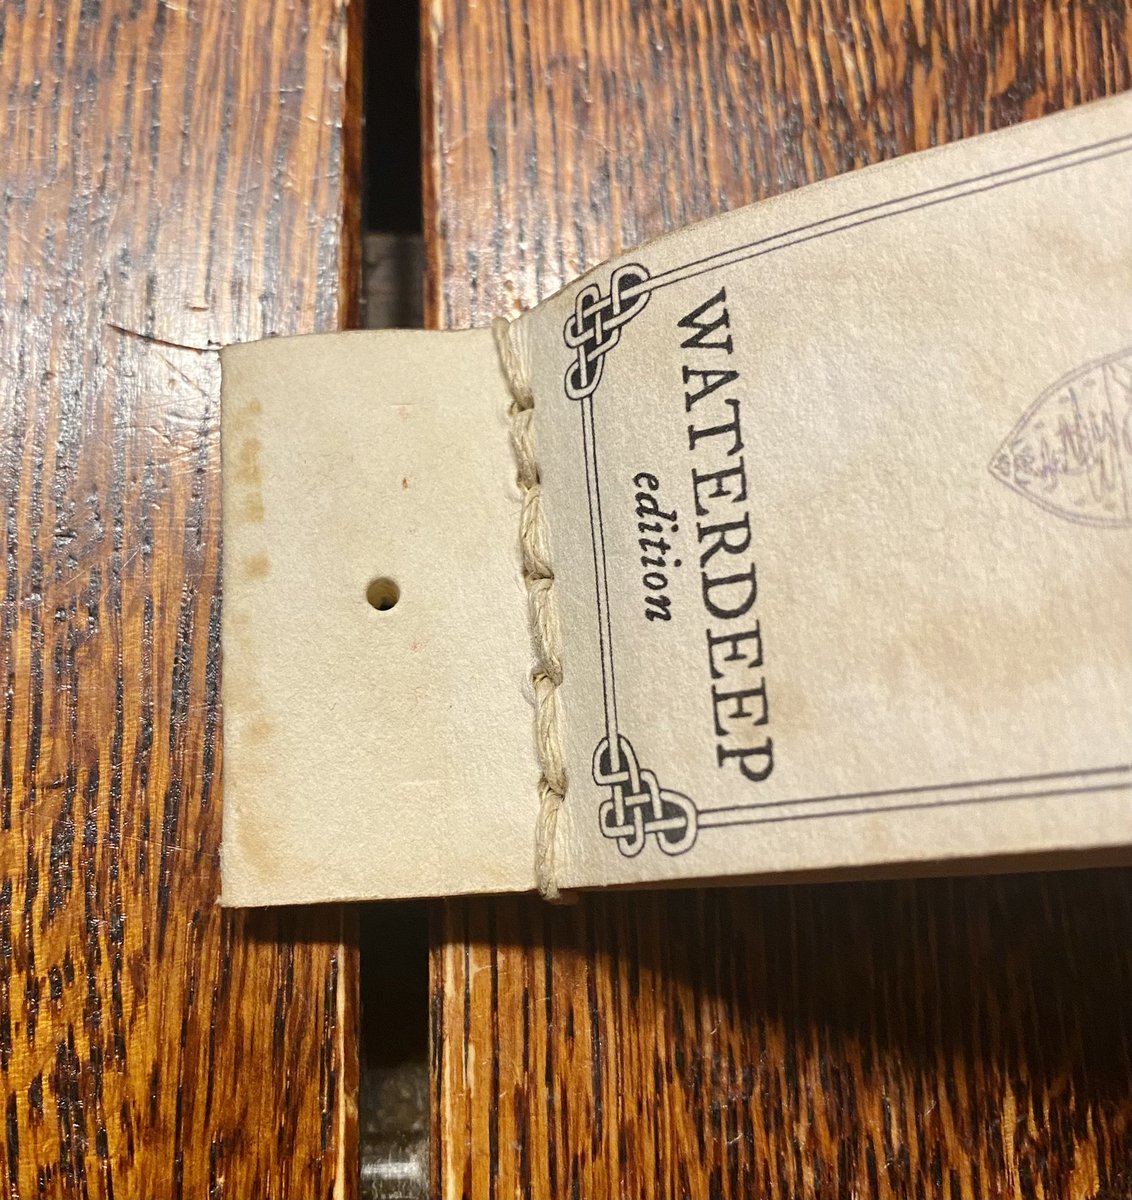
25/ to start trimming the pages, there is a faint line to cut along (which is barely visible just outside of the design in this picture) and you want to cut three sides of the paper (left, right, and top). Paper cutter makes this much easier #dnd #dungeonsanddragons


26/ Registration is a bitch and sometimes when trimming one side, you cut off too much on the other side (top left of first pic). So I’m reprinting this page. When loading the paper, I’ve found that it is important to get it as lined up as possible in the paper try #dnd


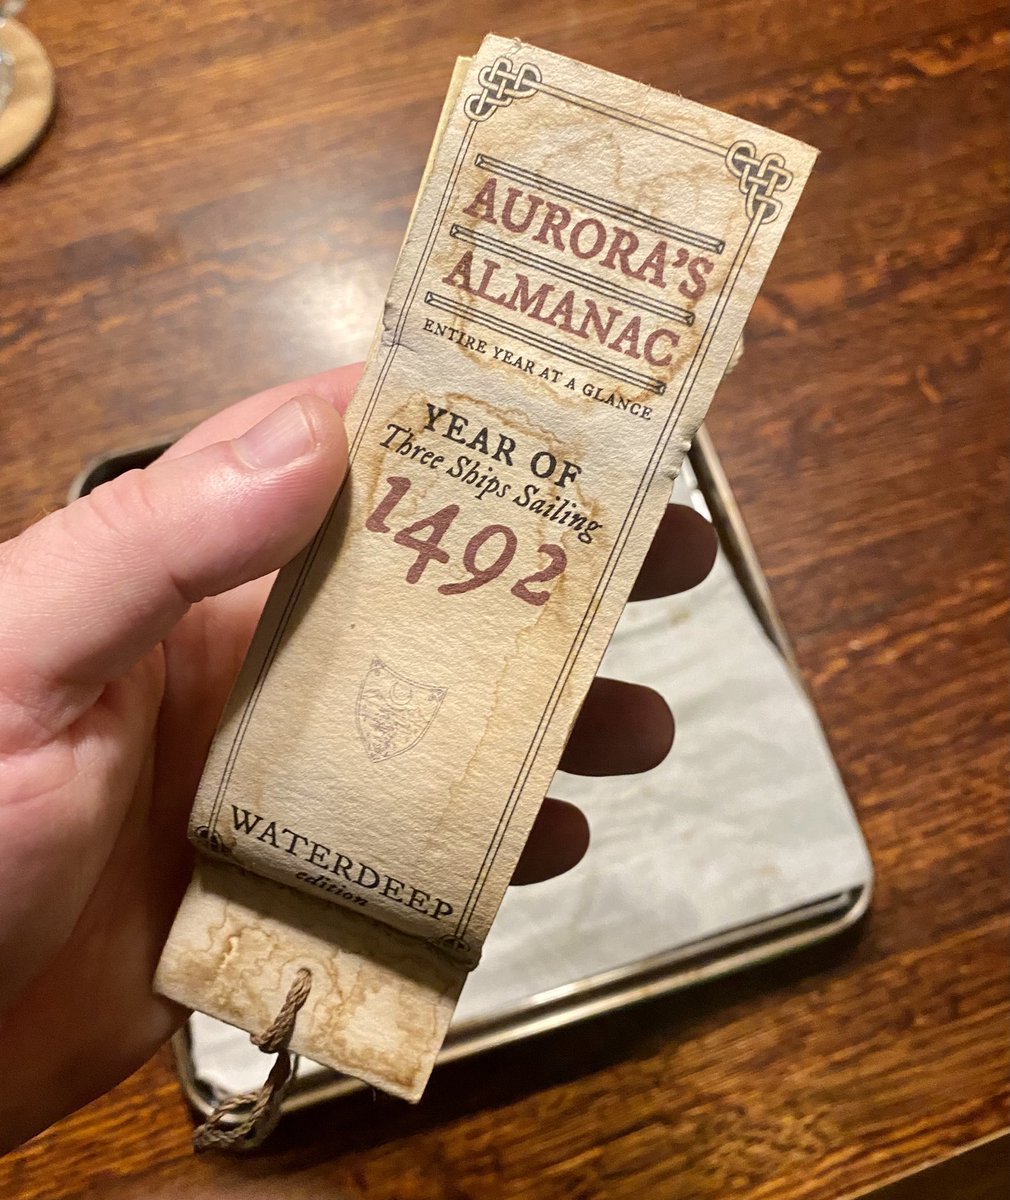
27/ timer has gone off and so I checked the cover. It is looking good. Here are the front and back, plus an un-aged piece of paper for reference #dnd #dungeonsanddragons


28/ holding the new print up to the light and the registration (lining up the back and front) looks pretty good. Let’s try again! #dnd #dungeonsanddragons


29/ that worked! One page cut and 19 more to go… also I usually rip pages that are mistakes so I don’t forget later which is which #dnd #dungeonsanddragons

30/ 5 trimmed and 15 still do to. I’m cutting them slightly outside of the light gray border. Also I like using this paper cutter turned upside down. I find it easier line up, plus easier to control the paper and cut that way #dnd #dungeonsanddragons


34/ I find trimming pages require a lot of focus and is boring as hell (not my fav combination!). Essential to have some good music or a podcast to listen to. Currently I’m listening to @KateBushMusic. I’ve owned this as a cassette in 85, CD, now digital d/l #dungeonsanddragons

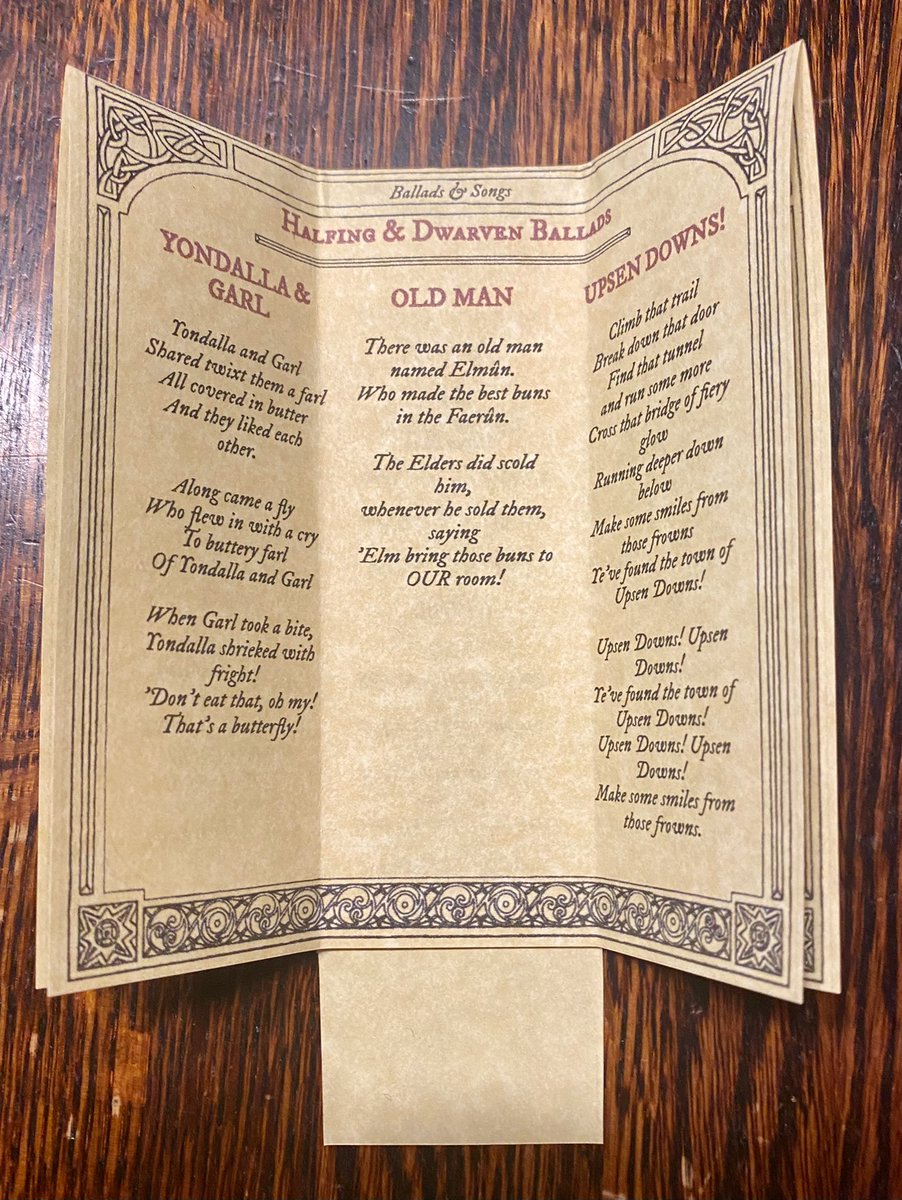
35/ Now to fold the pages. Start with the pages like this (where both sides of the paper are face up) #dnd #dungeonsanddragons

36/ Then match the corner. I usually start with the right corner (perhaps b/c I’m left handed?). Next I line up the right corner #dnd #dungeonsanddragons


37/ After I’ve got the page folded over, I push up the middle and crease out to each edge #dnd #dungeonsanddragons


38/ Next I turn the page to start the next folds. You want to fold the bottom up to this light mark on the left side of the page. #dnd #dungeonsanddragons


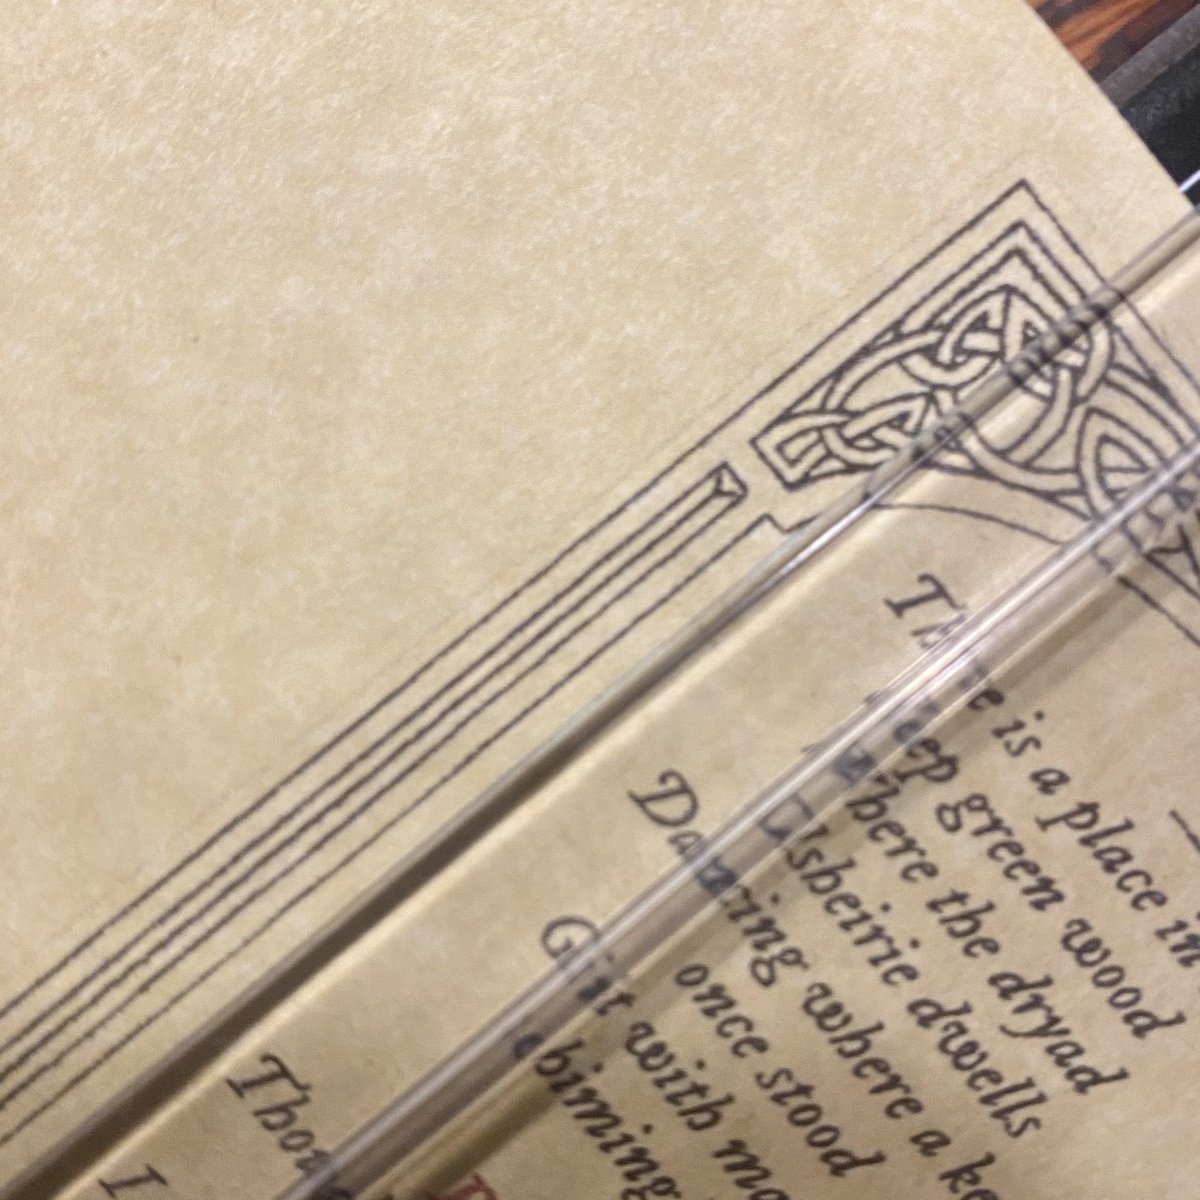
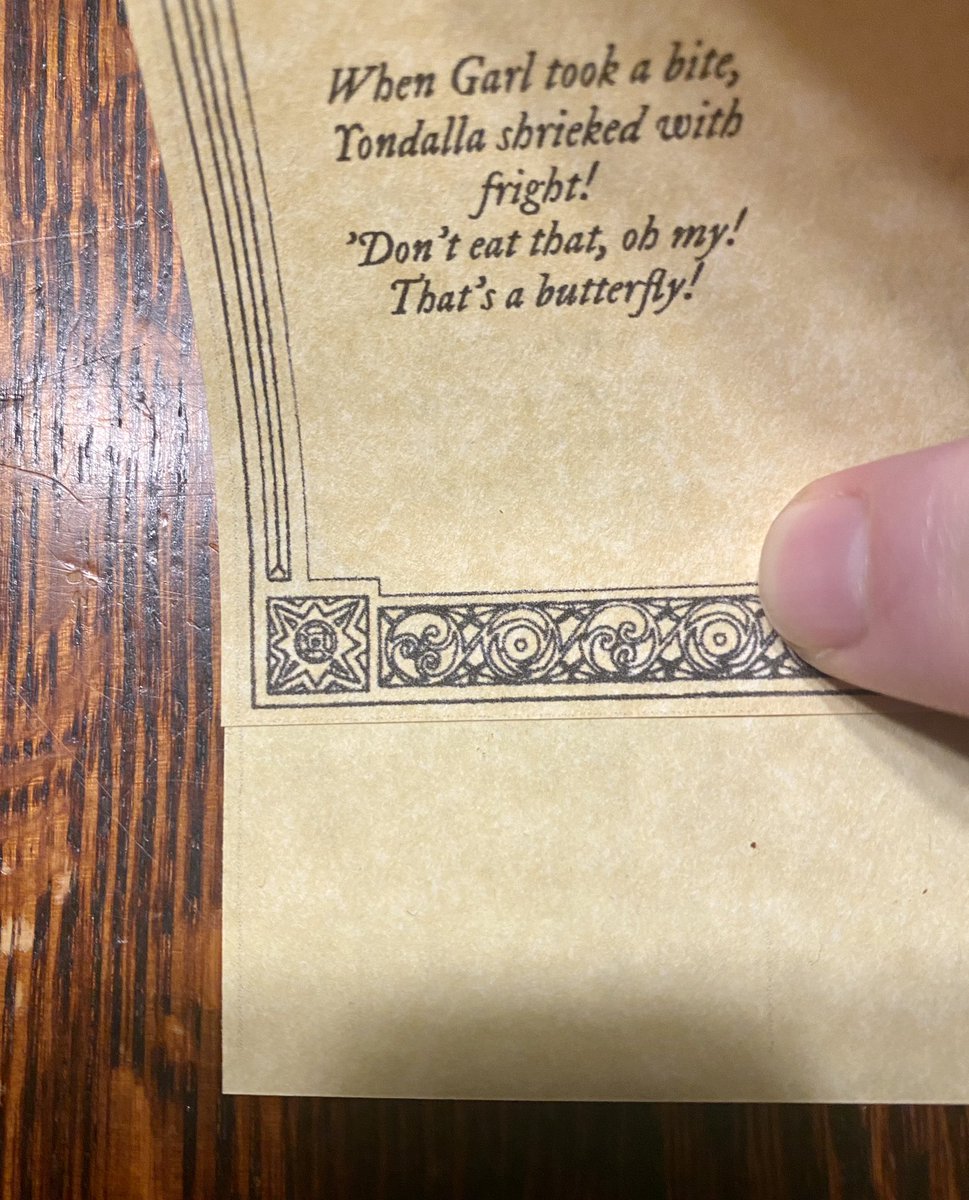
39/ Hold the page lightly down and the crease the left side. Make sure the Celtic knot in the bottom left is just past the fold. Then crease the page across to the right side, once again watching to make sure the knot isn’t in the middle of the fold #dnd #dungeonsanddragons


40/ Turn the page again to face you, fold the other side up to the inner fold line, push it down and then you should have your first page folded #dnd #dungeonsanddragons


43/ Now just repeat those steps for the next 19 sheets… oh joy! PSA get your fav music or podcast playing! #dnd #dungeonsanddragons

44/ After a short break to catch my breath (plus respond to various folks who are enjoying this thread) back to folding. One completed, 10 folded (but not yet cut) and 9 to go #dnd #dungeonsanddragons


46/ If this was a YouTube video, this part would certainly be one of those sped up sections! #dnd #dungeonsanddragons


48/ Kate continues to keep me company, but now I’ve moved on to other albums and enjoying many positive memories from high school

49/ All 20 pages are now trimmed, folded, and cut! It can be very hard to get them out of order and so I’d suggest having the TOC at hand #dnd #dungeonsanddragons


50/ I should mention that it doesn’t normally take so long to make this prop. There are a lot of steps, but it is a lot faster when you aren’t documenting every step.
51/ If you have made it this far, take a moment to admire all of the little bits and pieces you’ve trimmed (before putting them all in the recycling)

52/ For the next step we will be binding the cover and pages together. For this step you will need some bigger clips, thread, a bookbinding awl and needle #dnd #dungeonsanddragons

53/ I bought this cheap set from Amazon. I wasn’t sure if it would be worth it (instead of just using a sewing needle), but I’ve found it super helpful. amazon.ca/Bookbinding-fi…
#dnd #dungeonsanddragons
#dnd #dungeonsanddragons
54/ This is the hemp thread that I used. There are bookbinding threads in the Amazon set, but the weight of this thread makes more sense for something that will be subject to a lot of heavy use like this almanac. Also I like the mixture of colors. amazon.ca/gp/aw/d/B005ZI…
55/ Okay, now that you’ve got your tools assembled, put your pages together, clip the end and then use your table of contents to check the page order. Each page has a title page, plus an ad on the back #dnd #dungeonsanddragons


56/ Note when organizing your pages, there are two “Roll of Year” pages starting with folio 4. The first one is “by year” and the second is “by letter”. Also starting with folio 17, there are two “Noble Families” pages. First is “by house” and 2nd is “by year ennobled” #dnd


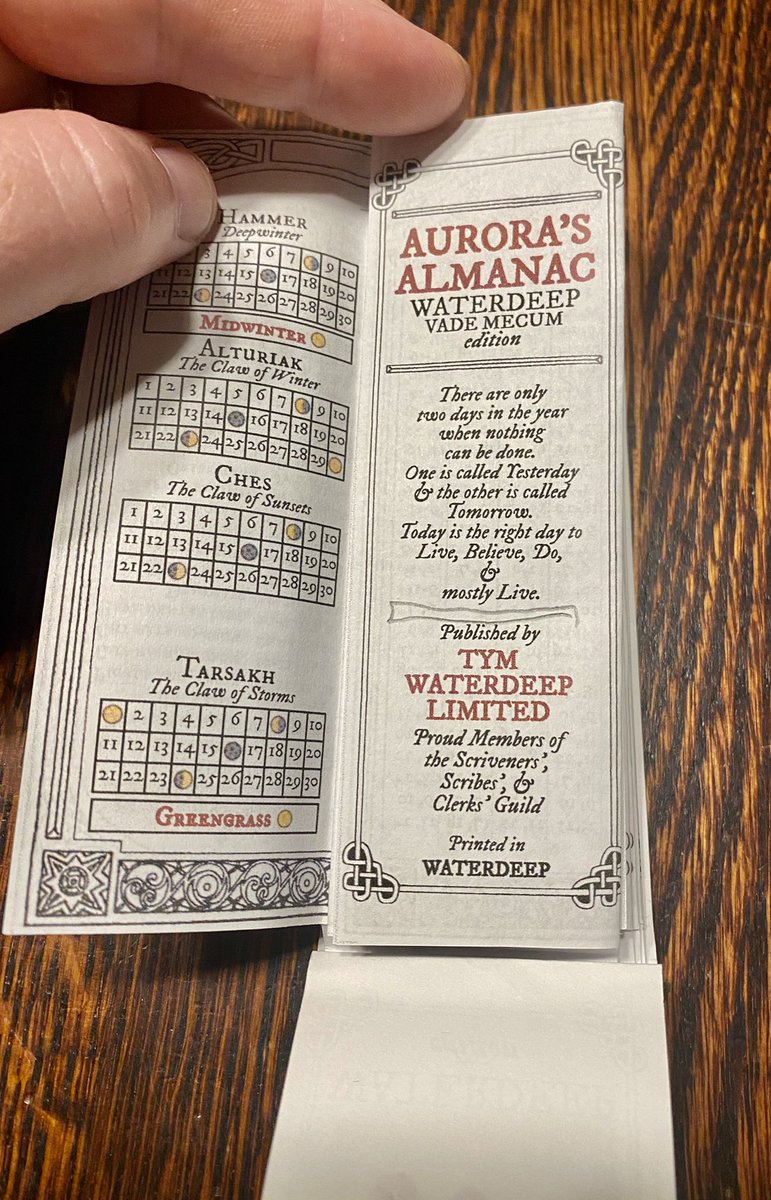
57/ When organizing the calendar section, there are 4 pages with 3 months each, plus 4 pages called memorandums so almanac users could note key events in their life like a diary. These are organized 1 page of months, followed by 1 page of memorandums #dnd #dungeonsanddragons


58/ A little background on memorandums that I learned from this article: "Dozens of patrons in early America, including George Washington and Thomas Jefferson, took such interactivity to its next logical step and turned their almanacs into daily diaries."
commonplace.online/article/redeem…
commonplace.online/article/redeem…
59/ Quote continued: "The practice was so commonplace that publishers often advertised that an almanac could be “interleaved” with blank pages for an extra sum. In 1758, bookseller Hugh Gaine of New York advised his clientele to order their almanacs early"
60/ I loved this bit so much that I included it: “Many Gentlemen were disappointed of the Use of this Almanack, for the Year 1757, by their not sending for the same in Time: ‘Tis therefore requested that they wou’d be less dilatory this Year." #dnd

61/ Having confirmed the pages are in the right order, put them together in a square a block, get those clips, and clip them together to keep them from moving. Ideally they are square, but it isn’t the end of the world if they are a little off
#dnd #dungeonsanddragons
#dnd #dungeonsanddragons


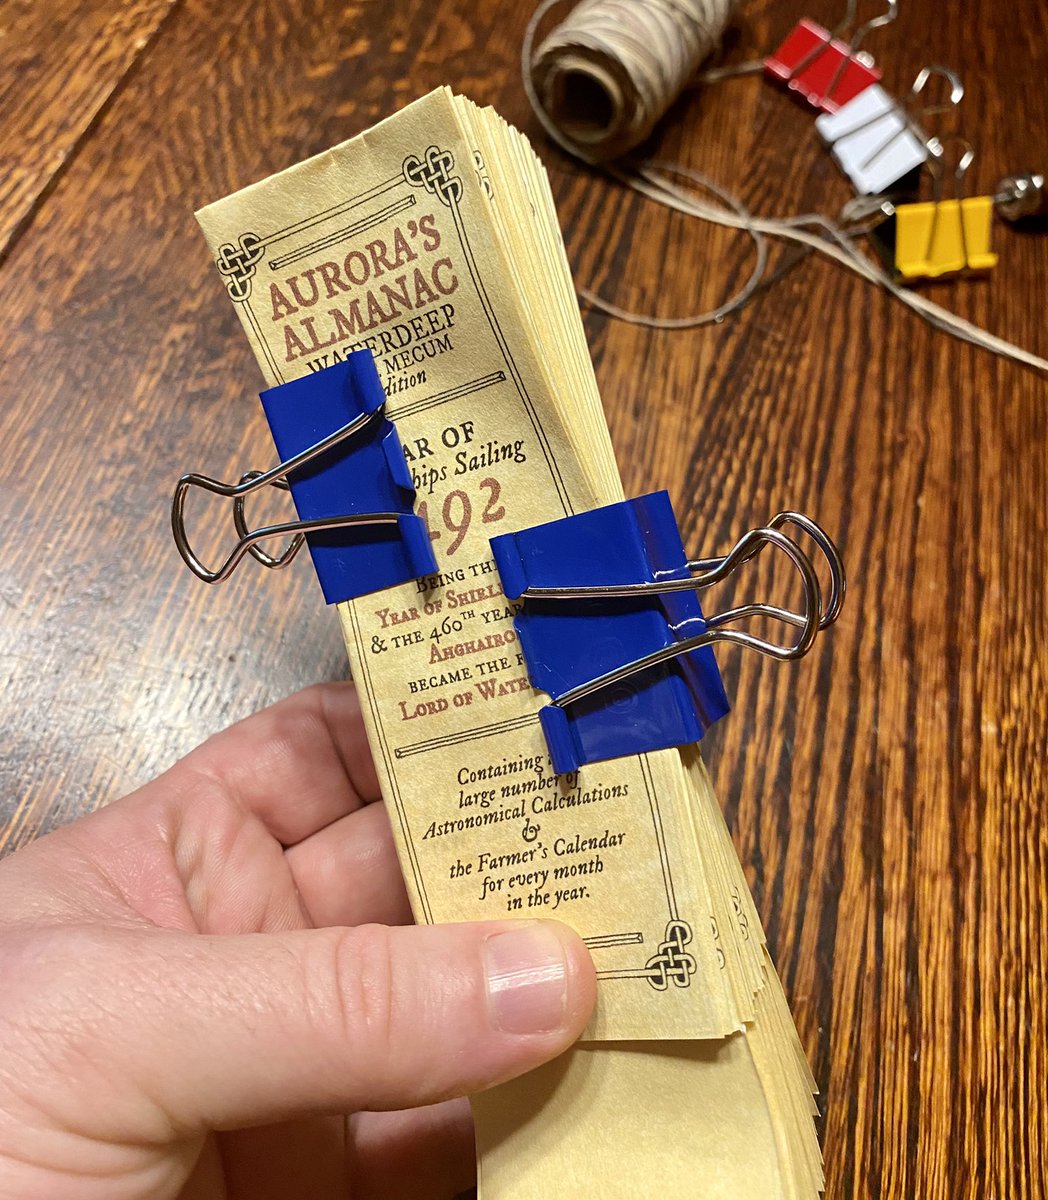

62/ Now add the cover and clip it together. You want to make sure the pages are in the center of the cover, equal on each side. Once again, hard to get this perfect so just try as best as you can.
#dnd #dungeonsanddragons
#dnd #dungeonsanddragons


63/ Now get your awl and we are going to be using it to put 5 holes along this line in the cover of the almanac. My dining room table expands and so I like to expand it just a bit, which provides support on either side #dnd #dungeonsanddragons


64/ Using the awl poke a hole at the middle of the line, then poke one hole on either side. Finally, put holes in between so you have a total of 5 holes. Make sure to push the awl all the way down to get large holes
#dnd #dungeonsanddragons
#dnd #dungeonsanddragons


65/ Now start on the back with the middle hole. Put the needle through and leave just enough thread to tie it off at the end. Then on the front, put the needle through the next hole. Finally from the back, put the needle thru the last hole on that side
#dnd #dungeonsanddragons
#dnd #dungeonsanddragons


66/ Now bring the needle thru the front and around the outside of the almanac to the back and put it thru the hole. This will help create a firm binding plus this extra bit on the edge looks really nice.
#dnd #dungeonsanddragons
#dnd #dungeonsanddragons


67/ Now we are stitching back to the other side. Starting on the front, go thru the second hole, then on the back, skip the middle hole and go thru the next hole over.
#dnd #dungeonsanddragons
#dnd #dungeonsanddragons


68/ Then from the front go through the hole closest to the edge, around the outside on this side, and then thru the last hole on the back
#dnd #dungeonsanddragons
#dnd #dungeonsanddragons


69/ If everything has worked out, your binding should look like this. Go thru the center hole on the front. When doing this, try to make sure the needle comes out on the other side of the thread that goes across this hole on the back #dnd #dungeonsanddragons


70/ Now cut the thread, leaving enough to tie it off. Before tying it off, tighten all of the thread, then hold it tight and tie it. You can now remove the clips! #dnd #dungeonsanddragons


71/ Using you awl make a hole in the top part of the almanac and cut some of the hemp thread
#dnd #dungeonsanddragons
#dnd #dungeonsanddragons

72/ Cut some of your thread (about double the length of the almanac), tie it into a loop (I’ve been using the fisherman’s knot), and then loop it through the hole #dnd #dungeonsanddragons


74/ Last step in the assembly. On the back, put a final hole, cut a length of thread about twice as long as the almanac, tie it in a loop and wrap it around the almanac. Congratulations you’ve completed the assembly!
#dnd #dungeonsanddragons
#dnd #dungeonsanddragons


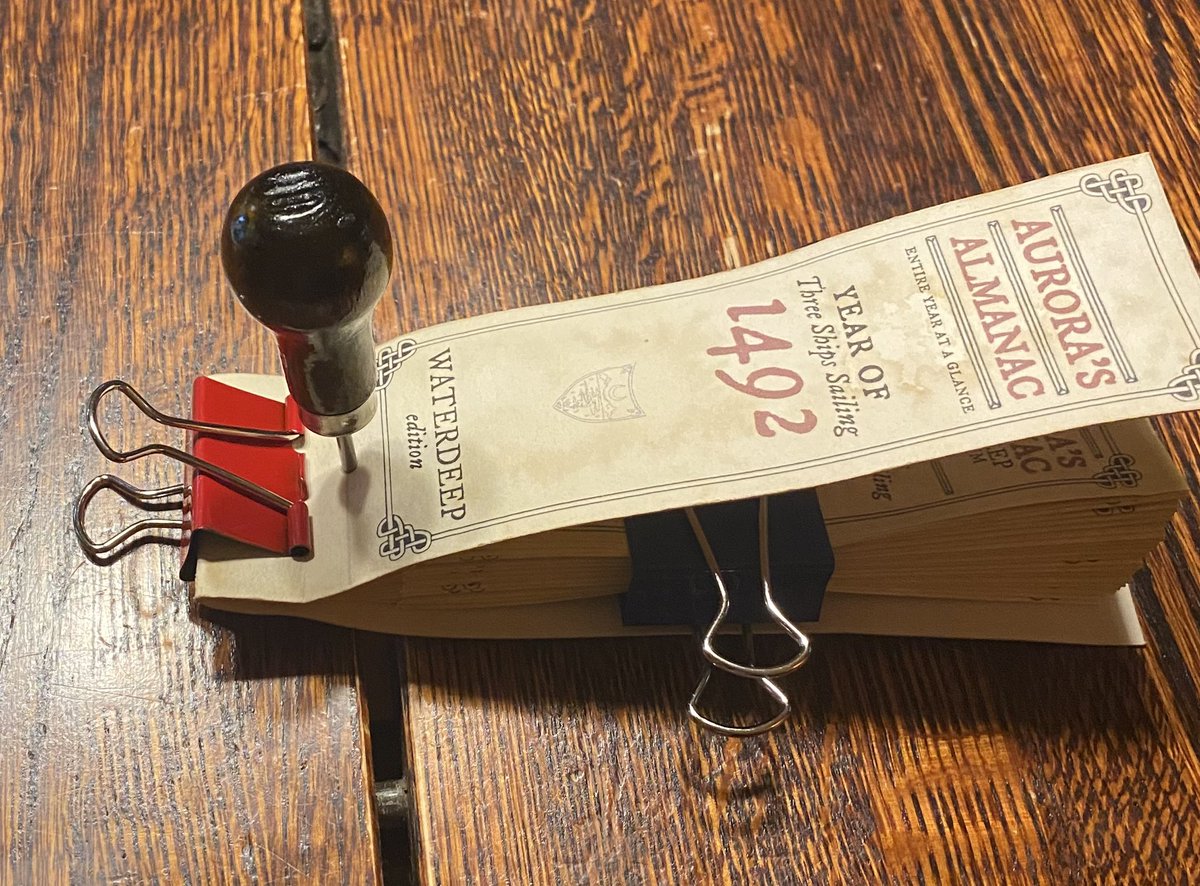
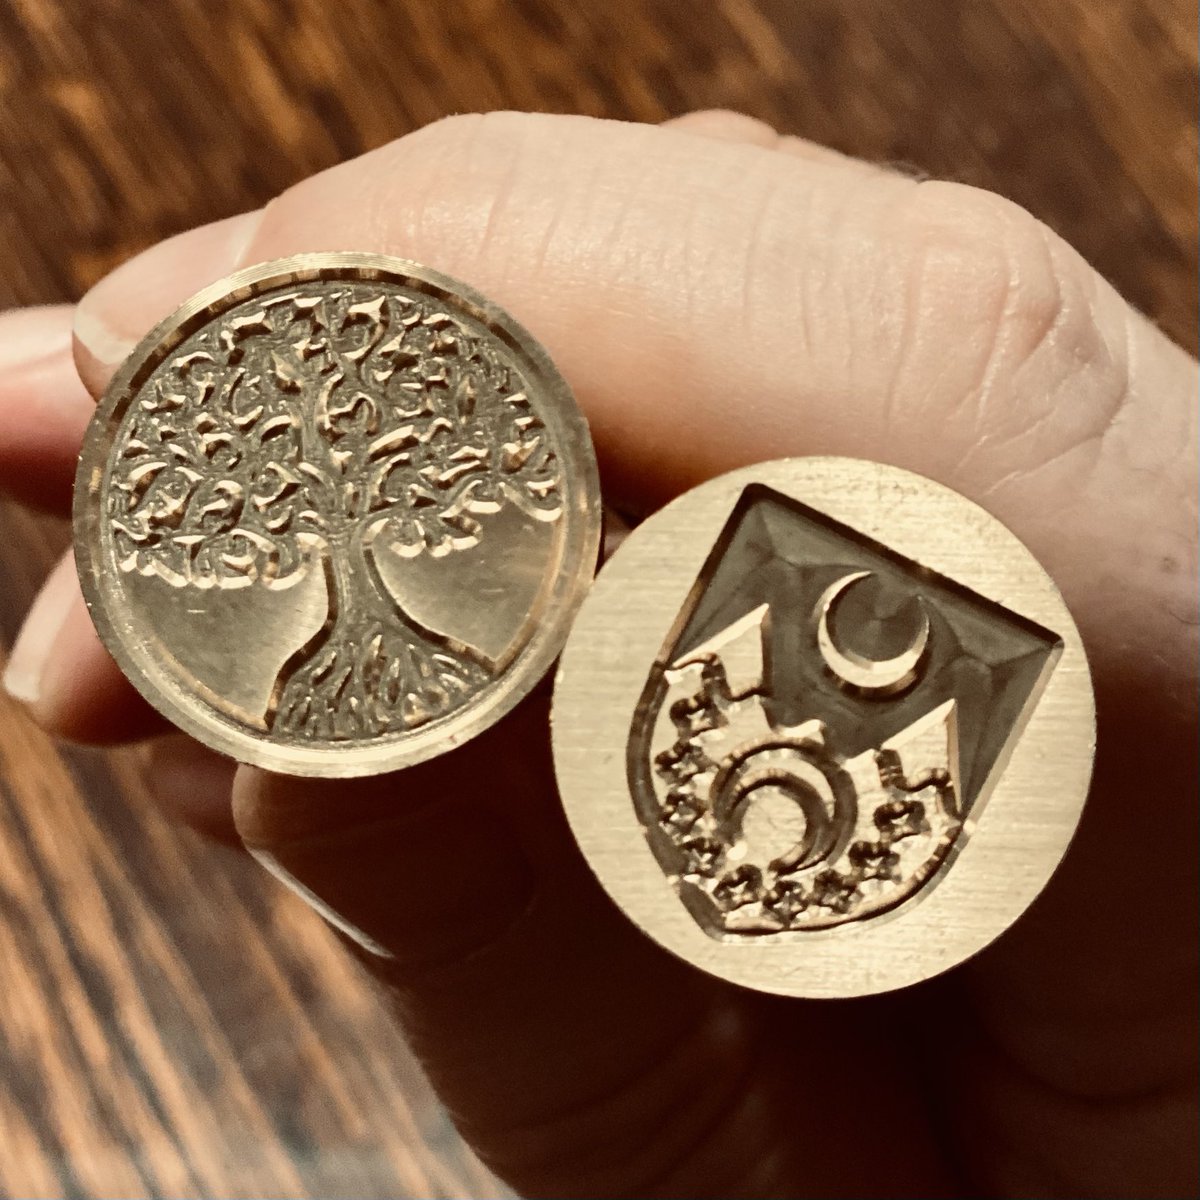
75/ There are 2 stages left. 1st is aging the #dnd prop (putting it in the coffee mixture and drying in the oven). Last step is adding the wax seals. There are 2 seals. One on the front (I use a custom seal of Waterdeep) and one on the thread to close it #dungeonsanddragons


76/ So I’ve spent 8 hours on this so today, so I’m going to take a break and I’ll be back for the final stages later. Thank you to everyone who has followed along! It means so much to me that anyone would be interested in the #dnd props that I create. #dungeonsanddragons
77/ Good morning! I'm going to be back completing this #dnd prop soon. First coffee (for myself, not the prop!), feeding cats, tidying kitchen, brekkie. In the meantime, here is a lovely post about one of my main sources of inspiration @ExploreWellcome
wellcomecollection.org/articles/YbjAT…
wellcomecollection.org/articles/YbjAT…
78/ Okay, back at it. This next stage is aging the #dnd prop. This mostly involves giving it a bath in my decaf instant coffee mixture and then popping it into the toaster oven at 250F. I’ve got my mixture from yesterday plus my oven tray, with a rack and baking parchment

79/ I’m going for a lightly aged look, so I don’t want the coffee to go too much between the pages. My almanac has taken a bit of a beating, but that it has also remained closed a lot of the time and the inner pages have been protected. So I’ve tied it tight! #dnd


80/ And into the decaf instant coffee bath this #dnd prop goes! I turned it around a few times and held it down to get good coverage


81/ And into the toaster oven. I’ve set my timer for 30 min to check the progress. #dnd #dungeonsanddragons


82/ Now if you want your #dnd prop to have a more aged look like this other version that I made, then don’t tightly wind the thread. Instead, leave it open and fold it out like this for the oven #dnd #dungeonsanddragons


83/ I’d like to give a big thanks to my friends, family, and coworkers who have politely listened to me as I’ve gone on and on about this project for the last few months.
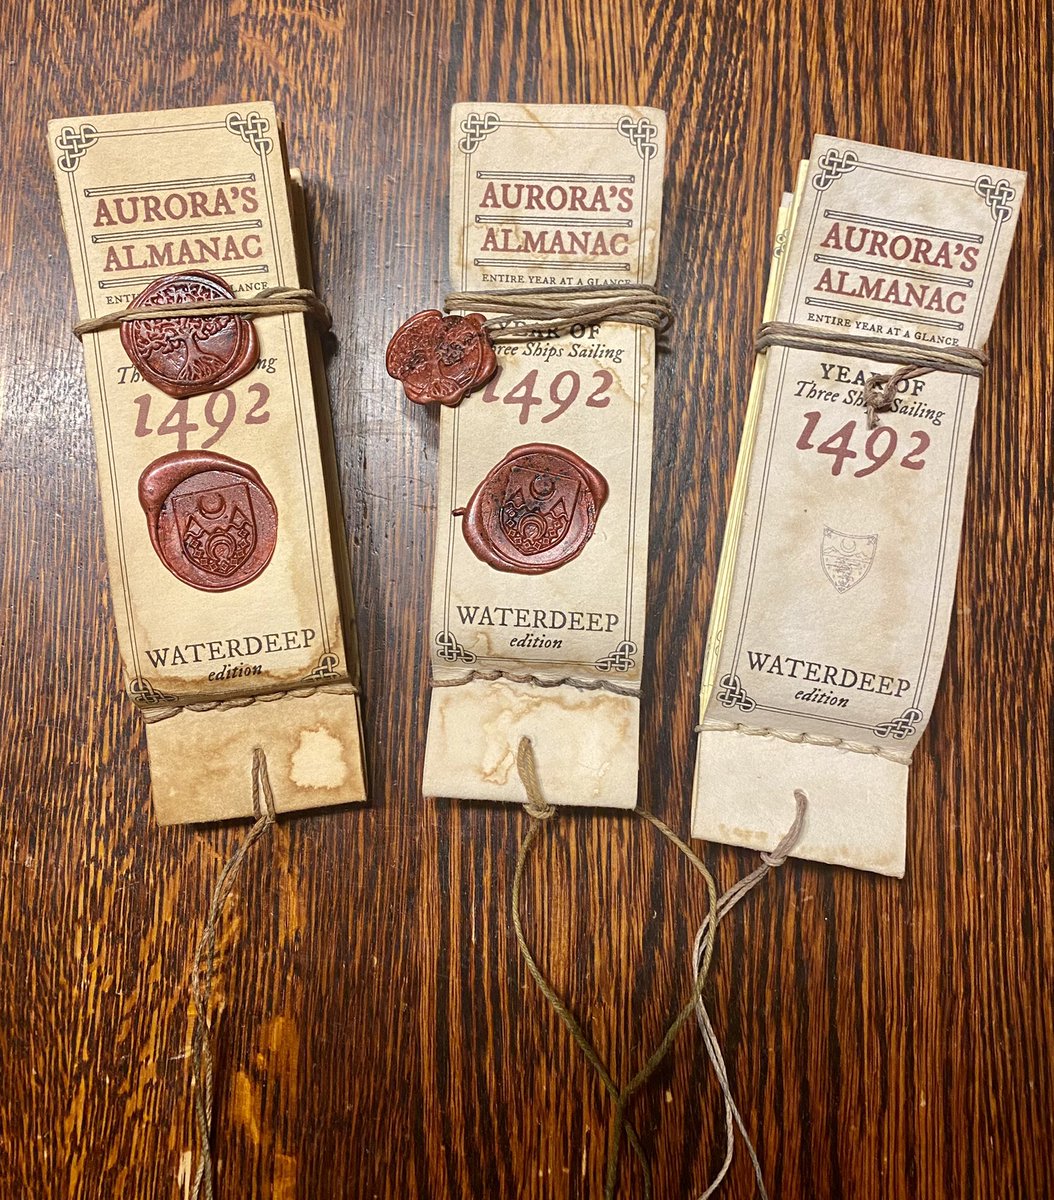
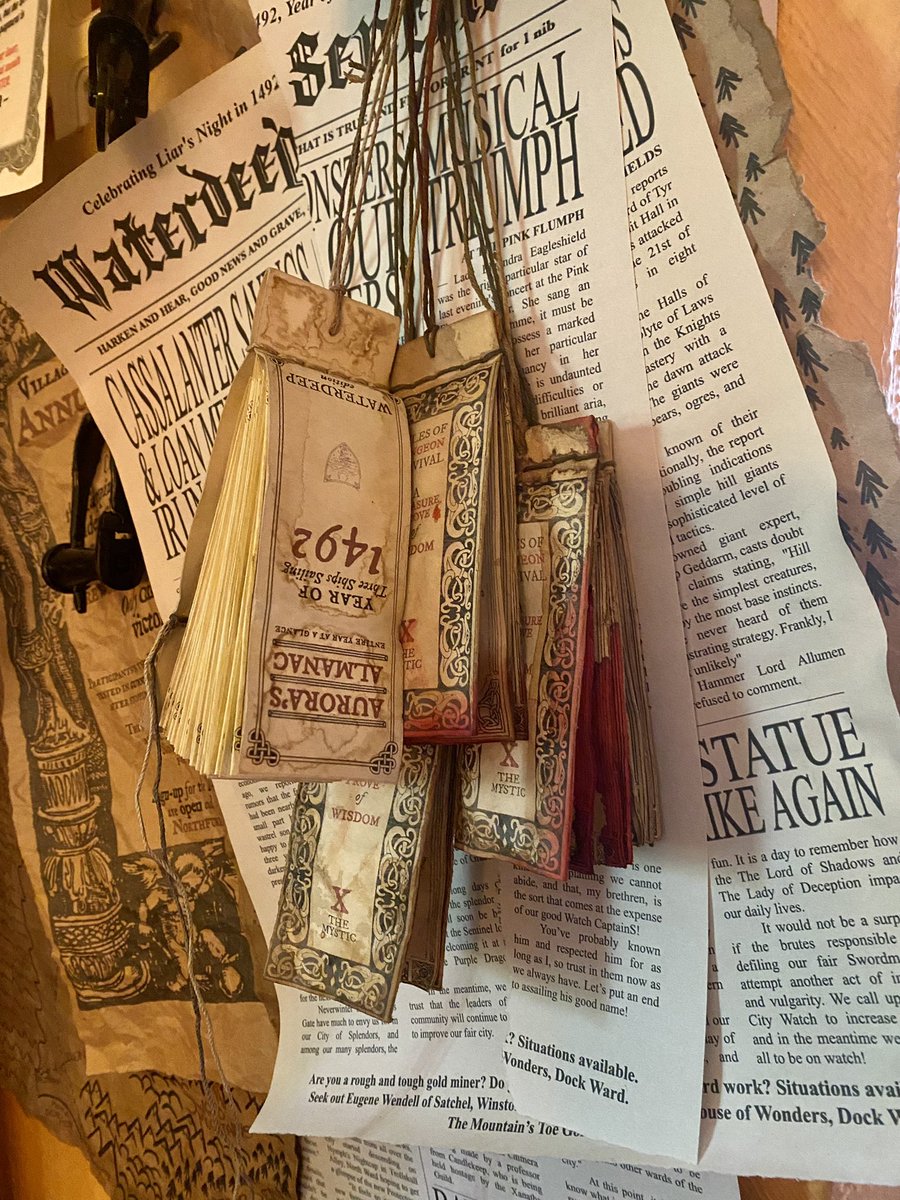
84/ While the #dnd almanac is in the oven, let me share a few of the test versions. The one on the left was my first test build. The middle was after I figured out who would make the almanac and the right one was my first test with all of the pieces in the eventual build

85/ My first test was just to see how it would feel. Working on these #dnd props is always a very physical process for me and I need to make test builds to clarify my thoughts.


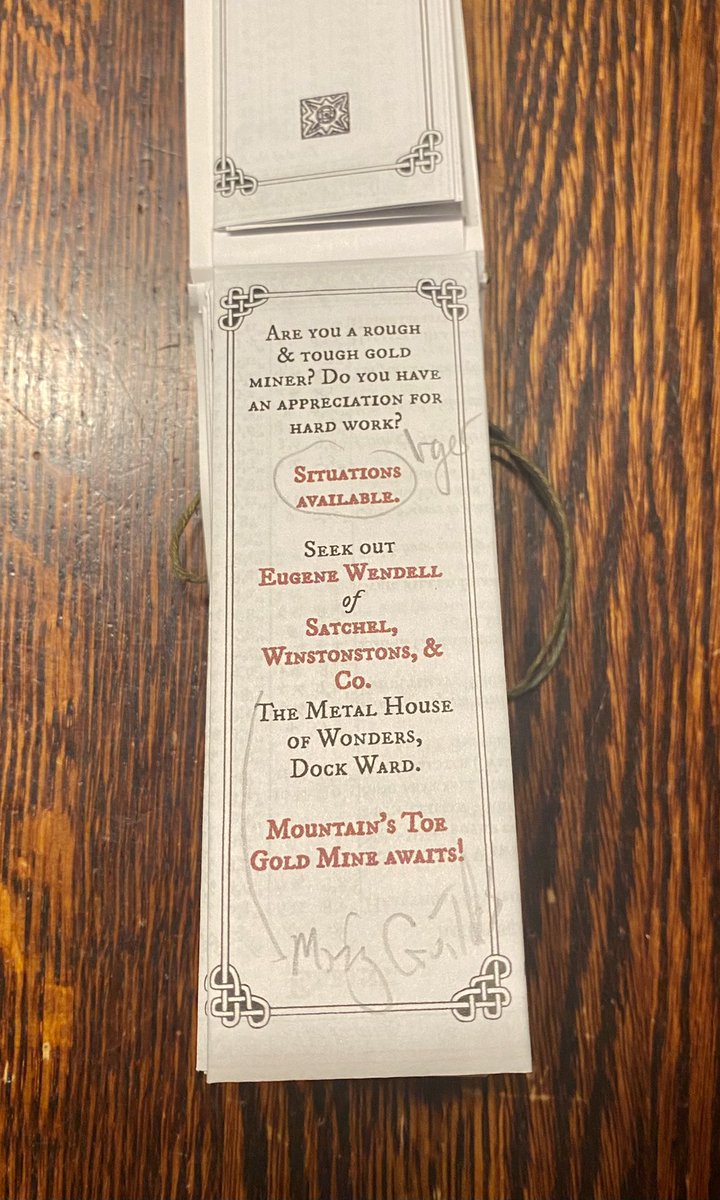
86/ When I put this one together, I hadn’t figured out who would print these or what the prop’s backstory would be. Reading old (and new!) almanacs I noticed there are lots of ads and I thought that would be cool to include those.
#dnd #dungeonsanddragons
#dnd #dungeonsanddragons


87/ For this next test, I had worked out the #dnd prop’s backstory and was trying to get the size of the cover to work (hence my note “less wide version” b/c I had printed several sizes). Then I’m also playing with layout, ads, etc

88/ The last test one here, I actually kept updating as I revised the almanac. Trimming, folding, and cutting each page is a lot of work and so each time I revised a few pages, I would remove the binding, add the new pages and then bind it again #dnd #dungeonsanddragons


89/ Timer went off and the good news is that the front looks good. Bad news is that the rack got too hot and left lines on the back. Not the end of the world. Extra weathering! The front pages are quite dry but the back pages are still wet #dnd #dungeonsanddragons


90/ I’m putting it back in the bath, especially around the edges. Obviously edges tend to get the most beat up, so that is always a spot for extra aging. I’m also putting it on the side in the oven. The coffee will run down as it dries, increasing the aging on the side #dnd


91/ Back into the oven. I’ve set my timer for 20 minutes this time! While we wait, here are some more articles from @ExploreWellcome about my main inspiration. A fav is by Jacqui Carey about the medieval embroidery on this folding almanac! wellcomecollection.org/series/Ybi9HRE…
92/ popped it out to check and it is looking good. A little more weathering and then back into the oven

93/ checked on it again and it is drying nicely so I’ve fanned it out and put it back in the oven. I’ve also reduced the temperature to 225F

94/ Got it out of the oven and now I’m going to let it finish drying and then see if it needs more weathering. I like how the paper edges are weathered, but inside it is still pretty clean. Also the stripes on the back from the rack are more blended in now (yeah!) #dnd


95/ We have some friends coming over for lunch, so I’m going to just hang this #dnd prop up with some of my other props while it dries. I’ll be back later to finish it up, but bye for now! Thanks for joining me on this incredibly long journey. Almost there!
96/ After a busy week at work and a fun #dnd5e game last night, time to finish up this #dnd almanac. Not much left to do, just the two wax seals!
97/ The thread to close the almanac is longer than I like so I’ve figured out long I want it and trimmed it


98/ All set-up! I use tinfoil to protect my table, then I have a blank seal for the back, a lighter, the wax, and the seal #dnd #dnd5e #dungeonsanddragons

99/ To make these “stand alone” wax seals, I put some hot wax on the blank, then add the thread, then more hot wax, and then finally the seal #dnd #dnd5e #dungeonsanddragons


100/ Let the seal cool for a minute or two, then it should peel off the back and voila, you now have a great way to hold your #dnd almanac closed! #dnd5e #dungeonsanddragons


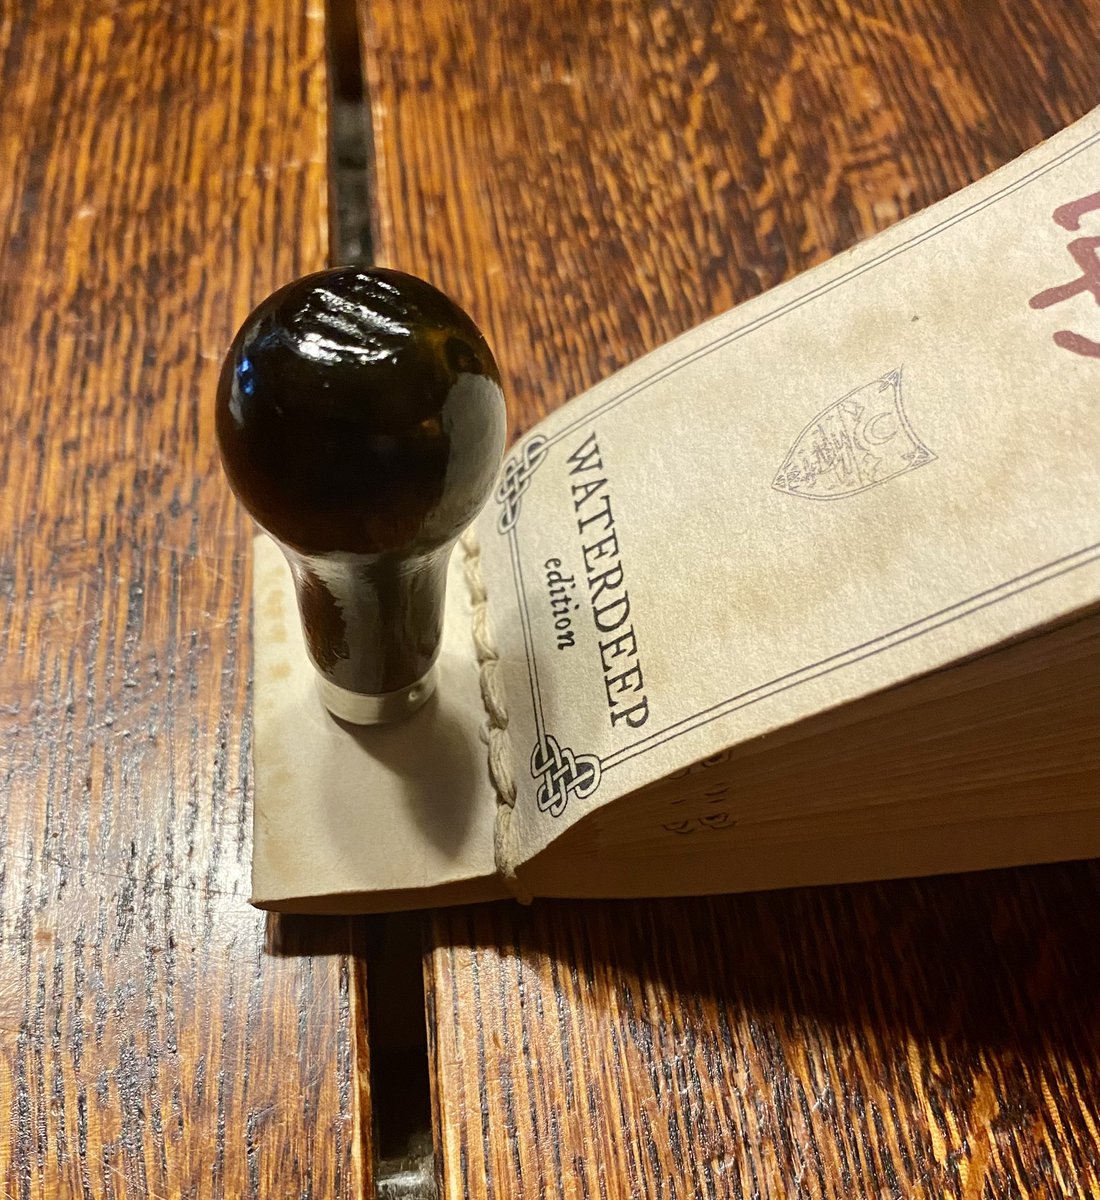
101/ Once again, I’ve used the middle of our dining room table to position the #dnd almanac. You want the cover to be flat, so I’ve found this works. Then I drip the wax into the middle, trying hard to not have it run anywhere.


102/ After putting on the hot sealing wax, wait for a few seconds for it to cool (but not too long!), and then check your seal to make sure it is positioned correctly and presto! This #dnd prop is now complete. Thank you for joining me on this journey! I hope it was enlightening


• • •
Missing some Tweet in this thread? You can try to
force a refresh