How to optimize images for web ⚡
One of the most common mistakes I noticed by reviewing websites is that many people don't optimize their images.
Let's take a look and why should you optimize them and how you can do it efficiently.
Let's start! 🧵
One of the most common mistakes I noticed by reviewing websites is that many people don't optimize their images.
Let's take a look and why should you optimize them and how you can do it efficiently.
Let's start! 🧵
Images are one the most important parts of a website. But unoptimized images file's size is often very big.
One simple image could be 2MB, imagine if you have 10 of them. Now imagine someone with really slow internet trying to access your website. It will take forever.
One simple image could be 2MB, imagine if you have 10 of them. Now imagine someone with really slow internet trying to access your website. It will take forever.
Let's put an example of how we can optimize it.
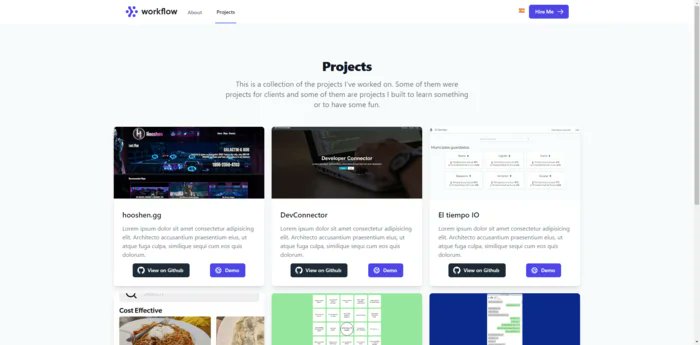
This is a screenshot of my new portfolio (still under construction), when I take the screenshot, it's a .png file and the size is 539KB.
This is a screenshot of my new portfolio (still under construction), when I take the screenshot, it's a .png file and the size is 539KB.

Now we need to convert it to .webp.
What's a .webp file? Webp is a file format developed by Google to reduce the size of images without having to sacrifice quality for storage space.
I use an online converter. image.online-convert.com/convert-to-webp
New file size? 93.61KB.
What's a .webp file? Webp is a file format developed by Google to reduce the size of images without having to sacrifice quality for storage space.
I use an online converter. image.online-convert.com/convert-to-webp
New file size? 93.61KB.

One other option in this last website is changing the size, the image is too big. Let's imagine the maximum width that is gonna show on our website is 700px, so let's change the size on the options.
(I'm using the original image here)
So... what's the result?
(I'm using the original image here)
So... what's the result?

The image file size is now... 17.12KB!
Quite a big difference from the 539.97 KB we started with.
Now imagine half a megabyte for each image of your website. Think of how much load time you can save.
Quite a big difference from the 539.97 KB we started with.
Now imagine half a megabyte for each image of your website. Think of how much load time you can save.
If you want to check if your images are optimized, you can use PageSpeed insights.
developers.google.com/speed/pagespee…
This is an example of images not optimized. Look at the saving possible by just doing these simple steps!
developers.google.com/speed/pagespee…
This is an example of images not optimized. Look at the saving possible by just doing these simple steps!


You should start optimizing all your images today.
Your website will be faster, users will be happier, and your hosting costs will be cheaper.
I hope you enjoyed this thread, I'm planning to do one very soon on how to optimize for SEO, follow me if you want to see it! ⚡
Your website will be faster, users will be happier, and your hosting costs will be cheaper.
I hope you enjoyed this thread, I'm planning to do one very soon on how to optimize for SEO, follow me if you want to see it! ⚡
• • •
Missing some Tweet in this thread? You can try to
force a refresh