#Thread
Basics of Mobile Photography.
If you like to click pictures of your loved ones, nature or anything under the sun and all you have is a mobile phone, dont worry. You can still take some magnificent photos.
Below is a real life example of me doing mobile photography.

Basics of Mobile Photography.
If you like to click pictures of your loved ones, nature or anything under the sun and all you have is a mobile phone, dont worry. You can still take some magnificent photos.
Below is a real life example of me doing mobile photography.


Even though I am wildlife photographer, I find that I use my phone more often than not to capture precious everyday moments. After all, they say that the best camera is the one which is available when at the moment of truth.
So lets start- Clean your lens!
Most of the people I know never clean the lens of their camera before taking a photo. Its a sin!There are lots of smudges, dust and dirt on your lens as the device is so extensively used. It does make a world of deference to the picture quality.
Most of the people I know never clean the lens of their camera before taking a photo. Its a sin!There are lots of smudges, dust and dirt on your lens as the device is so extensively used. It does make a world of deference to the picture quality.

Manually Set Focus-
Just like a point and shoot or DSL, your phone camera is also an intelligent device. Sometimes it is over smart 😉 and you may have to manually chose where to focus.
Just like a point and shoot or DSL, your phone camera is also an intelligent device. Sometimes it is over smart 😉 and you may have to manually chose where to focus.
When you point your phone camera to shoot, the phone will take a guesses the focus point. If it recognizes faces, that’s what it will pick. But most of the times, you are not shooting portraits. Thats when who need to intervene and taken over from the artificial intelligence.
To manually change focus from one subject to another, simply tap on the phone screen and choose your focus point. This is very important. Also make it a habit to review your photo as soon as you have shot. So that you can have another go at it if you did not get the focus right.
Don’t use flash.
The flash in the phone camera is built for the aole purpose of ruining your photos. Do not use it if you want your photos to be mesmerising. Only use it you want to prove a point to someone and say-“see I saw it there” thats it. Not for good photos.
The flash in the phone camera is built for the aole purpose of ruining your photos. Do not use it if you want your photos to be mesmerising. Only use it you want to prove a point to someone and say-“see I saw it there” thats it. Not for good photos.
If you HAVE TO use a flash because of very very poor light,never point the flash directly at the subject, it will ruin the image.Instead, use another phone and use that phone’s flash light on the subject from another angle, or use another source of light. Remember sunlight is ❤️
Straighten the horizon!
One of the most aggravating things in a beautiful image is a crooked horizon. Makes a beautiful shot ugly. So take a moment and use the grid function on your phone and make sure that horizontal lines are in line with the grid lines.
One of the most aggravating things in a beautiful image is a crooked horizon. Makes a beautiful shot ugly. So take a moment and use the grid function on your phone and make sure that horizontal lines are in line with the grid lines.
Try not to zoom!
It is very very important to avoid zoom to do some for fantastic mobile phone photography. The digital zoom of the phone camera is not very powerful – no matter what phone companies advertise.
It is very very important to avoid zoom to do some for fantastic mobile phone photography. The digital zoom of the phone camera is not very powerful – no matter what phone companies advertise.
When you use the digital zoom, a lot of noise and distortion is introduced in the frame. If possible, try to move your feet to get closer to the subject as opposed to using digital zoom. Move move move move! Please get closer 🙏. But don’t zoom 🙏.
Last but not the least. Post processing or generally called- Editing.
This is key in making a good photo into a mesmerising photo. But, using filters or not knowing what to do in post processing may ruin the photo. As you know, practice is key for perfection.
This is key in making a good photo into a mesmerising photo. But, using filters or not knowing what to do in post processing may ruin the photo. As you know, practice is key for perfection.
I suggest you download the free apps of photoshop or lightroom and start processing photos on them. Use different settings and see what each setting does to your photo. You must have imagined a photo before you shot it. This is where you will bring that imagination to reality.
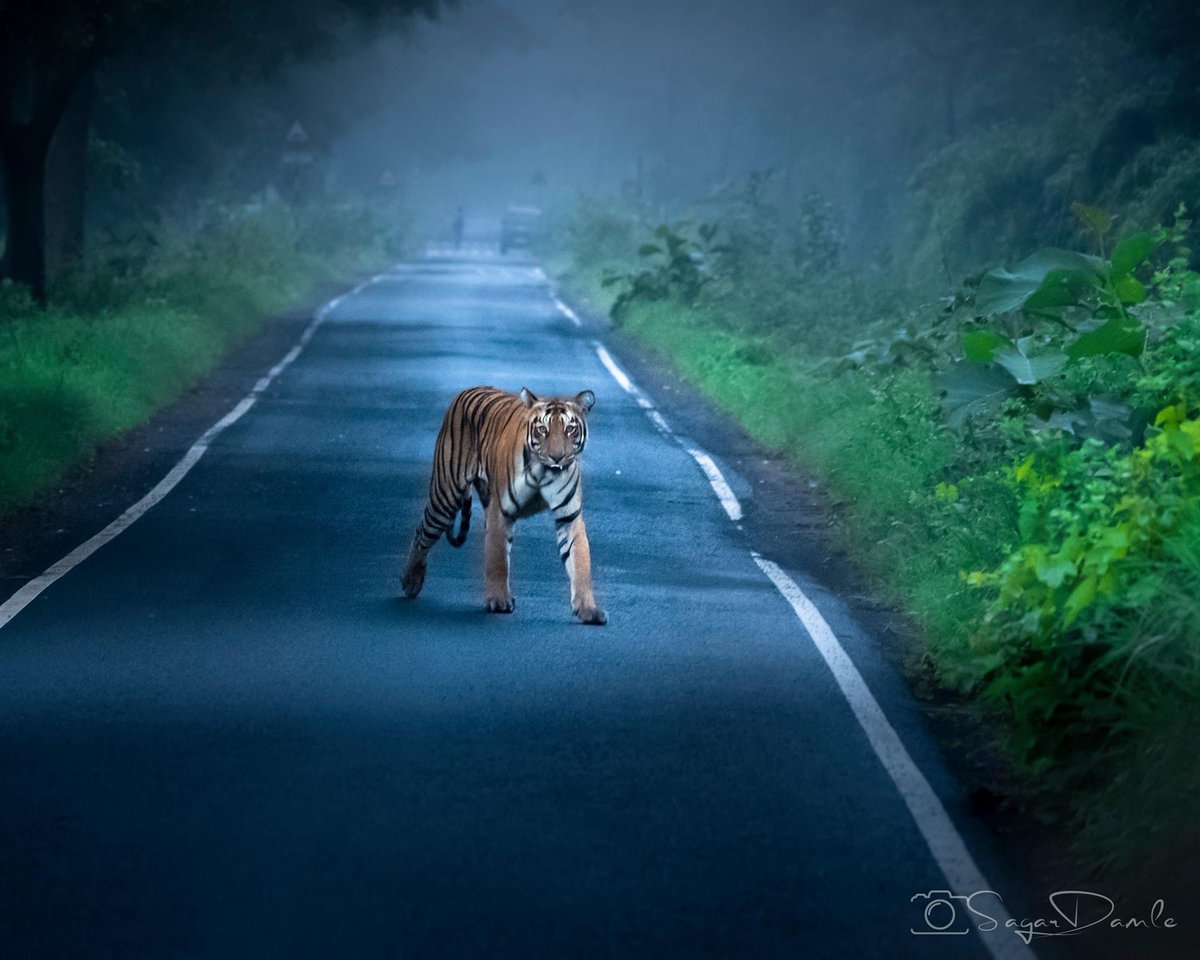
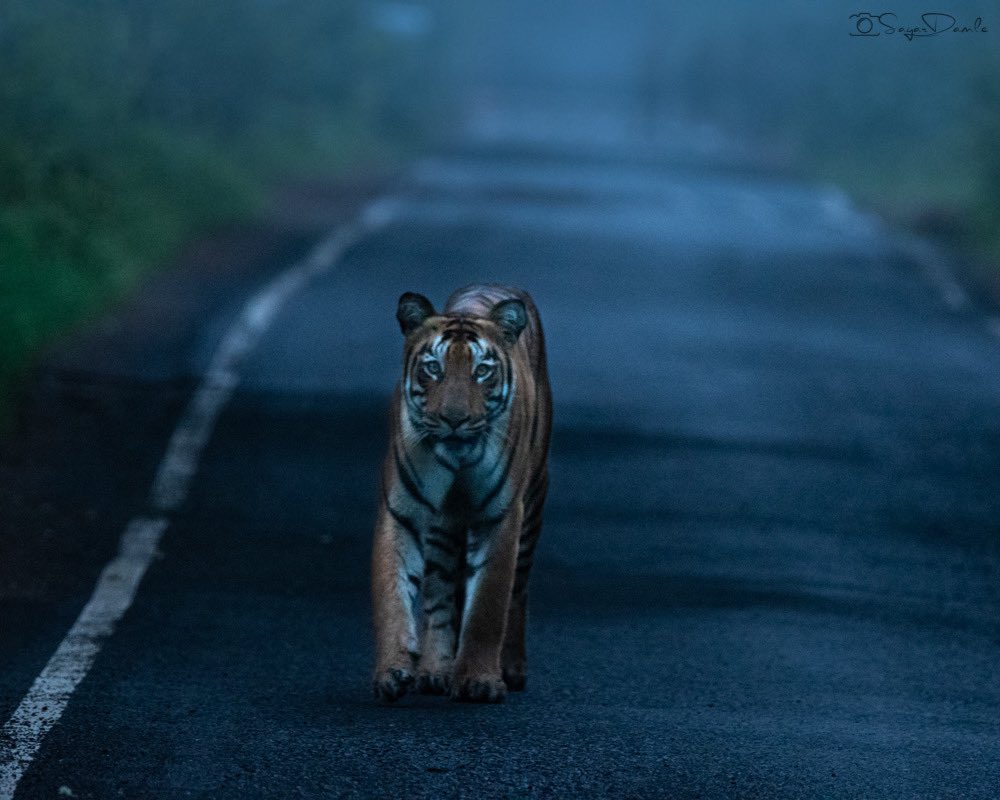
Below is a photo of a Tiger which I shot in Kanha. This is before and after post processing. Remember, composition happens during cropping as well! 


To check my wildlife photo gallery please visit- instagram.com/wildshots_saga…
Composition is the most important part of photography, if you missed my earlier thread on composition do check-
https://twitter.com/wildontheright/status/1433333529694269444?s=21
https://twitter.com/wildontheright/status/1433333529694269444
• • •
Missing some Tweet in this thread? You can try to
force a refresh


