CSS fundamentals before learning Tailwind.
Some people believe that you need to be a CSS master before starting learning Tailwind, and that couldn't be further from the truth.
You should know some fundamentals, and I want to tell you exactly which ones.
Let's begin 🧵
Some people believe that you need to be a CSS master before starting learning Tailwind, and that couldn't be further from the truth.
You should know some fundamentals, and I want to tell you exactly which ones.
Let's begin 🧵

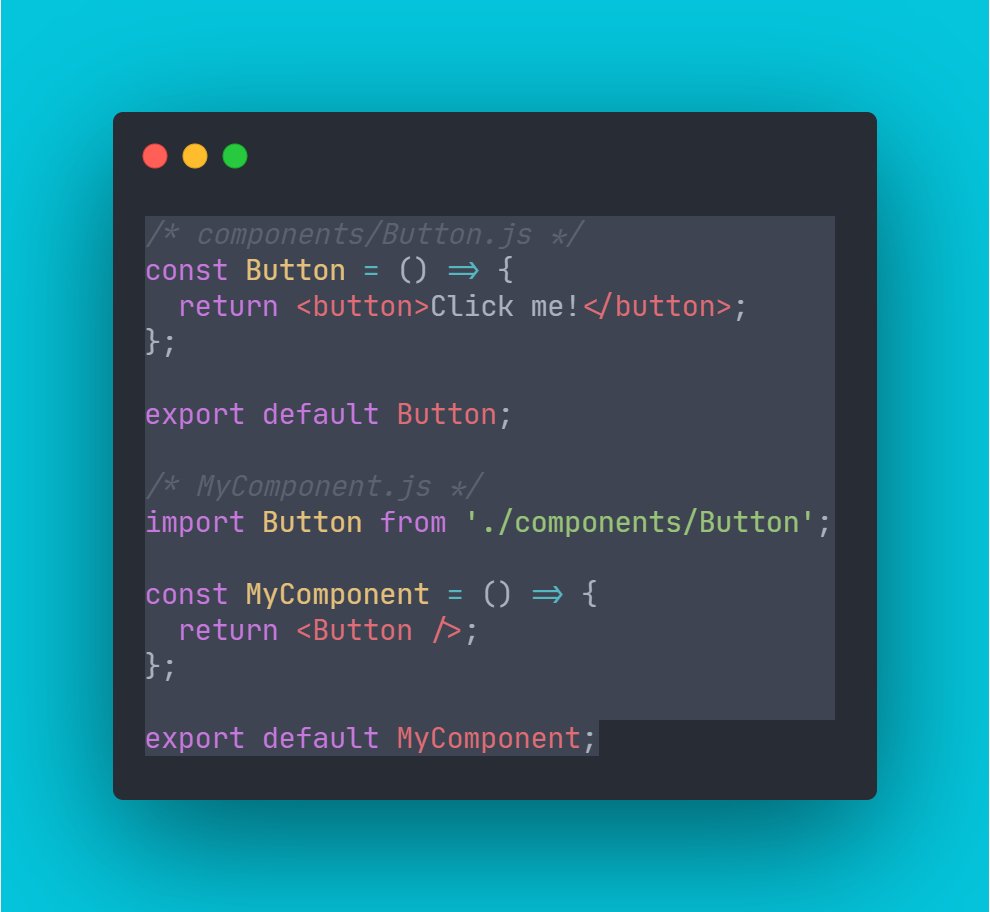
background properties.
This is used to give properties to the background of an element, it could be any element.
These are the main ones you should know about:
This is used to give properties to the background of an element, it could be any element.
These are the main ones you should know about:

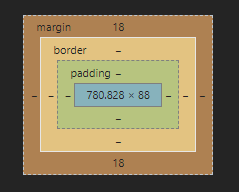
margin, padding and border properties.
The first attached image is a visual representation of how this works.
- padding is the internal margin.
- border is the border of the box.
- margin is the margin outside the box.
You can use top/right/bottom/left or the shorthand.
The first attached image is a visual representation of how this works.
- padding is the internal margin.
- border is the border of the box.
- margin is the margin outside the box.
You can use top/right/bottom/left or the shorthand.

font properties.
This is used to change how a font looks.
These are the most used ones:
This is used to change how a font looks.
These are the most used ones:

width and height properties.
This sets how wide (width) or tall (height) an element is.
The default for width is the screen size.
The default for height is how much content is there inside the element.
The main units used are px, % and vw/vh (view widths, view heights).
This sets how wide (width) or tall (height) an element is.
The default for width is the screen size.
The default for height is how much content is there inside the element.
The main units used are px, % and vw/vh (view widths, view heights).

color property.
This is used to specify the color of the text.
We can use a named color (predefined ones), hex or rgb/rgba.
rgb stand for red green and blue and accepts numbers between 0 and 255.
The a in rgba stands for alpha channel (opacity) and accepts a number (0-1).
This is used to specify the color of the text.
We can use a named color (predefined ones), hex or rgb/rgba.
rgb stand for red green and blue and accepts numbers between 0 and 255.
The a in rgba stands for alpha channel (opacity) and accepts a number (0-1).

border-radius property.
It defines the radius of the element's corner.
It works the same was margin/padding.
One value to apply to all 4.
Two values to apply top/bottom.
Four values to apply top-left/top-right/bottom-right/bottom-left.
It defines the radius of the element's corner.
It works the same was margin/padding.
One value to apply to all 4.
Two values to apply top/bottom.
Four values to apply top-left/top-right/bottom-right/bottom-left.

:hover selector.
This modifies an element when you mouse over them.
For example, changing a background.
This example changes the background color from red to yellow:
This modifies an element when you mouse over them.
For example, changing a background.
This example changes the background color from red to yellow:

Media queries.
This gives you the option to add properties only if a certain condition is true, for example, a screen size.
This will only apply the property if the window is 600px or smaller.
This gives you the option to add properties only if a certain condition is true, for example, a screen size.
This will only apply the property if the window is 600px or smaller.

Flex properties.
This helps you create beautiful and modern layouts in an easy way.
It's definitely the hardest thing to learn while learning CSS, and I can't recommend this guide by @css enough:
css-tricks.com/snippets/css/a…
This helps you create beautiful and modern layouts in an easy way.
It's definitely the hardest thing to learn while learning CSS, and I can't recommend this guide by @css enough:
css-tricks.com/snippets/css/a…
You reached the end of the thread!
If you feel confident with everything I explained here and you think you're ready to tackle some Tailwind CSS, you'll be happy to know I'm building a course.
You can subscribe to updates here:
windcourse.co
If you feel confident with everything I explained here and you think you're ready to tackle some Tailwind CSS, you'll be happy to know I'm building a course.
You can subscribe to updates here:
windcourse.co
And if you like my content and you would like to support me, a follow (@nachoiacovino) and a retweet to the first tweet is greatly appreciated.
If you had any problems or questions, my DMs are open and I'll be happy to help you, see you on the next thread!.
If you had any problems or questions, my DMs are open and I'll be happy to help you, see you on the next thread!.
• • •
Missing some Tweet in this thread? You can try to
force a refresh