1/18 #Bitcoin blockchain data received by satellite connection instead of an internet connection. Made possible by @Blockstream
A thread on installing & operating a #Bitcoin satellite node on a RaspberryPi. The power of censorship resistance grows stronger everyday.
A thread on installing & operating a #Bitcoin satellite node on a RaspberryPi. The power of censorship resistance grows stronger everyday.

2/18 This thread is the short version of a more detailed article that is available on the @BitcoinMagazine website here:
Special that you to @igor_auad, his patience & attention to detail were tremendous resources for me.
bitcoinmagazine.com/guides/how-to-…
Special that you to @igor_auad, his patience & attention to detail were tremendous resources for me.
bitcoinmagazine.com/guides/how-to-…
3/18 I used a RasPi 8GB CanaKit, a Samsung 1TB SSD, & the Sat-IP flat panel satellite antenna available from the @Blockstream store:
All together, this setup was less than $800 USD.
store.blockstream.com/product/blocks…
All together, this setup was less than $800 USD.
store.blockstream.com/product/blocks…
4/18 First, I assembled the RasPi. Then, using the @blockstream website I found the best satellite for my area based on signal coverage. 


5/18 Next, I mounted the Sat-IP on an existing antenna post on my roof using the included hardware. Then roughly pointed the antenna using the azimuth, elevation, & polarity angles I was given from the website. 


6/18 Ensuring that the post was level & the rough angles were as close as I could get them using a combination of the notches on the mounting hardware, a compass, & a level. The angles will be fine-tuned once the connection to the antenna is active from the RasPi. 


7/18 The Sat-IP has a built in LNB & converts the satellite signal to a data signal which is then communicated over Ethernet on the local network where the RasPi will also be connected. I installed & terminated my own cables using tools & supplies from a local hardware store. 


8/18 Now the RasPi OS can be flashed onto the microSD card that came with the CanaKit. Even though it had an OS image pre-installed, I wiped that and used the RasPi OS Arm64 image instead. Then verified it.
downloads.raspberrypi.org/raspios_arm64/…


downloads.raspberrypi.org/raspios_arm64/…


9/18 Once the OS image was flashed I was able to SSH into the RasPi from my laptop then format the SSD to ext4, add the UUID to the fstab file, mount the drive, set the owner, & edit the swap file. I also created a new directory: /mnt/ext/.bitcoin 


10/18 With the RasPi OS installed & the SSD configured, next is to install the Blocksat-CLI tool & BitcoinSatellite (a fork of BitcoinCore). Each one can be installed with two commands. Upon running BlockSat-CLI the first time, it will ask you to select a satellite & antenna. 


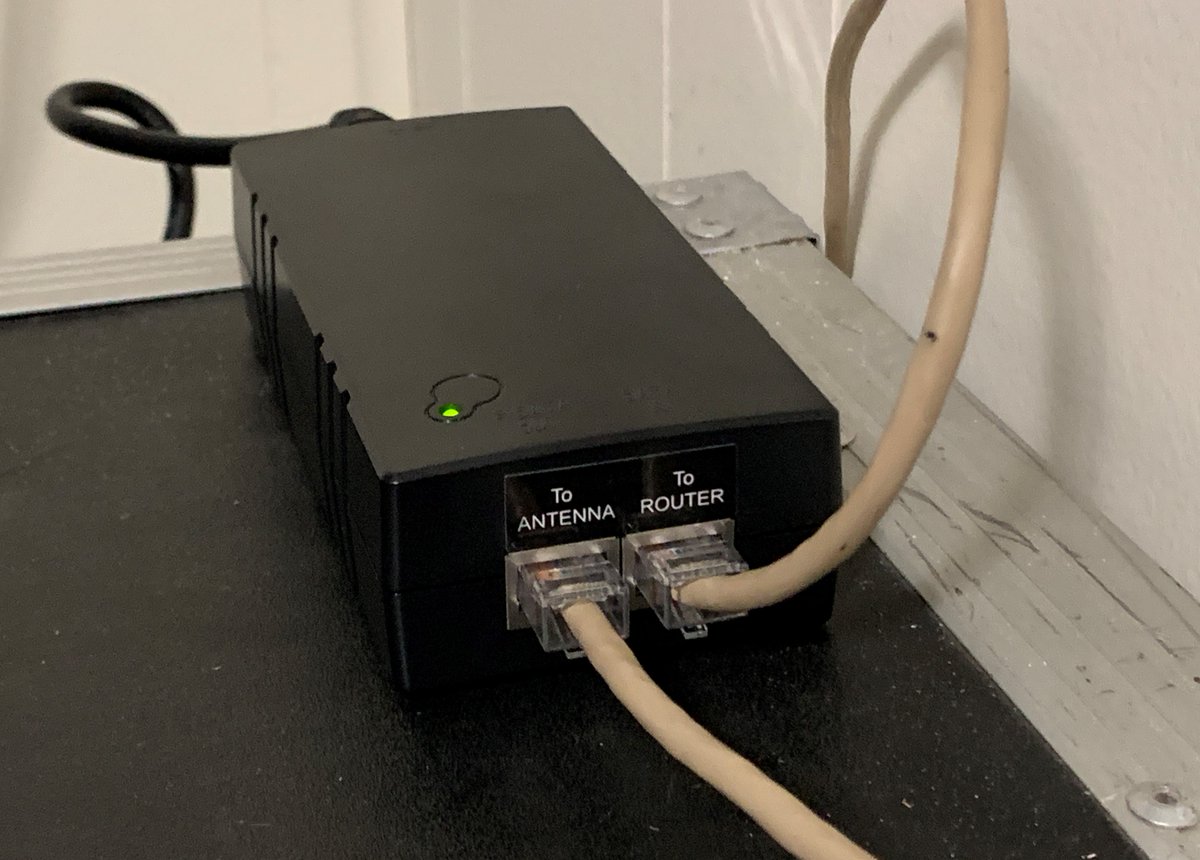
11/18 Then it will instruct you to connect the antenna to the PoE power supply. Then by running the command: "blocksat-cli sat-ip" the terminal will print the satellite connection status. 


12/18 By fine tuning the pointing angles of the antenna, you should be able to get "Lock=False" to change to "Lock=True". This is the most time consuming part of the whole exercise, so be patient & be sure you have a clear view of the sky. 1/10° can alter the signal path 3,500km 

13/18 Once you get Lock=True, tighten down the adjusting hardware carefully without losing the signal. Now check the Signal Quality, you want this as close to 100% as possible. Adjust the polarity if necessary. 


14/18 Decide if you want to use internet for the IBD or strictly satellite. I chose to run bitcoind with the data directory on the SSD & strictly satellite connection by running this command in a separate terminal window. IBD will take over 1 month without internet. 


15/18 With bitcoind started, open a third terminal window and monitor the progress with these commands: 


16/18 At this point, you just want to let the software run & synchronize the blockchain data. Remember, if you ran bitcoind with the -connect=0 flag, then this will take a month or more. Once I get mine synchronized I plan on setting it up to be a backup for my other nodes.
17/18 Using a satellite node allows you receive #Bitcoin network data without the internet. No IP address, no ISP monitoring. Broadcasting tx's back to the network from the Sat-IP alone is not possible at this time but these tools & applications are continuously evolving. 


18/18 To learn more, check out the resources mentioned above and the @Blockstream User Guide here:
blockstream.github.io/satellite/
blockstream.github.io/satellite/
Forgot to mention, jump in the Blockstream Satellite channel for support getting your Bitcoin Satellite node up & running.
t.me/blockstream_sa…
t.me/blockstream_sa…
• • •
Missing some Tweet in this thread? You can try to
force a refresh


