How game artists can explore more creative options with #AI, using their own art, in their own style.
A short (and yet powerful) example with @DanielPlaychain 🧵
#AI #gaming #game #artist #StableDiffusion
A short (and yet powerful) example with @DanielPlaychain 🧵
#AI #gaming #game #artist #StableDiffusion


.@DanielPlaychain is the Chief Creative Officer @playchain_ (Web3 gaming).
He has posted some awesome game art on his @ArtStationHQ - check it out: artstation.com/danieljohnsen
He has posted some awesome game art on his @ArtStationHQ - check it out: artstation.com/danieljohnsen


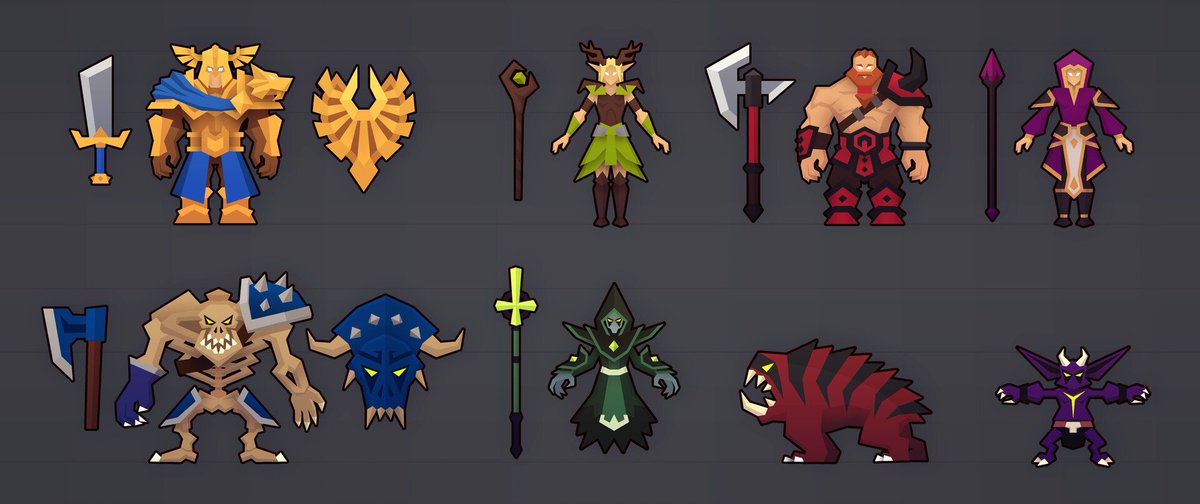
Daniel and I worked on a specific dataset of stylized characters (a style exploration, made a few years ago).
I focused on the characters below (removed the weapons, beast, and badges) and trained a finetune using @Scenario_gg on 7 images.
I focused on the characters below (removed the weapons, beast, and badges) and trained a finetune using @Scenario_gg on 7 images.
It started really simple, and I kept a basic prompt for most of the exploration.
"A character". Just this. And I ran a dozen batches.
Most of the output were OK (80%-ish) but then I removed the weird ones.
"A character". Just this. And I ran a dozen batches.
Most of the output were OK (80%-ish) but then I removed the weird ones.


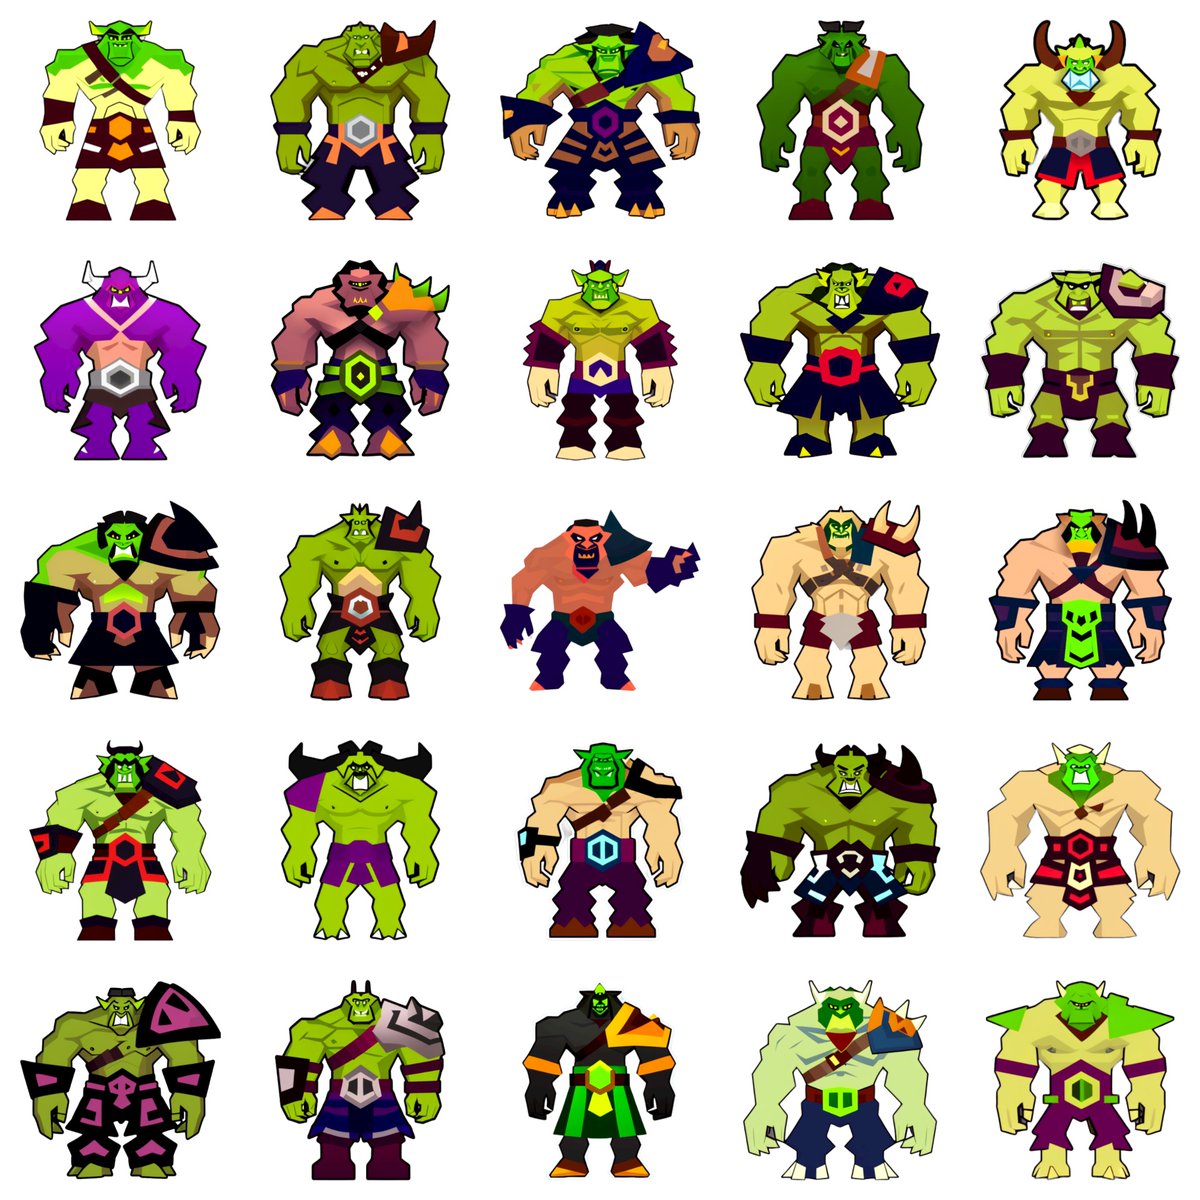
And here you go. 81 characters, AI-generated from @DanielPlaychain's art.

Quick comparison of the closest original asset, and a randomly AI-generated asset:


Some other close-up views (AI-generated too)


Then I tried making other variation by "forcing" the AI to draw a female character (elf-like)
"Character, elf, female"
"Character, elf, female"


Or an orc ("Character, orc")

Or a wizard 🧙


I generated variations around the "gremlin/little creature" using img2img

Made more orc-like creatures, also with img2img.

And even tried getting other shapes/silhouettes, still using img2img.


This was a very quick - and yet quite exciting experiment.
In that particular case, the output might not be final art (i.e. production-ready). Yet, it's a simple demonstration of how artists can use their own work to explore more creative options for their customers.
In that particular case, the output might not be final art (i.e. production-ready). Yet, it's a simple demonstration of how artists can use their own work to explore more creative options for their customers.
• • •
Missing some Tweet in this thread? You can try to
force a refresh