Tutorial thread Blender 3-D Maps🏔️🗺️🧵: In this tutorial I'm going to show how you can also create 3-D Maps like the one shown below. Using #QGIS and #Blender....#esri users you can follow along too because it can be done in your software too #gischat #thread #geospatial 


So I would divide this tutorial into four parts
1. Data Gathering(with @OpenTopography ) or DIVA
GIS
2. QGIS(Black map and Color Map)
3. Rendering in Blender(No geometry nodes)
4. QGIS or other softwares (final touches)
1. Data Gathering(with @OpenTopography ) or DIVA
GIS
2. QGIS(Black map and Color Map)
3. Rendering in Blender(No geometry nodes)
4. QGIS or other softwares (final touches)
1. In data gathering I normally use @OpenTopography to download the DEM required for blending/rendering .....the 90m and 30m and 10m are key consideration when downloading dem for instance in small area 30m works well but in large areas 90m works best....
....If you use 90m on small area the result may not look pleasing to the eyes so please consider this when choosing DEM on how to download you can follow this tutorial of @OpenTopography in YouTube and also you can watch other videos to learn more
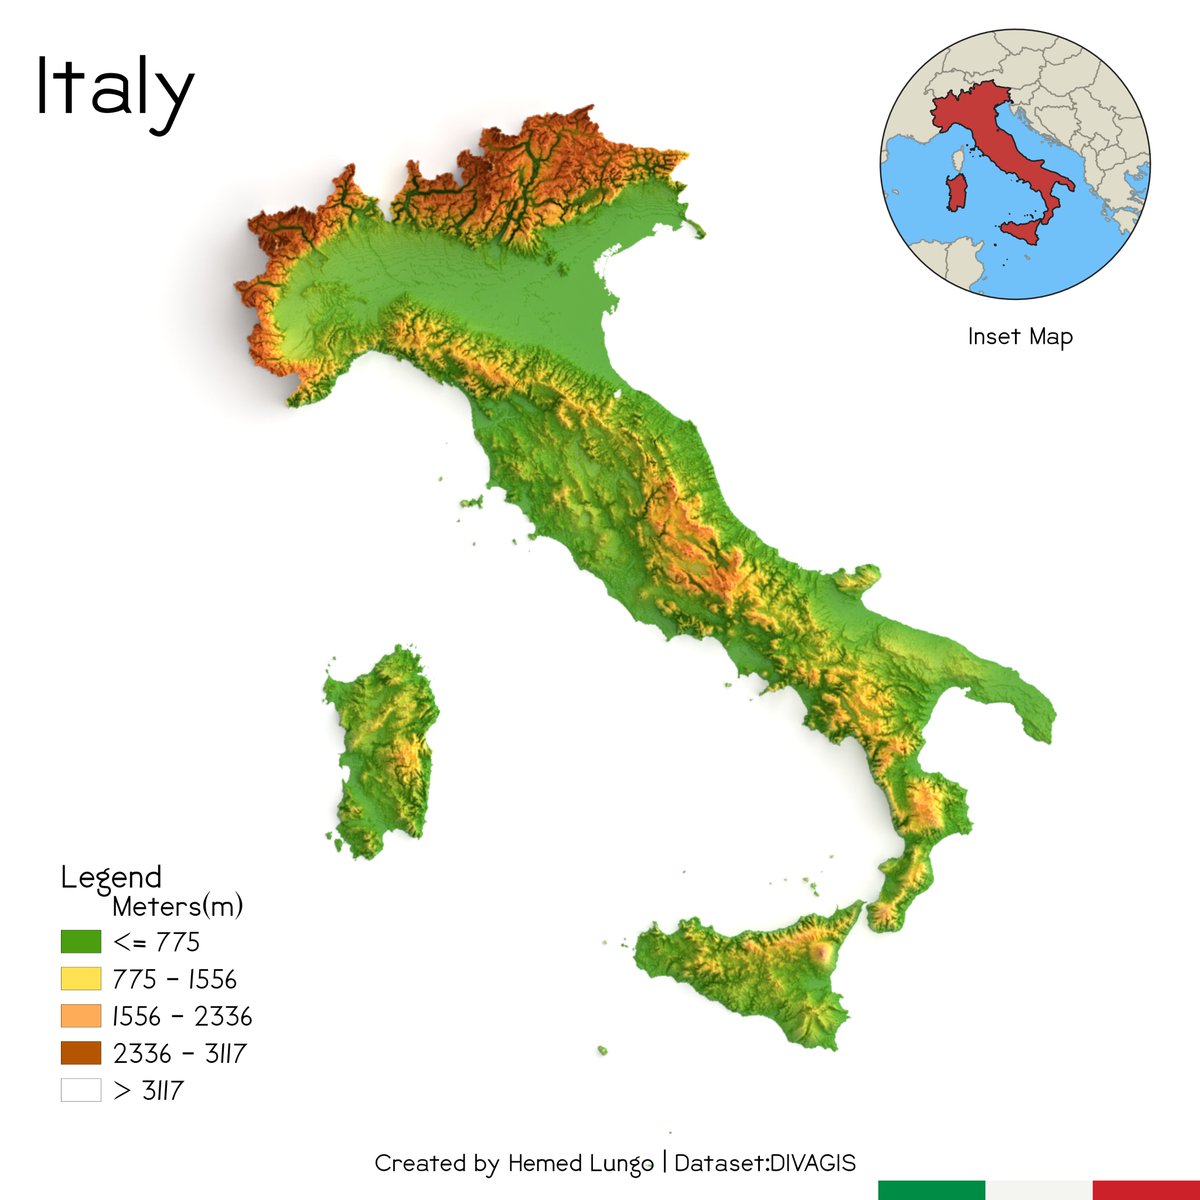
Another alternative is for Country DEM in which I usually prefer DIVA GIS the You can download using this site
diva-gis.org/gdata
diva-gis.org/gdata
So Step two is QGIS black map and color map preparation:Suppose you already downloaded your DEM you should place it in QGIS and prepare the respective two......I'm going to use #Finland as an example

The Black Map is simply prepared by changing background into Black by going to project then properties then General.....Background change(white to Black) and place it into Print layout .....changing print layout page into (210 x 210) page and export in 600dpi PNG as shown below


Then You should do the same with color one in which you change the Background into white...And the DEM into Colorize one The scale should be the same as black one and same exportation 600dpi PNG (The page height and width would be 4960px this info would be useful down the line)


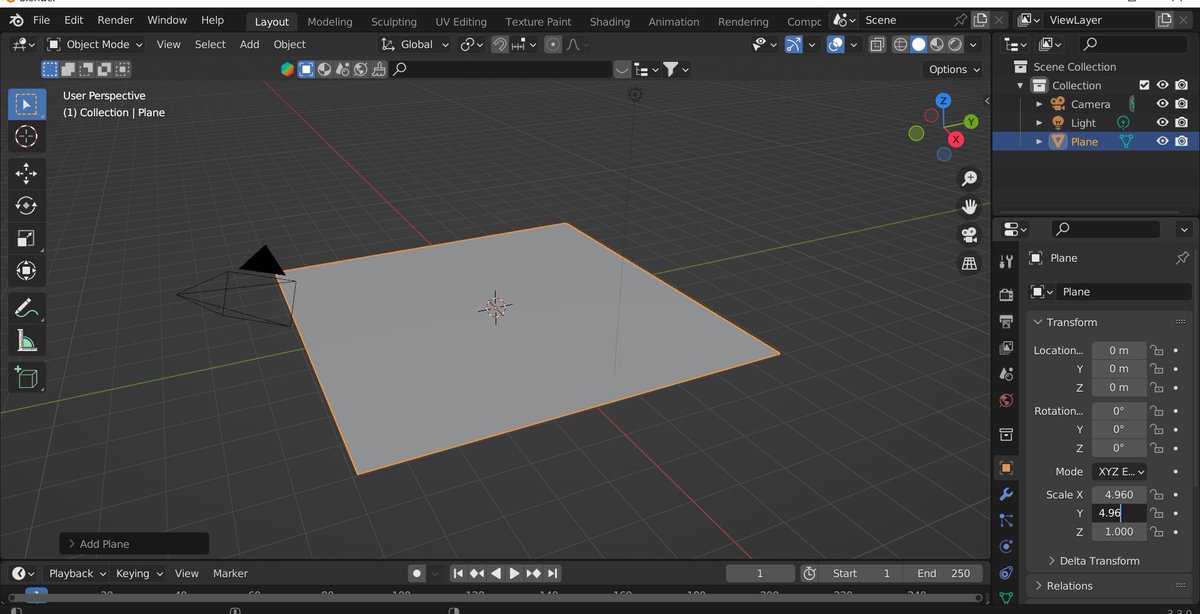
Okay now we go to step 3 which is Rendering in #Blender.....when you open blender it would look like this

In which there's a cube, camera and Light source........so the first thing you're going to remove the cube by deleting it then adding a plane as shown below.


Then you resize it as the page height and width are 4960px in blender you write it in scale x=4.96 and y=4.96 to match
After that you add The displacement in Modifier properties

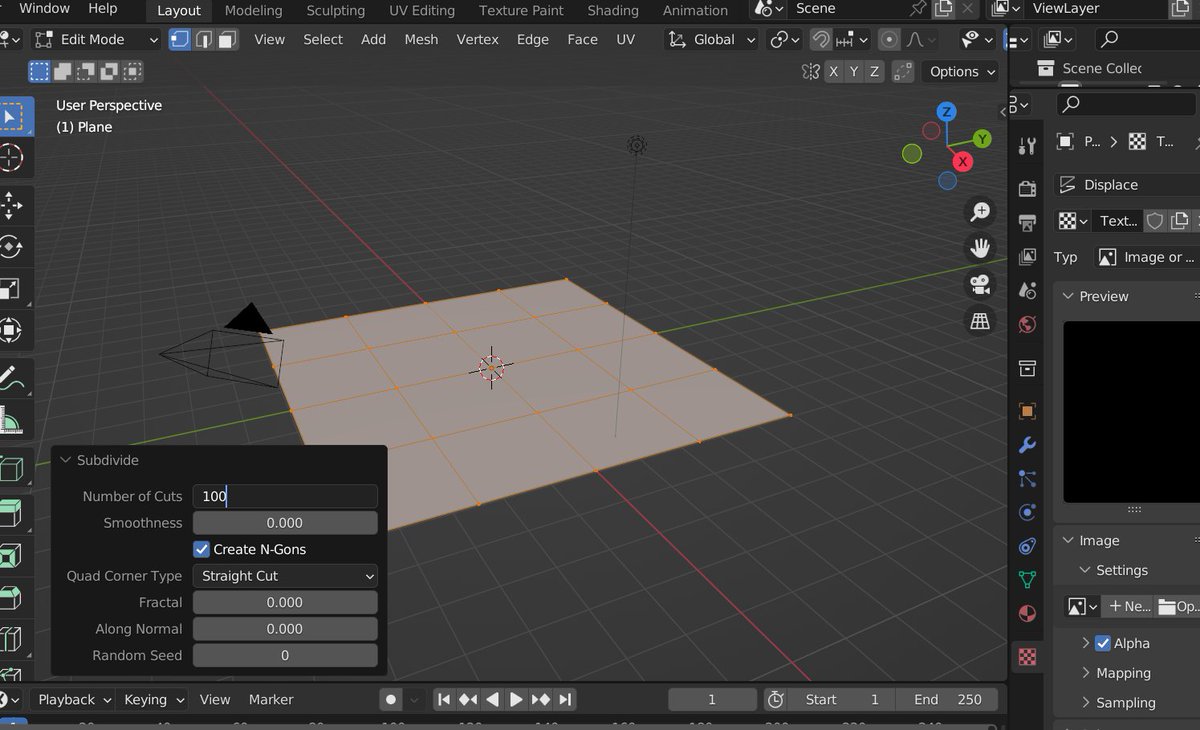
After That you subdivide your plane by changing object mode to edit mode.....right click then subdivide it into 100


Return into Object Mode .......Then You add your black image on texture properties


Then Return to The Modifier properties to add Subdivision Surface- place level and render into 4 and 4 rather than 1 and 2 for good impression


Go to material properties to add color image through image texture


After That you do go to render properties chnge the filmic into standard


And then in same render properties change render engine from Evee to Cycles

After that you shift to Light where you set it as sun with strength 5 then 90 degree angle as shown below

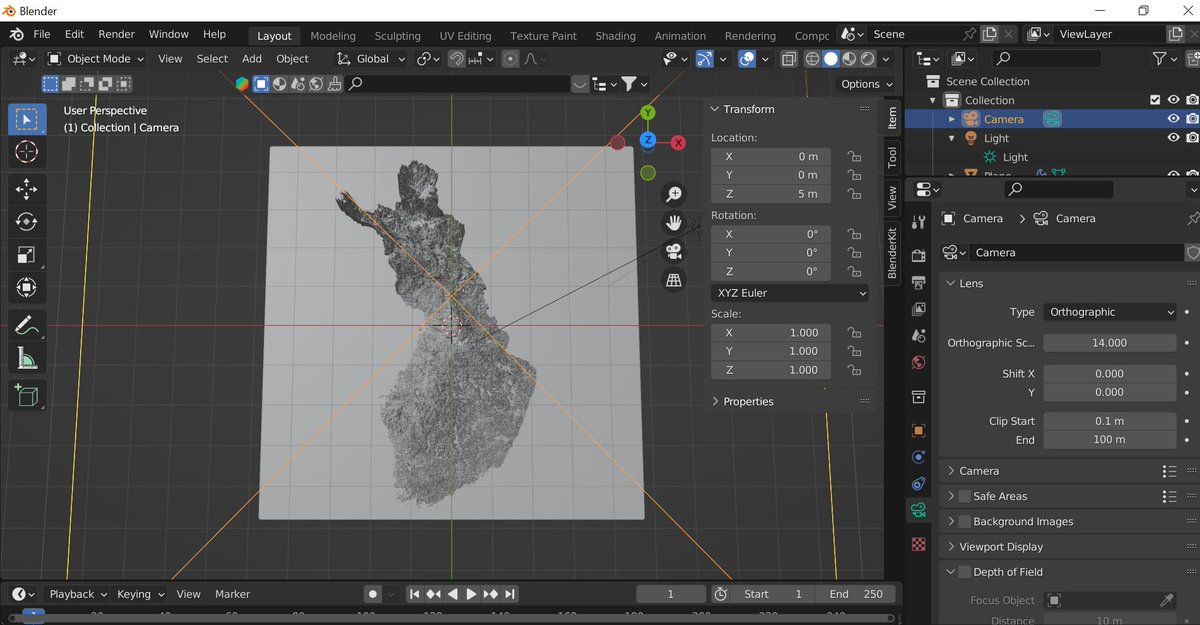
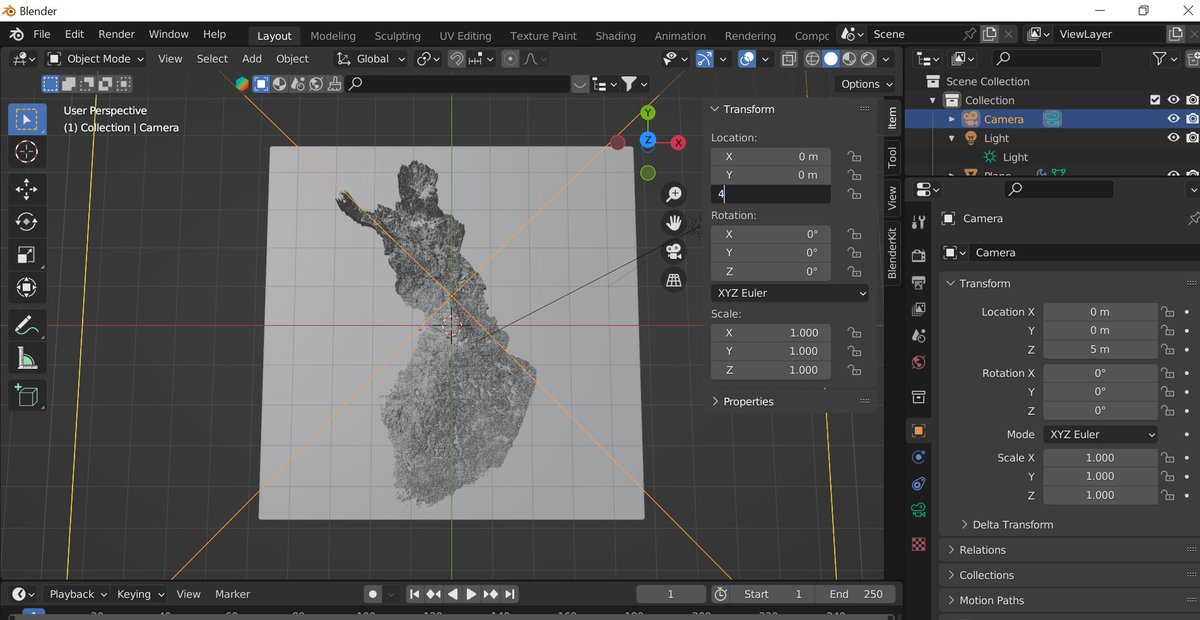
After that you set the Camera in which you change it from perspective to orthographic and down you put orthographic scale into 14 and then you change scale x=0 y=0 and z=4 in location and x=0 degrees y=0 degrees and z=0 degrees to get that top view as shown below
For View side angle you press control-alt-0
Then After that you Press render then render image to render your DEM

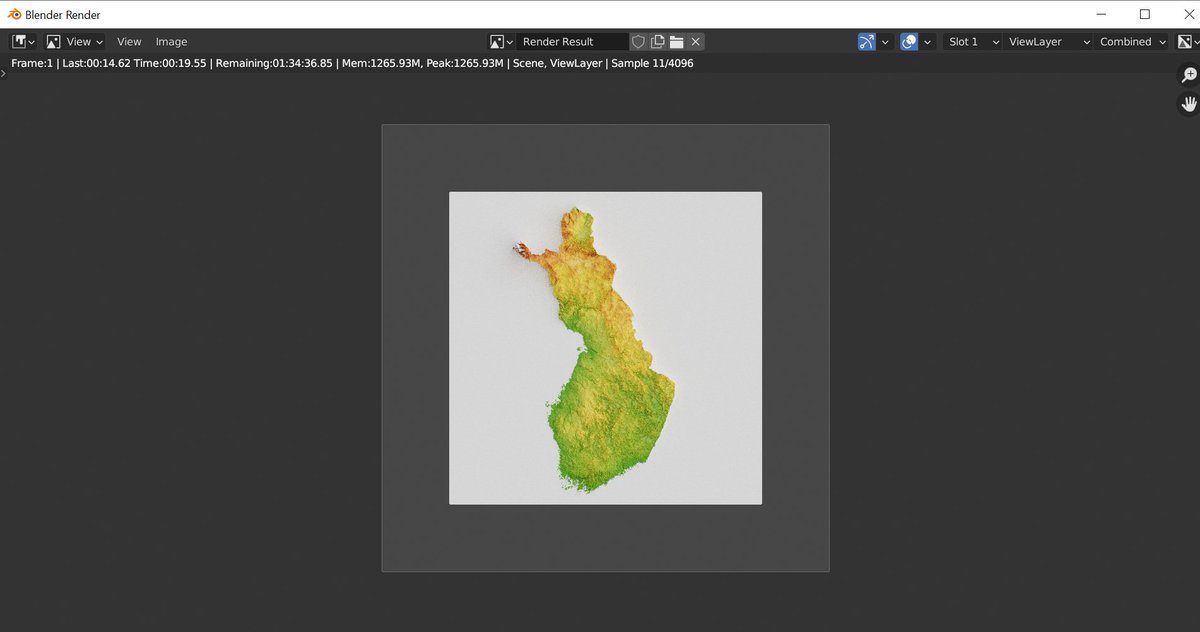
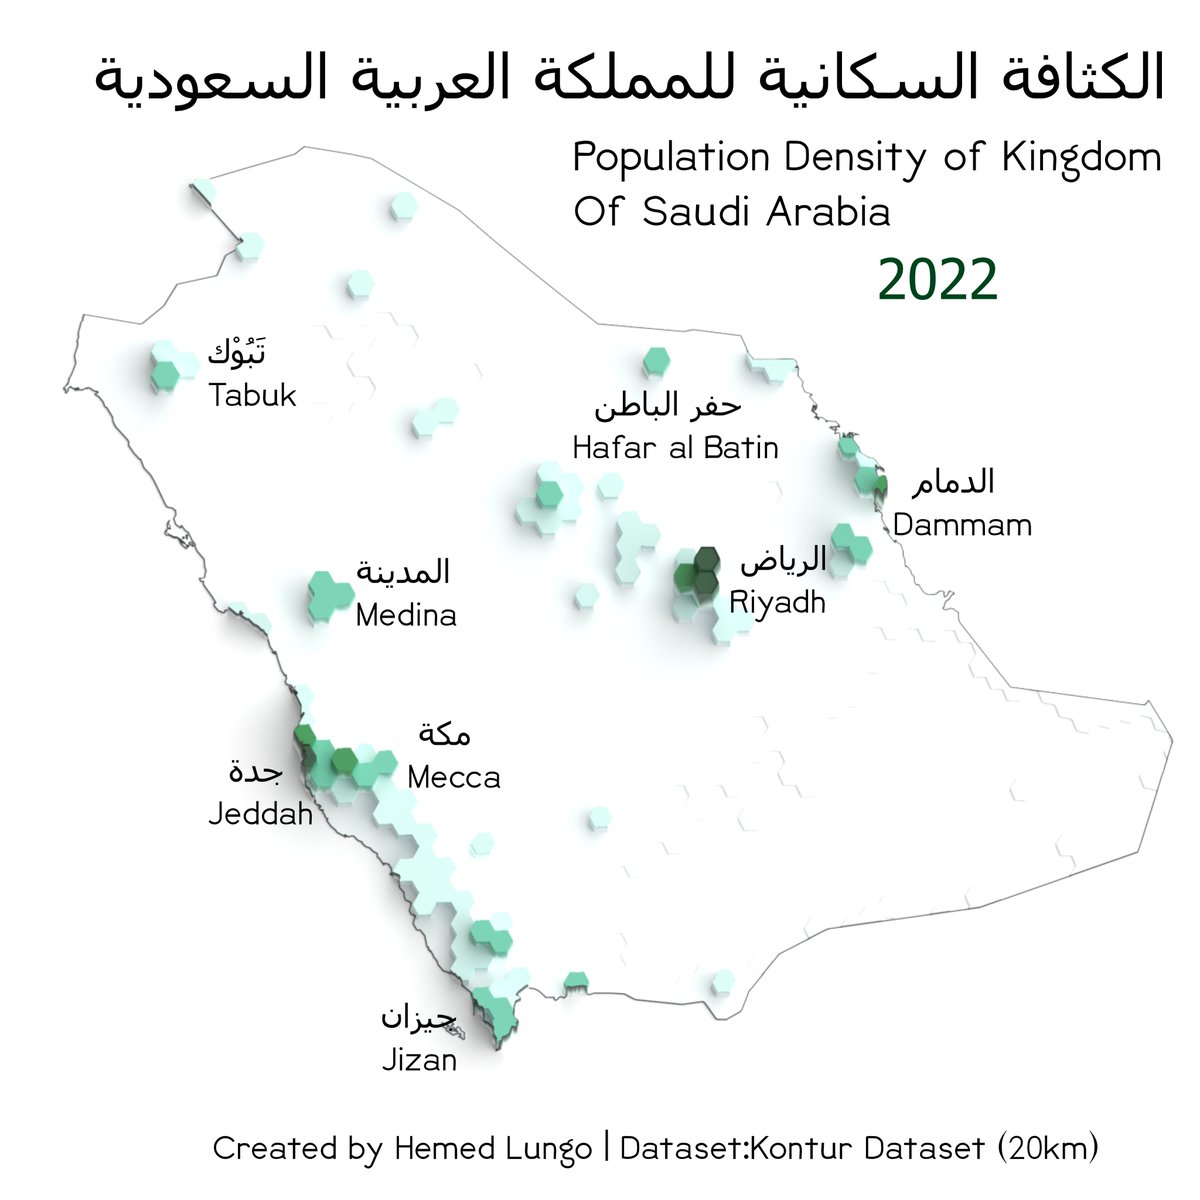
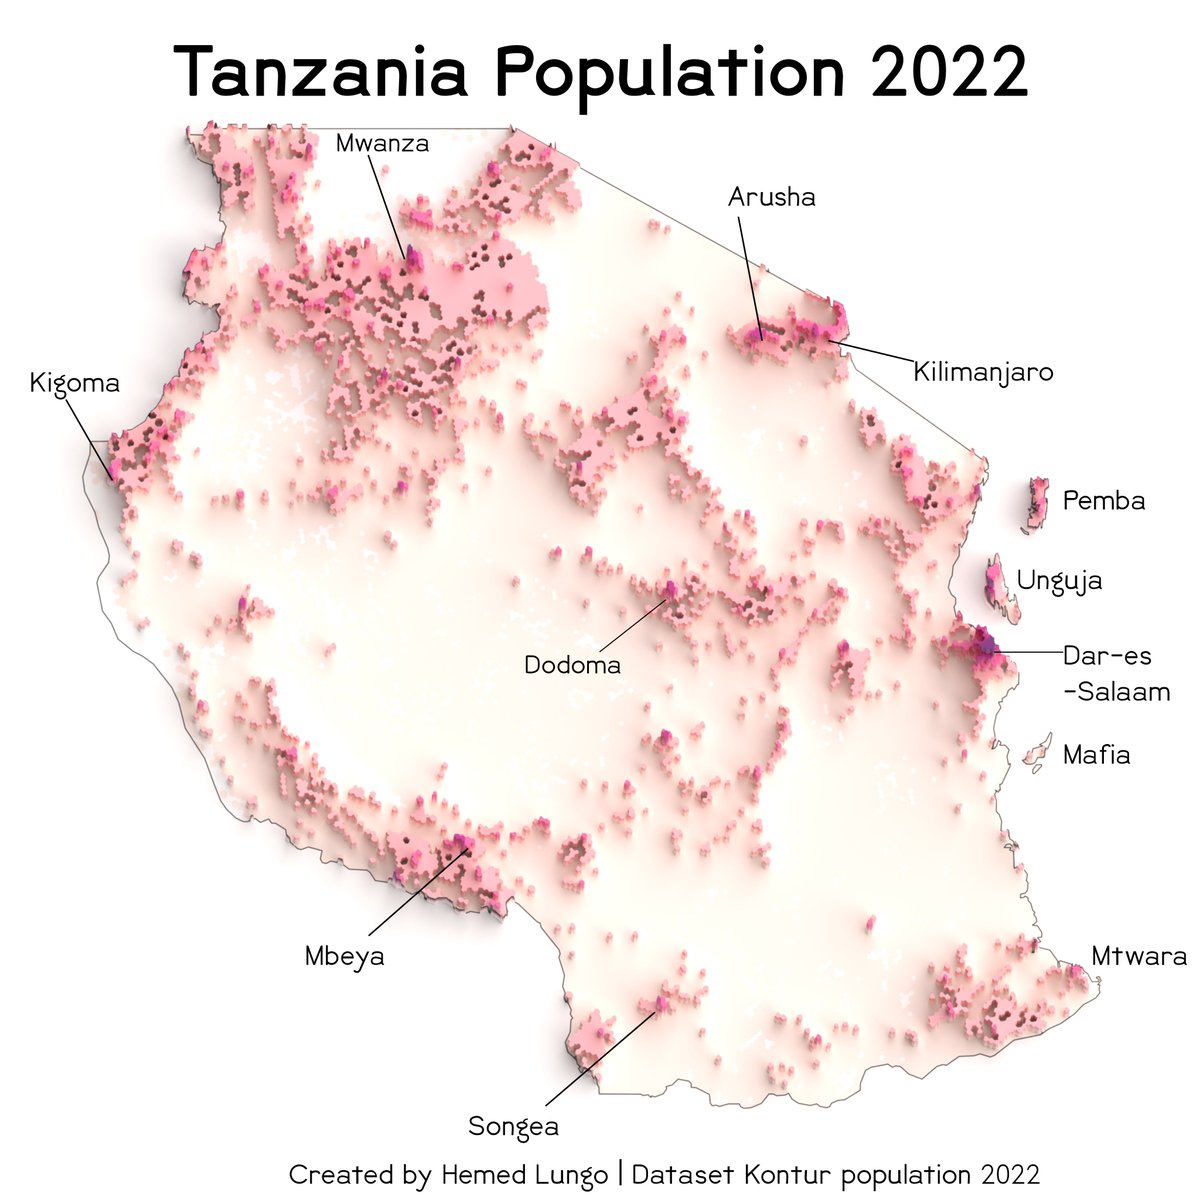
When it's done you crop your image then you do your final touches on Qgis or Arcmap any other software illustrator ,Paint3d,Inkscape figma. as 4th step
End of thread thank you for listening if you find this useful please keep me in your thoughts......I hope it may help you guys to achieve the same 3-D Maps (And yes I like Peanuts too:) )
• • •
Missing some Tweet in this thread? You can try to
force a refresh