,
33 tweets,
13 min read
Read on Twitter
One project on the workbench this week is a finished Dark Magician Girl Kit for a client. We sell them as both kits and finished staffs, so I’m going to document the process from cast-resin kit to finished in this thread! Should happen over a few days because of painting, etc. 


Here’s a dry fit on the cast pieces — see how they don’t quite fit together nicely? That’s because the resin needs to be sanded flush. There’s also mould seams to take care of. (Also lol at these different resin dye lots.)

First I put sandpaper (150 grit) down on a flat surface and rub the parts in circles to flatten the bottom. Resin is soft and sands easily so doing this to all the parts takes about 10 minutes.


I typically go over the newly flat edges to round them off again. Because the pieces sit flush to each other, some pieces don’t need this because they’ll be butted up against anyway.

I also go over the seams on the head and ball with 150 to bring them down.

I wash them all to get rid of sanding dust and then do another dry/test fit. Fits pretty tightly now, so I’ll go back with 320 grit to polish off the seams on the head and ball.


This part is optional, but the bevel that starts the staff’s end is supposed to blend seamlessly into the handle. Let’s glue that one on so we can bodyshop it in. I mark where I want it to sit, scratch up the PVC with a knife so the glue can bite, apply glue.


I slide the finial on from ABOVE the line so that the glue doesn’t end up turtlenecking around the handle. This isn’t necessarily a problem if you plan to bodyshop it anyway, but it’s a force of habit.
Normally I use bondo or acryl-green for this part, but today I’m using superglue mixed with baby powder because it’s harder and less prone to crack on an end-use prop. Looks messy but we’ll be sanding it out in layers. This is the longest stage.


Sanded out. Time for another layer!


Superbabypowder is also nice because you can control the consistency and it dries stupid fast. The second round is a lot thinner as I just want to smooth, not fill the gap.

I’m only loosely timing, but not counting cure times I’m at about 20 minutes of active work.
Another few minutes of sanding... one more layer to take care of the top bits, I think.

Layer three sanded and then primed — we’re good! Maybe a few nicks to fill but otherwise ready to go.


Priming everything! It’s hard to see any blemishes when the resin is all sanded and whatnot, so now I can see a couple air bubbles I need to patch and whatnot. (It’s also chilly out and my primer does not like that!) I’m going to leave it for an hour to set fully, then come back.


(Ok, I started working on other stuff. More painting tomorrow, but for now: black base coats on the head and bottom. These will be wetsanded before they get gold tomorrow. Base color is important: light grey on the finials so pink and blue cover well, black under the gold.)


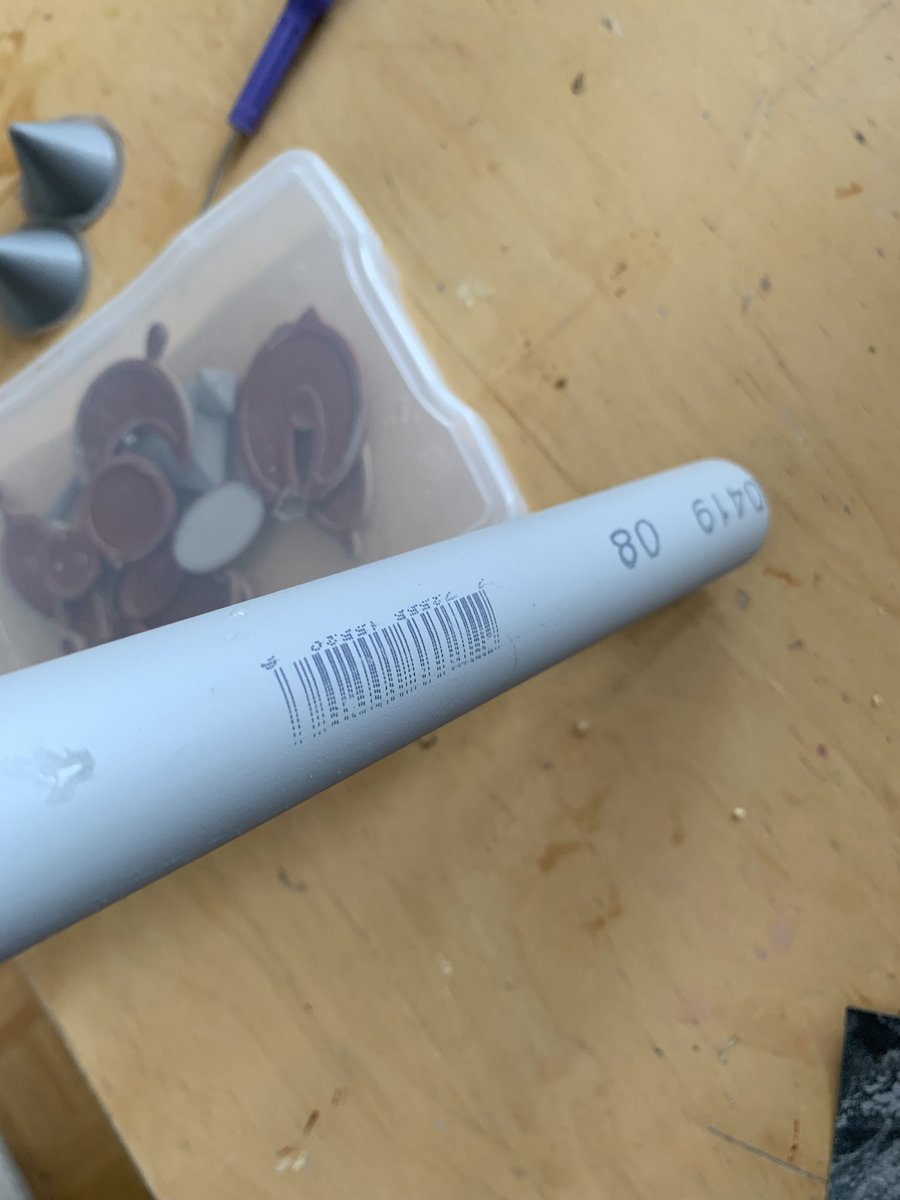
Forgot this bit — PVC pipe needs to be sanded before being painted as many paints don’t adhere well to that glossy plastic. The other reason is that primer won’t cover up the lettering on it well, so let’s sand that puppy away. Just takes a minute.

Pink!! My good friend Shimmer Metallic in Candy Razz. It looks ludicrously bright here but it harmonizes well with the blue. I put them all on a spare bit of PVC so I can rotate them and spray everything I need.


Wet sanded head and ball. I went harder than I needed to but I also noticed a spot or two I missed so just as well. I’ll be spraying this black again and then gold.

Blue! This colour is an automotive by Duplicolor called Bahama Blue... I love it. (Though in overcast light it looks darker than usual.)

Blue!!!

Yikes the lighting is so drab today! I suppose I should just be grateful it’s not raining. Here’s gold — just thinly applied layers of spray paint. Sometimes I do it in Rub n Buff but today it’s paint because RNB hates glitter topcoats. Just Krylon Colormaster in Gold.


Clearcoat is on the gold; got the last layer on just before the sky opened up so that's it for me today. As it stands right now though, I only have to:
a) assemble all finials on handle
b) glitter-clearcoat handle
c) attach head and ball
a) assemble all finials on handle
b) glitter-clearcoat handle
c) attach head and ball
I was hoping to finish today so I could ship late tomorrow but it seems I'll have to wait until tomorrow to clear coat. Monday it is! She's not technically due for a week but I always like to leave myself at least a few days buffer even on tight deadlines in case delays happen.
All in all, we're probably at like an hour or two of active work not including cure times. In that time, I've also done a couple 3D models, packed a bunch of orders, answered emails, done invoices, body shopped other projects, moulded some stuff, etc. Very much a quick kit!
If you'd like to do your own DMG staff from our kit, you can get the kit here:
etsy.com/listing/657879…
etsy.com/listing/657879…
Aaaand if you'd like to have me do all of that, you can order finished ones here:
etsy.com/listing/657880…
etsy.com/listing/657880…
Final assembly! These finials are all attached now.

I like to do clear coat on the handle before attaching the ends because then I have a surface to rest the handle on to clearcoat without having to flip it/risk seams.
Here’s a look at the micro glitter; it’s very subtle on the gold but I love the little sheen it gives it.
Glitter going down on the handle.


Boom! Just have to wait for this to cure fully, then I can attach the heads and get her in the mail 👏👏👏

And with the head and ball glued on, she’s done!!! ✨✨✨✨ Thank you all for following along.