
Just got the capacitor samples from @Applied_Ion. First problem: they're HUGE. Like almost half an inch across.
Doing a sagittal section of this in my normal embedding molds is going to be impossible, and there's no way it will fit on the microscope stage either.
Doing a sagittal section of this in my normal embedding molds is going to be impossible, and there's no way it will fit on the microscope stage either.

@Applied_Ion First attempt at gluing the undamaged cap to a random scrap PCB with Crystalbond 509 failed with a cracked top. Can't let that happen to the real specimen!

@Applied_Ion Crystalbond all over the top didn't help either. The heat of sawing just turned it into a goopy mess of capacitor dust and adhesive.
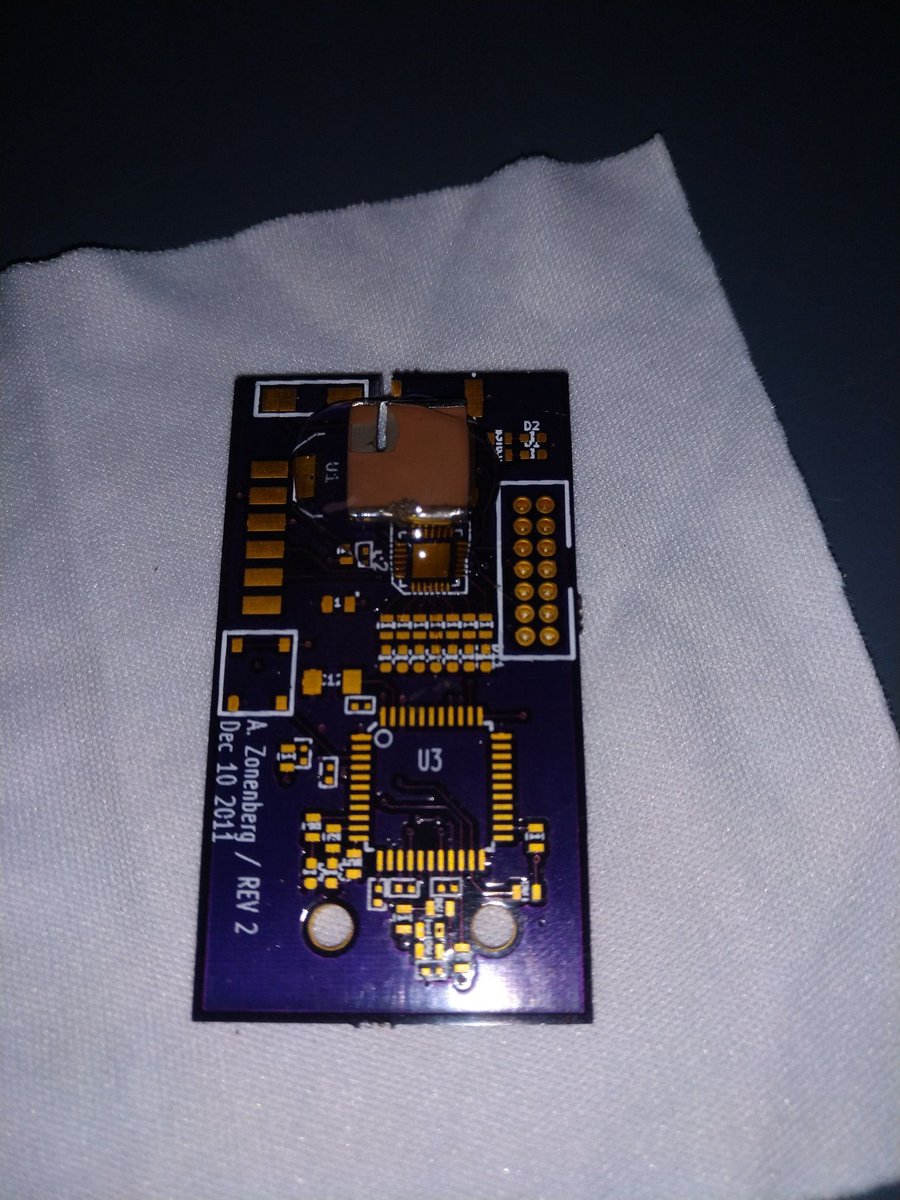
@Applied_Ion I may have to embed it in epoxy in a temporary mold along the frontal plane, then saw the entire potted cap, then re-embed along the plane i'm polishing it on.
I was really hoping to use Crystalbond because it's easily removable, but doesn't look like that will work.
I was really hoping to use Crystalbond because it's easily removable, but doesn't look like that will work.
@Applied_Ion Cast the entire chip into a 26mm embedding mold, then filled with AA-Bond F110 low-viscosity transparent epoxy.
First step: vacuum degas to remove big bubbles.
First step: vacuum degas to remove big bubbles.
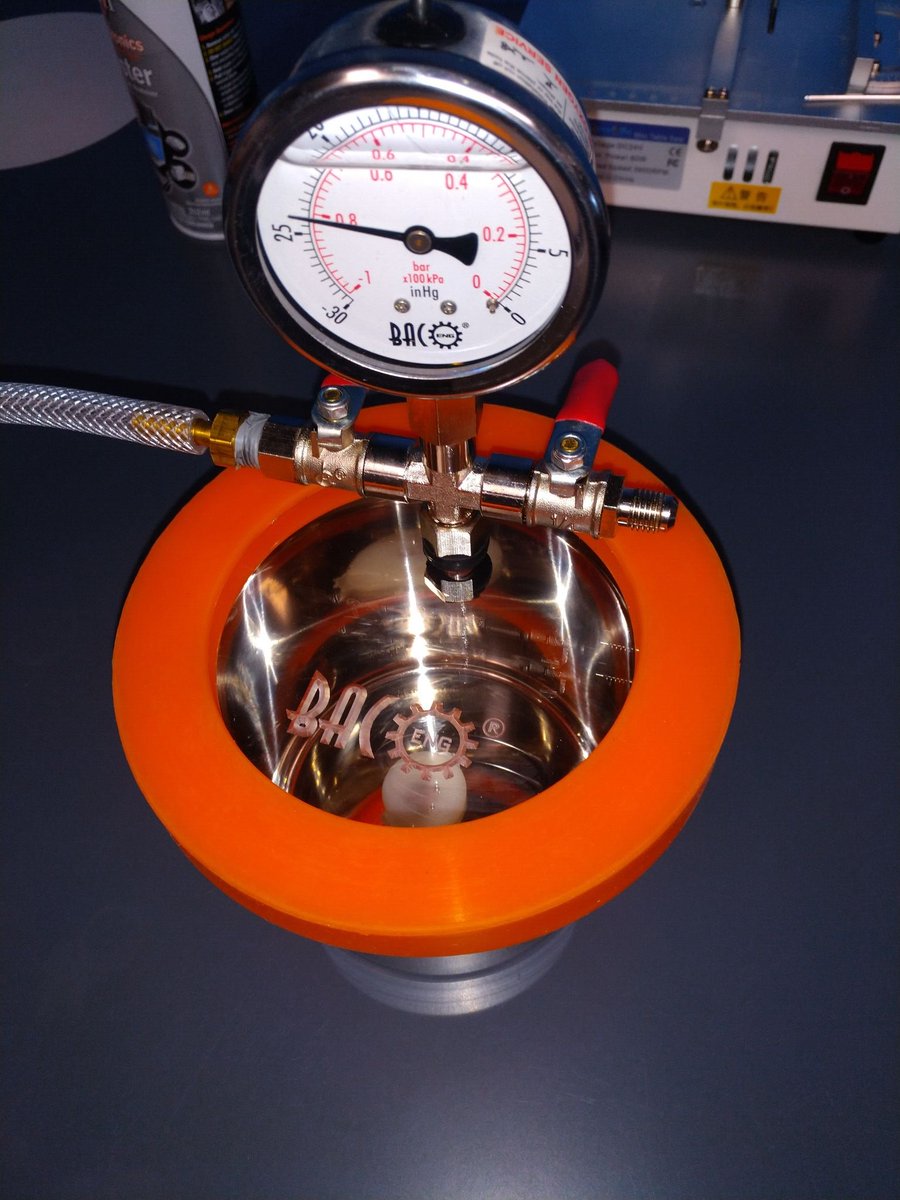
@Applied_Ion Next: put it on the hot plate and cure at 65C for 2 hours.
If only this was as simple as it sounded...
If only this was as simple as it sounded...

@Applied_Ion F110 gives beautifully transparent embeds and cures reasonably fast when heated, while still having a fairly long pot life at room temperature.
The downside is, the cure cycle is highly exothermic and it loves to go into thermal runaway when heat-cured in larger quantities.
The downside is, the cure cycle is highly exothermic and it loves to go into thermal runaway when heat-cured in larger quantities.
@Applied_Ion It requires careful attention and continuous monitoring during the early stages of the cure. Around 50C it begins to aggressively self-heat.
When your sample is hotter than the hot plate, that's a red flag! Heat needs to be significantly reduced until the exothermic stage ends.
When your sample is hotter than the hot plate, that's a red flag! Heat needs to be significantly reduced until the exothermic stage ends.
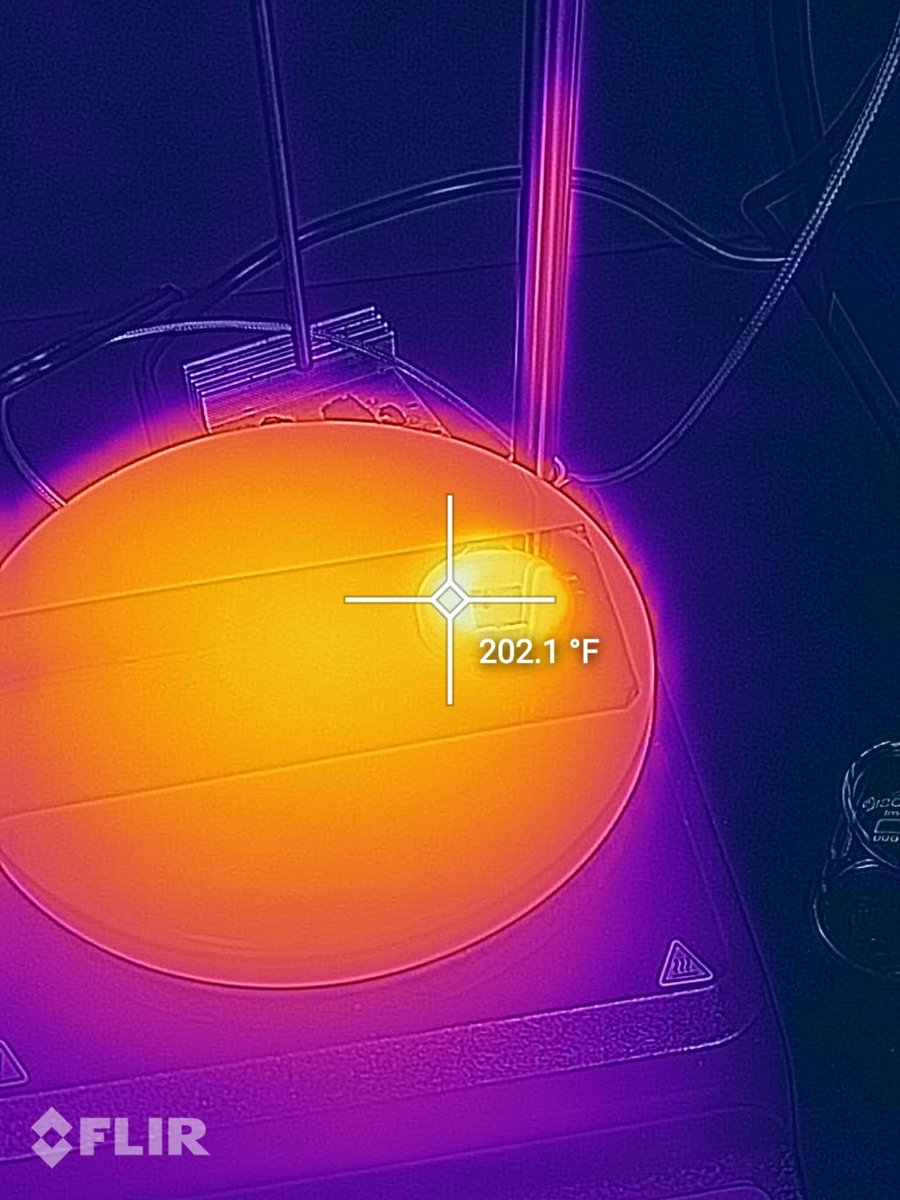
@Applied_Ion Sorry for "freedom units", forgot to change back to C after using the FLIR camera for cooking.
The epoxy self-heated to just shy of 100C. Backing the hot plate off from 65 to 50C during the exothermic stage prevented thermal runaway.
The epoxy self-heated to just shy of 100C. Backing the hot plate off from 65 to 50C during the exothermic stage prevented thermal runaway.
@Applied_Ion Looks like the epoxy is fully cured but it's almost 0200 here. Going to let it sit overnight then resume after work tomorrow.
@Applied_Ion I should be able to get three cross sections out of this test sample, which should be enough to dial in the process for the real thing.
@Applied_Ion Had time over lunch to cut a section out of the epoxy embedded test sample. Looks pretty good and didn't seem to crack.
Now just need to re-embed 90 degrees rotated and I can start polishing.
Now just need to re-embed 90 degrees rotated and I can start polishing.
@Applied_Ion Upon closer inspection, there was a decent amount of cracking during the cut.
Looks like my current sectioning saw is just too aggressive for large brittle samples like giant MLCCs. I'm going to have to just sand it down.
Looks like my current sectioning saw is just too aggressive for large brittle samples like giant MLCCs. I'm going to have to just sand it down.