
,
12 tweets,
8 min read
Read on Twitter
After having fun with @LN_Pizza, we played around with @lightning node. First of all, thanks to @CasaHODL for donating a node to @MITBitcoinClub. We will be *raffling* the second node to Expo attendees. Get excited! #MITBitcoinExpo mitbitcoinexpo.org
Here is a step by step guide for whoever wins the node!
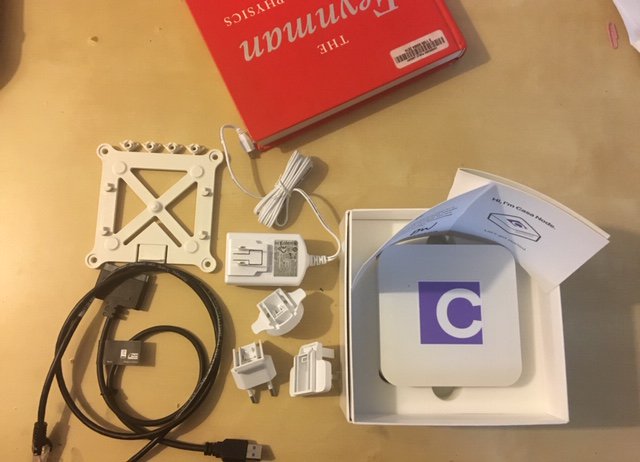
Open the beautiful white box and it comes with an AC power supply & 3 international adapters, an ethernet cable, a cable for the hard drive. (Not @ProfFeynman book unfortunately, apologies for the bad photo)
Open the beautiful white box and it comes with an AC power supply & 3 international adapters, an ethernet cable, a cable for the hard drive. (Not @ProfFeynman book unfortunately, apologies for the bad photo)

The next few steps are well described in the Casa instruction guide
1. Plug the hard drive adapter cable into your Casa node
2. Plug the ethernet cable into your Casa node and Wi-Fi router
3. Plug the power cable
4. Wait for a few minutes impatiently
1. Plug the hard drive adapter cable into your Casa node
2. Plug the ethernet cable into your Casa node and Wi-Fi router
3. Plug the power cable
4. Wait for a few minutes impatiently
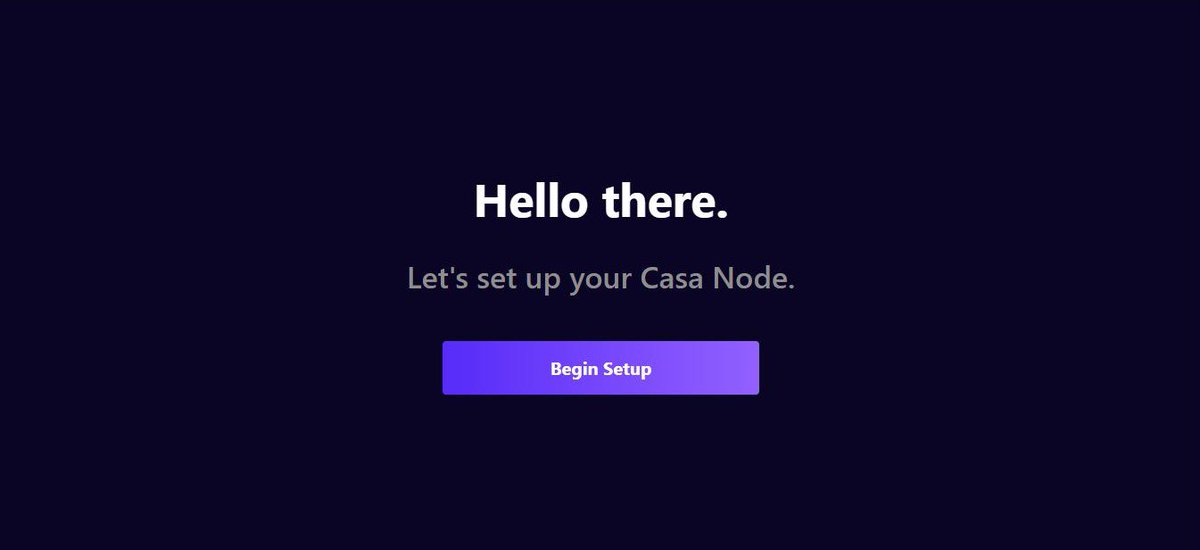
Now to the fun part! Go to http://casa-node.local in your desktop browser and you should find your node. If that doesn't work, try keys.casa/node-help/#hel…
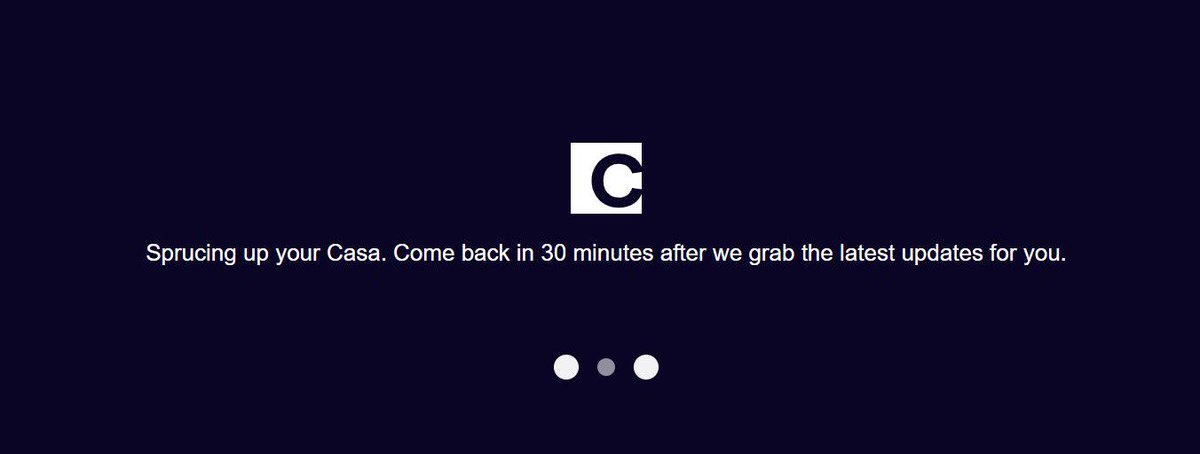
It takes about 30 minutes for the set up to begin! Go for a run and once you are back begin setup :)
It takes about 30 minutes for the set up to begin! Go for a run and once you are back begin setup :)
*Extremely cautious* in this next step! It generates the 24 word seed phrase. Ensure you secure it - keys.casa/node-help/#hel…. Lose this and you lose it all! Then you move on to generating a 12+ character password. Remember there is no 'Forget password' button!

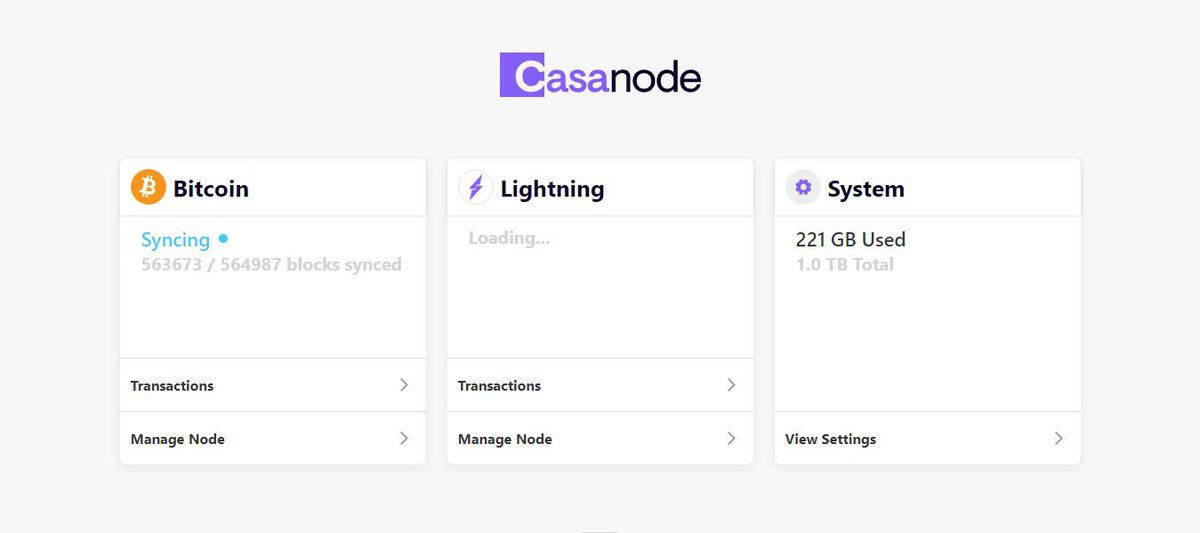
Next up is Bitcoin node sync - it took less than 12 hours as it comes 99% pre-synced. Lightning was another few hours. Also, yes, the node runs on http - keys.casa/node-help/#hel…
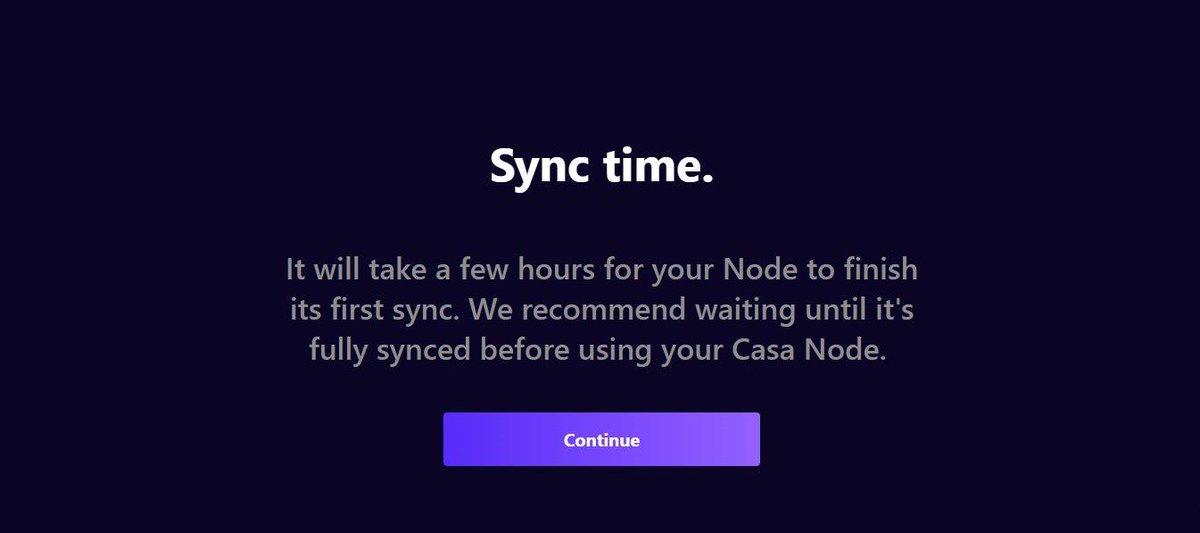


Pic 1 - What it looks like when the node is catching up to the latest block.
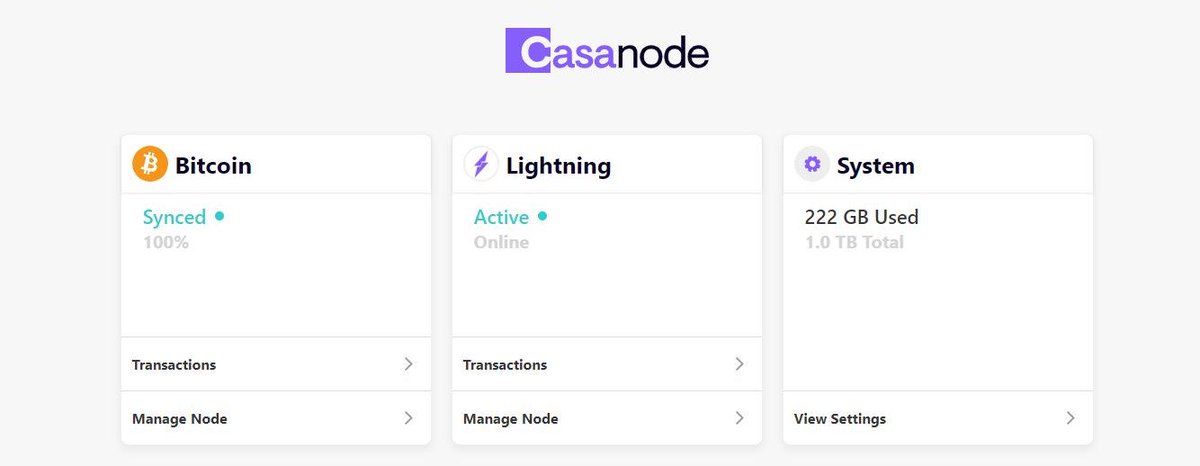
Pic 2 - Once you are all synced up and set to start sending lightning transactions (oh no, wait! Few more steps)
The setup for a node could not be any easier. Kudos to @CasaHODL for making it simple.
Pic 2 - Once you are all synced up and set to start sending lightning transactions (oh no, wait! Few more steps)
The setup for a node could not be any easier. Kudos to @CasaHODL for making it simple.
1. Send BTC to your wallet (address -> BTC transactions -> deposit)
2. Create lightning channels (Need pub key, IP address, port)
3. Create a lightning invoice to receive payment or get an invoice to send payment
Note - min channel size is 0.01 BTC and max is 0.16 BTC
2. Create lightning channels (Need pub key, IP address, port)
3. Create a lightning invoice to receive payment or get an invoice to send payment
Note - min channel size is 0.01 BTC and max is 0.16 BTC
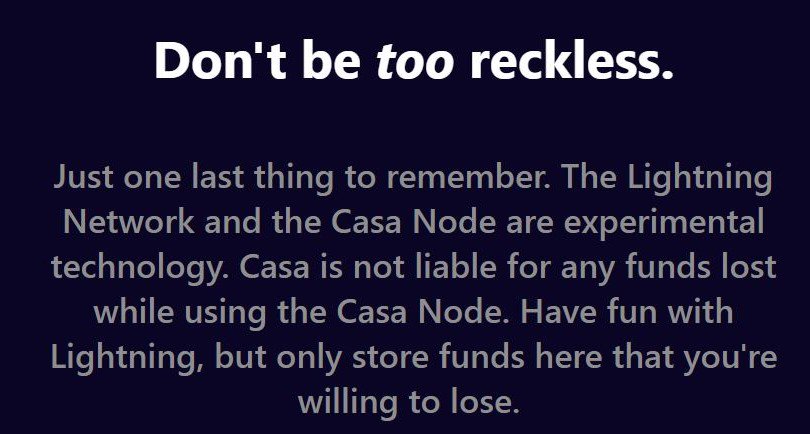
Don't be too reckless! Reiterating "The Lightning Network and Casa Node are experimental! Please only put funds on your Node and on the Lightning Network that you’re willing to lose". There might be errors you encounter along the way - keys.casa/node-help/ or help@team.casa
More to come! Find and connect with us here in the meanwhile - 1ml.com/node/024d9391c…
Thanks to @huvegi and @metalicjames for working through this!
Thanks to @huvegi and @metalicjames for working through this!
@threadreaderapp unroll


