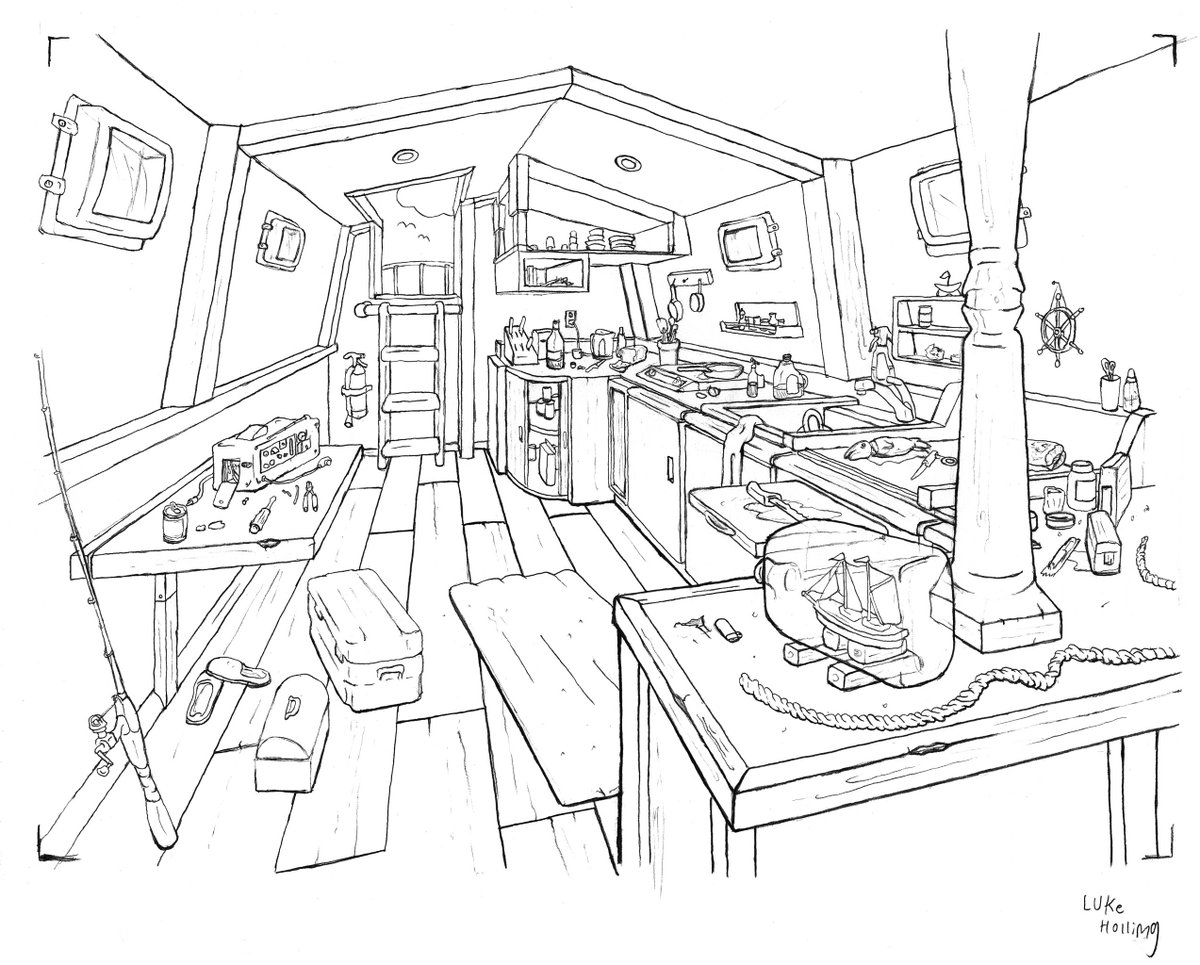
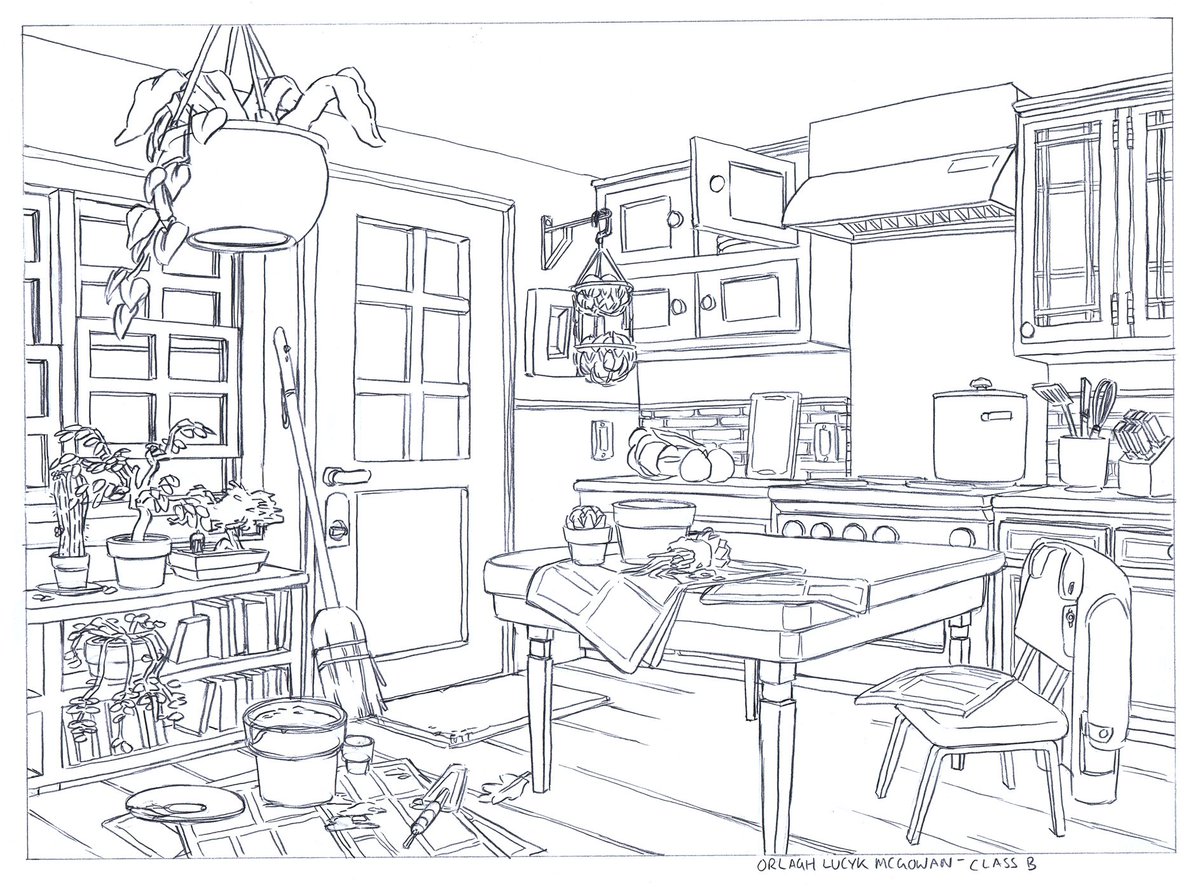
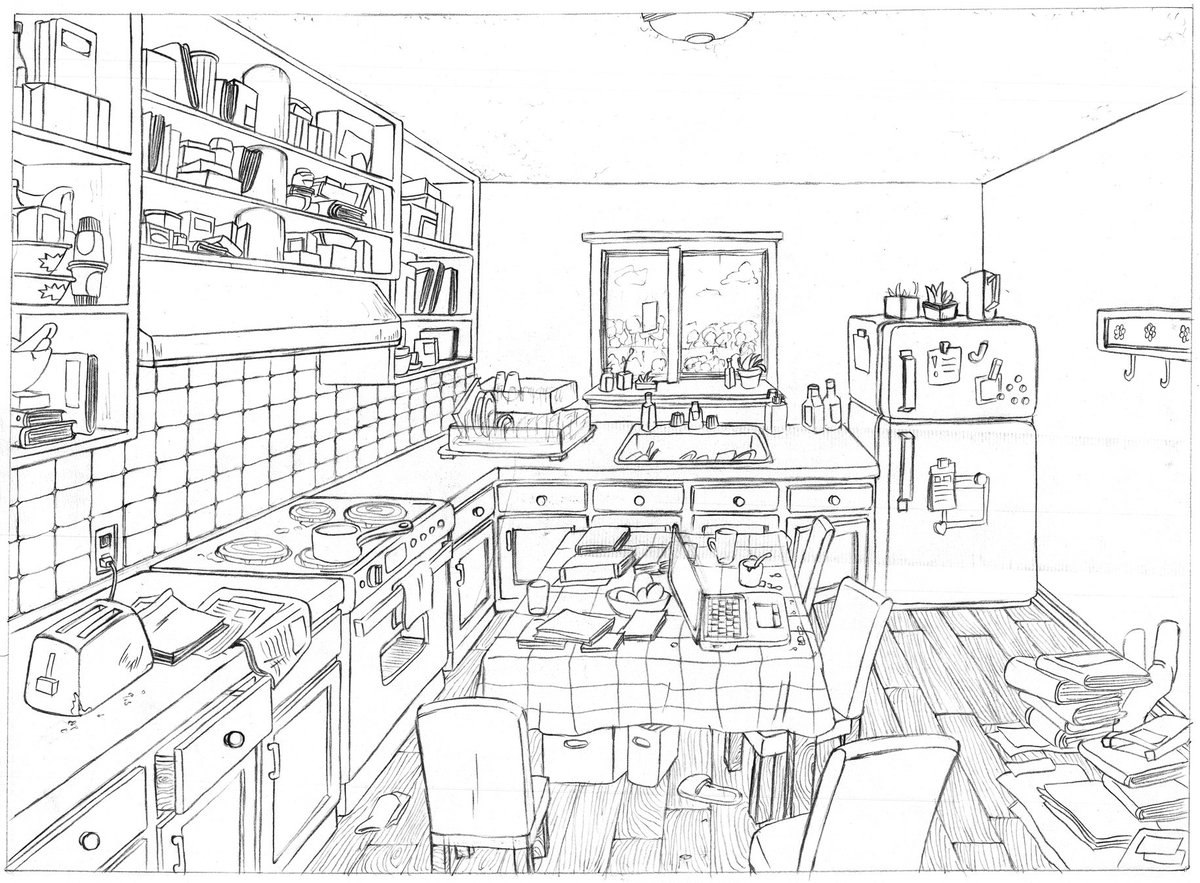
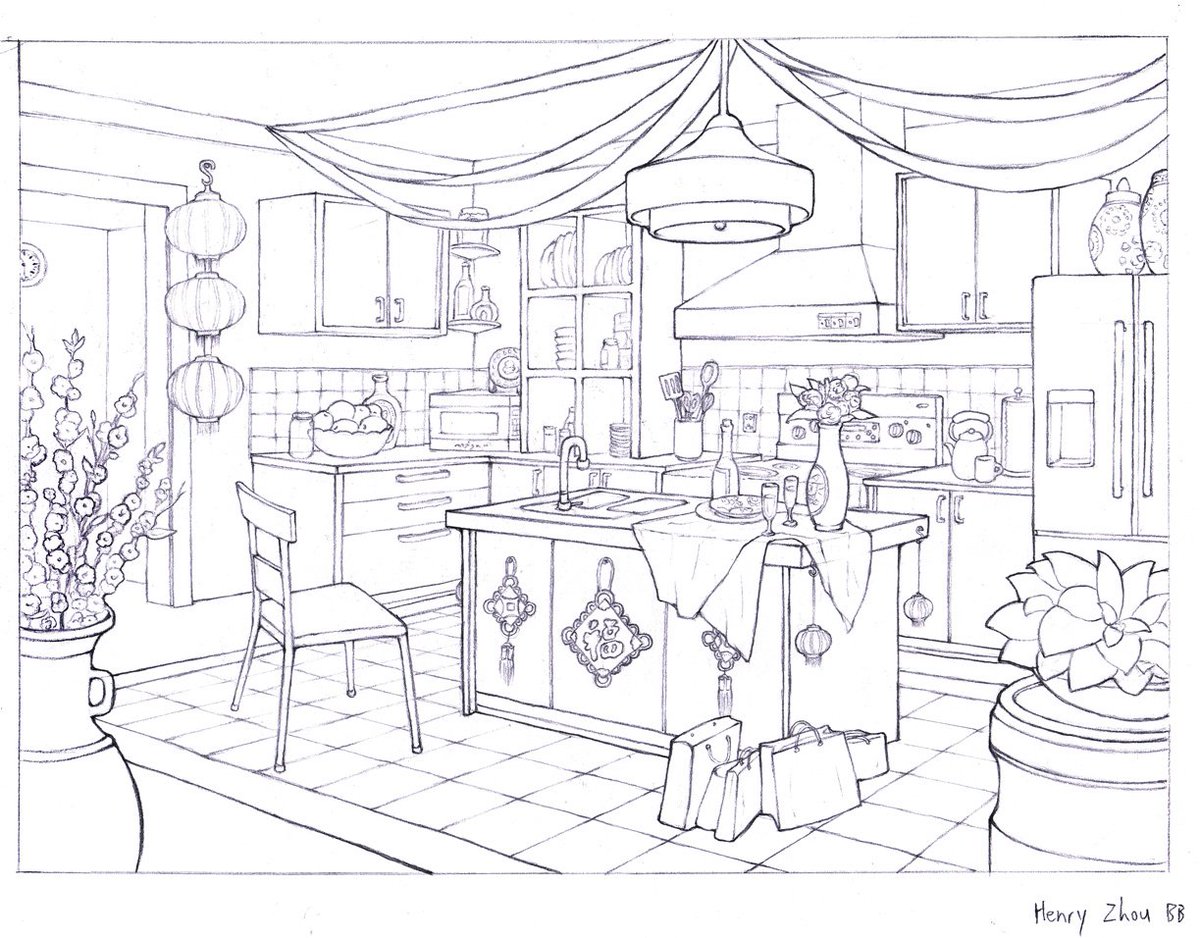
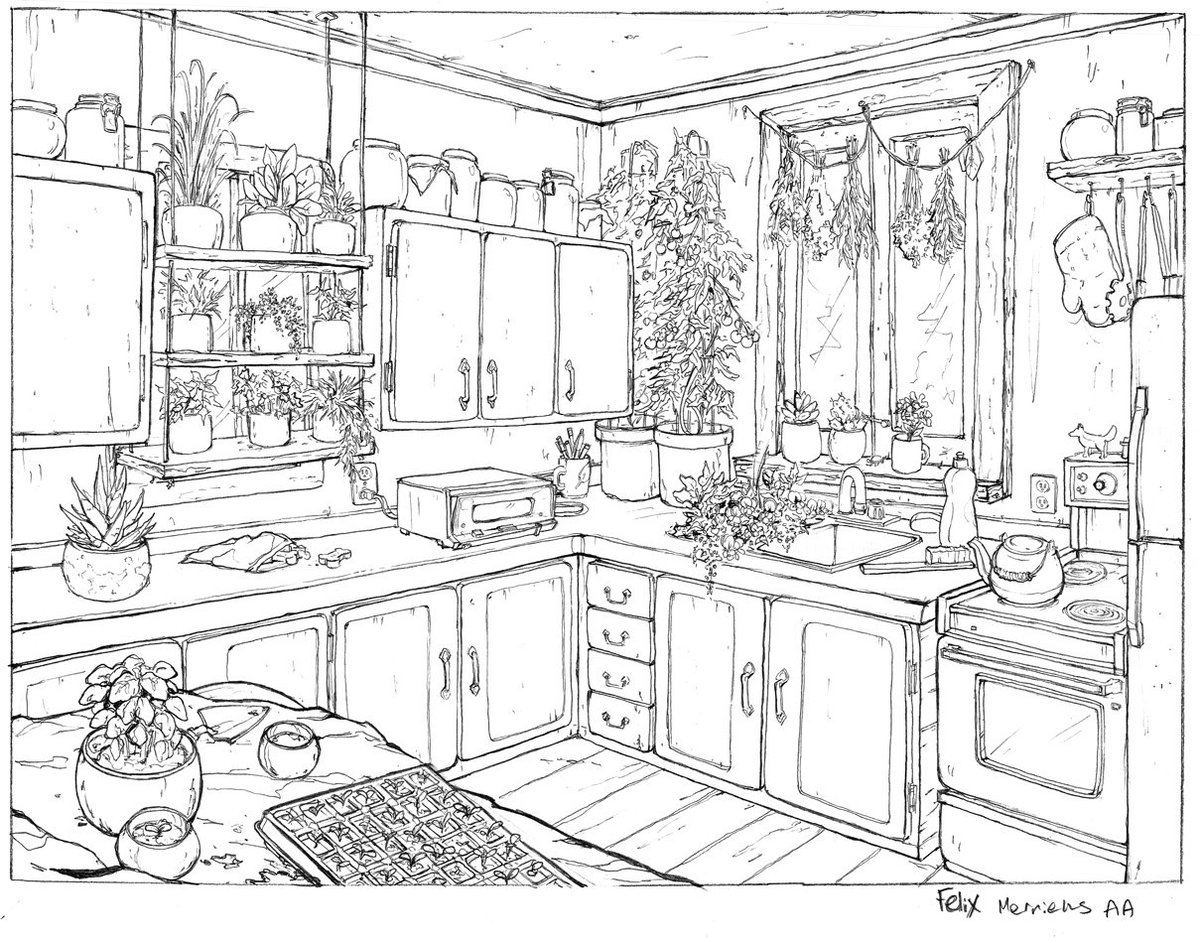
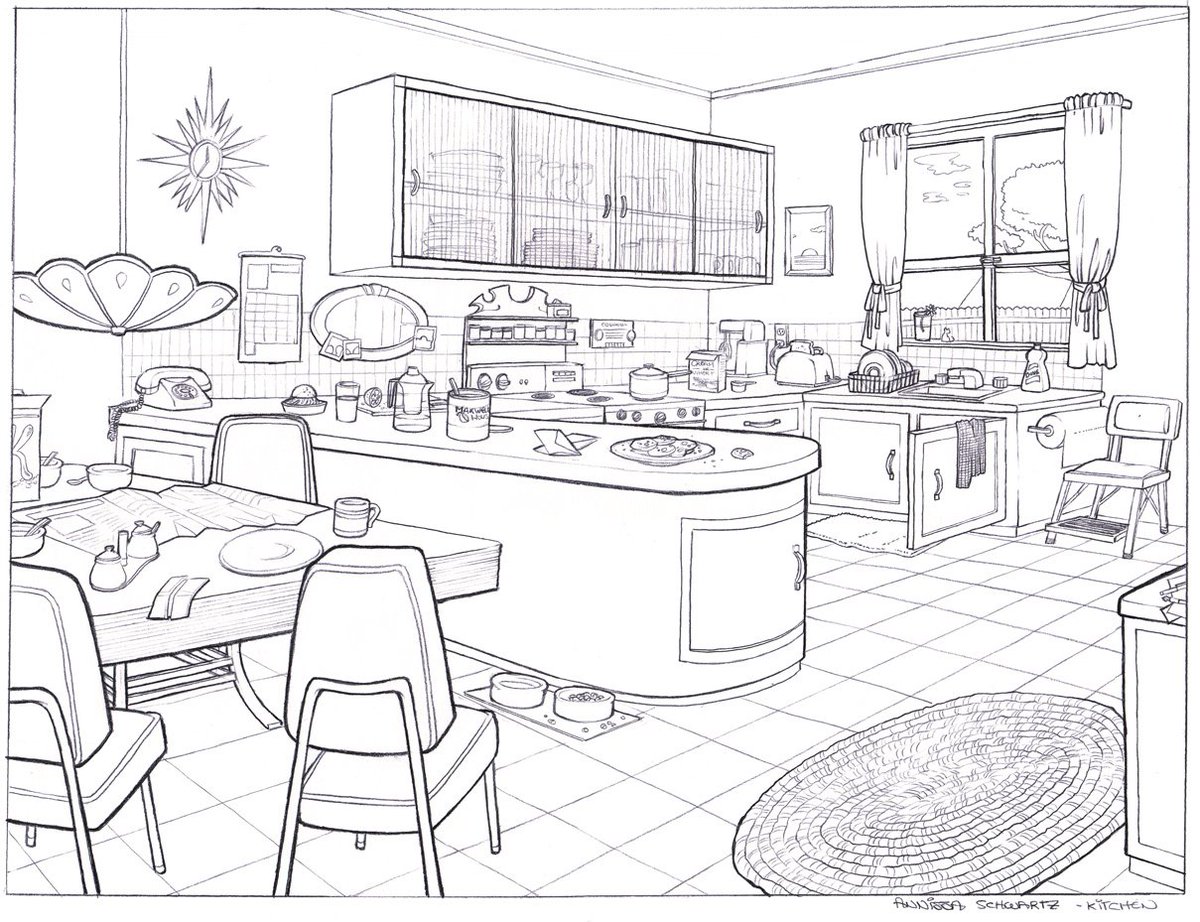
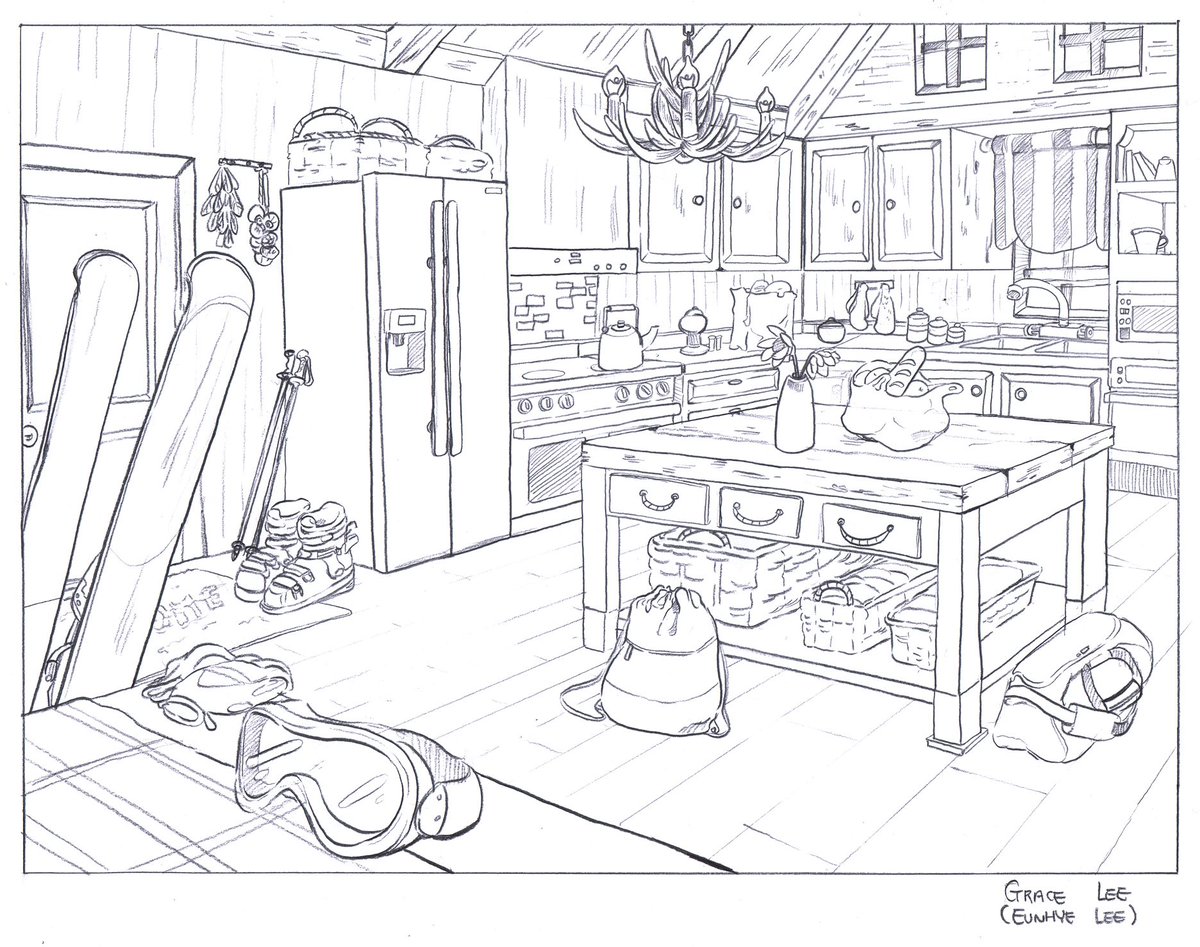
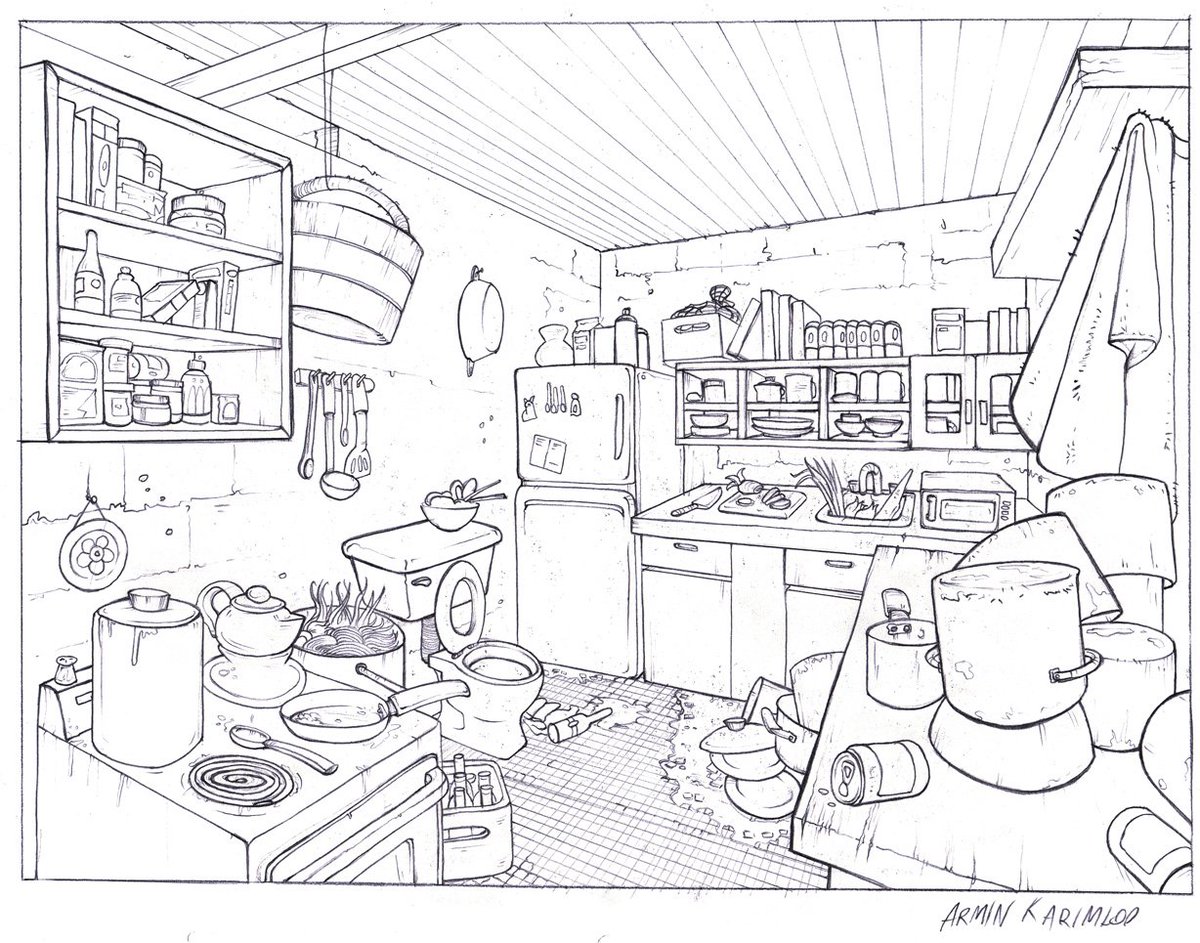
I've posted up examples of student work from the first year Animation Layout & Design class I teach at @SenecaCollege (like these Kitchen scenes attached here), but that doesn't really give you the scope of what one of these final drawings entail.
Let me show you-
Let me show you-
Each of these scenes starts with coming up with a concept. We don't just want a basic by-the-numbers kitchen, this should be a specific place with visual elements that help tell our story.
Here's a short write-up example I did for the class.
Here's a short write-up example I did for the class.

The next step is gathering visual reference. The internet makes this a breeze, and you can quickly amass a reference folder of furniture, objects, and decorations that will help inspire the final version. These are just a few of the ref pieces I pulled down for this concept.


I recommend to my students that they work at about half-size to start, quickly building their initial scene in perspective at a size where they won't need a huge ruler.
I forgot to scan the first few lines of my example so here's a digital recreation.
I forgot to scan the first few lines of my example so here's a digital recreation.

From there I loosely sketch in a figure to determine proportion, and then start building furniture, making sure each piece has proper volume.
If a scene isn't working, it's easy to tell at this stage, so you can scrap it and try something different without wasting a lot of time.
If a scene isn't working, it's easy to tell at this stage, so you can scrap it and try something different without wasting a lot of time.

It's the structural equivalent of a gesture drawing. Get the concept down without dedicating a lot of time until you know it's what you want.
I choose an angle where the corner is close to the viewer because I wanted to emphasize the feeling that this is a small, cozy kitchen.
I choose an angle where the corner is close to the viewer because I wanted to emphasize the feeling that this is a small, cozy kitchen.
I start to specify. It's not a basic table, it's a specific type of table. There's clutter, but in a way that reflects how people actually use a space.
For me this stage is maybe another 15-20 min after the initial 5-10 min, but students will usually take longer, understandably.
For me this stage is maybe another 15-20 min after the initial 5-10 min, but students will usually take longer, understandably.

I go over the whole thing with a sharp pencil line to clarify even further. I also take the size reference figure out. It's still a bit sketchy in spots, but the elements are clear enough that I can blow this up double size and go to clean final line work.

Next week I'll go over this same piece at full size in class and do crisp final line work, discussing how to clarify 3D forms with 2D lines, how to indicate texture, line quality/line thickness and other tips to give it a professional finish.
For size reference, that sketch I put together is about 5 inches wide. Small enough that I can use a regular ruler and keep the vanishing points on the page.
I know it can seem intimidating if you haven't done it before, but once you understand how to draw boxes and cylinders in perspective you can start to break down complex things into simpler shapes and build whatever you want at almost any angle.
Drawing environments well will help you stand out a LOT in a crowded field full of talent. There are way too many people with portfolios full of floating figures standing in the void. Having characters _and_ environments will take your storytelling to the next level.
Interiors are relatively easy to build because we tend to line up our walls, furniture and decorations parallel to each other.
Notice how the vast majority of receding lines here all go to one of the two vanishing points.
Notice how the vast majority of receding lines here all go to one of the two vanishing points.

To avoid the space looking too artificial/stiff, rotate some objects, especially chairs or items on tables/counters. (Like I did with this stool).
To keep perspective consistent while rotating, use the same eye line but shift the vanishing points equal amounts the same direction
To keep perspective consistent while rotating, use the same eye line but shift the vanishing points equal amounts the same direction

With practice you'll be able to eyeball a lot of this construction. Little alarm bells will go off in your head if something doesn't look right and you'll be able fix it on the fly without needing to check vanishing points every single time.
The goal to work toward is to be able to confidently sketch objects and locations just as you would characters, faces or anything else. The more you do, the better at it you'll get, with the core theories to fall back on when you're struggling to get it right.
A really useful exercise when you're starting out is to check the perspective you see in photos so you can understand how they're 'built'.
Find those core shapes and trace them back to the eye line/vanishing points.
Find those core shapes and trace them back to the eye line/vanishing points.


I see artists trace photographs or use Google Sketch-Up models without checking the actual volume they're using or how to build on it properly. That's why the end result tends to look flat/uneven. It's slapped together sources without understanding what's underneath.
Photographic realism isn't the end goal. "Real" is messy and unclear. I tell my students all the time, it's about creating something believable and engaging that communicates the story we're trying to tell.
Some more quality Kitchen assignment examples from past students.
This is the first full layout-design the students produce at around month 3 in @SenecaCollege's Animation program, after reviewing basic perspective + construction, proportion, and object drawing assignments.
This is the first full layout-design the students produce at around month 3 in @SenecaCollege's Animation program, after reviewing basic perspective + construction, proportion, and object drawing assignments.

I know that putting together a mundane location like this might not seem exciting, but it's a useful exercise. Grounding it in a 'real' setting with lots of reference available and telling a clear story through furnishings, size, and angle is important.
When you start creating highly fictional spaces, you want that same sense of care and thought put into it.
How is this space being used by its occupants and how can we show aspects of their personality and story through these objects?
How is this space being used by its occupants and how can we show aspects of their personality and story through these objects?
Some quality Kitchen assignment hand-ins from my current students.