Making medieval stuff with cats! This time it’s quills! #medievaltwitter #medievalmanuscripts #quills #heritagecrafts 
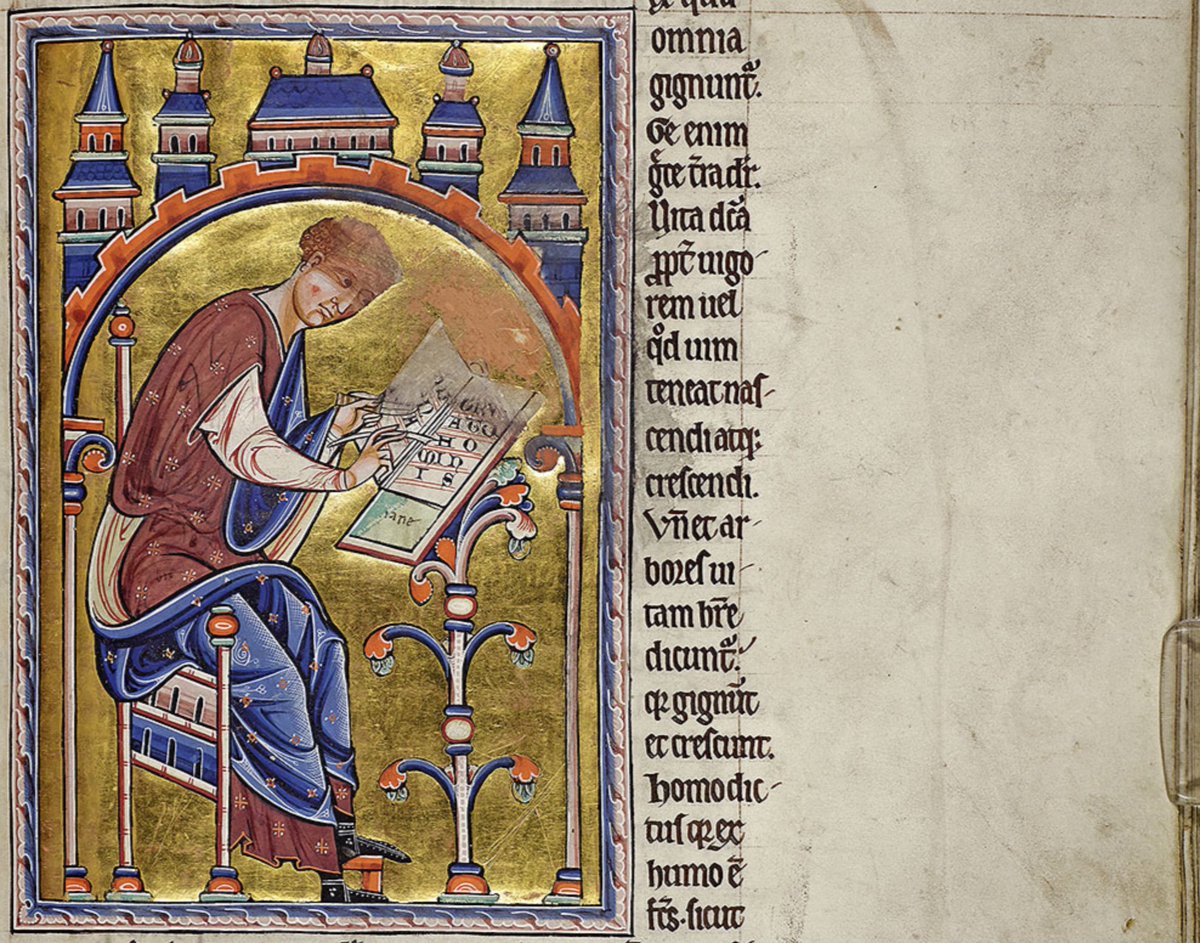
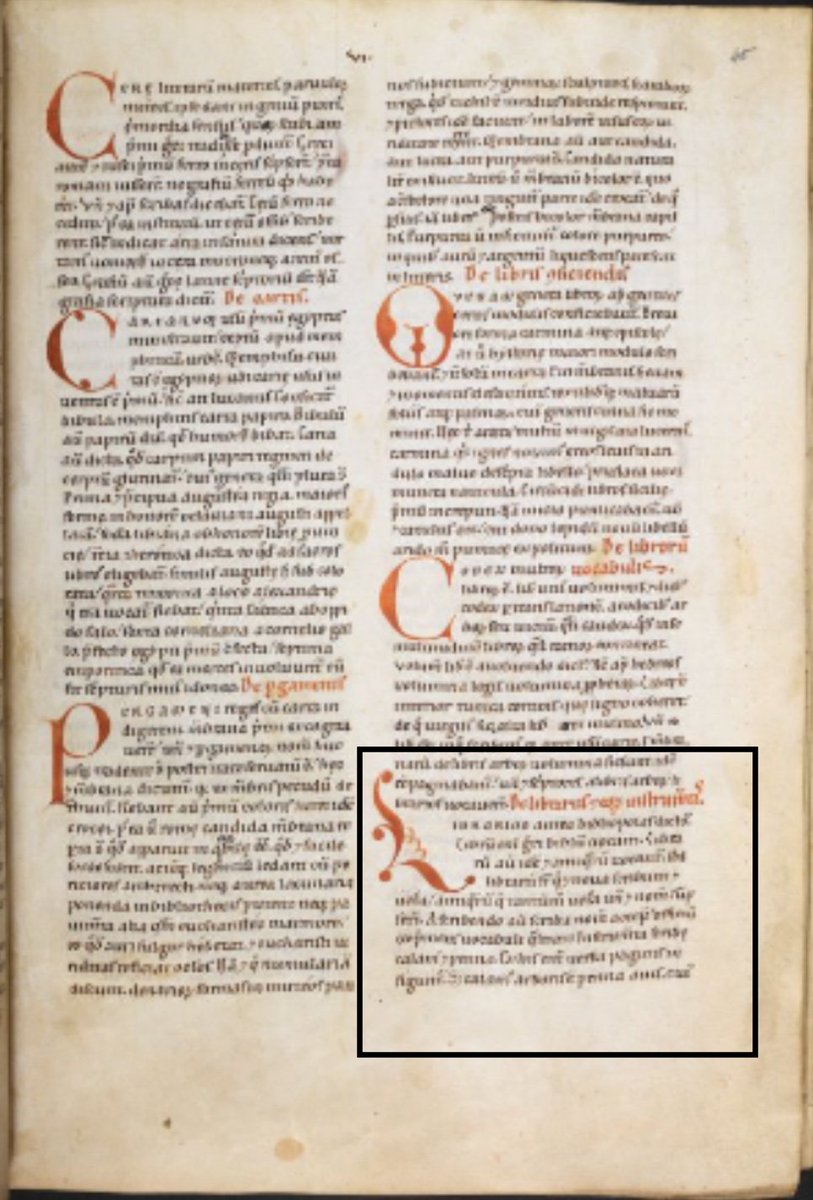
2. Quills were probably used before this - but the earliest reference to them is by Isidore of Seville, from his Etymology in the 7th century. Here he is in the Aberdeen Bestiary, writing with a (surprise!) quill abdn.ac.uk/bestiary/ms24/…
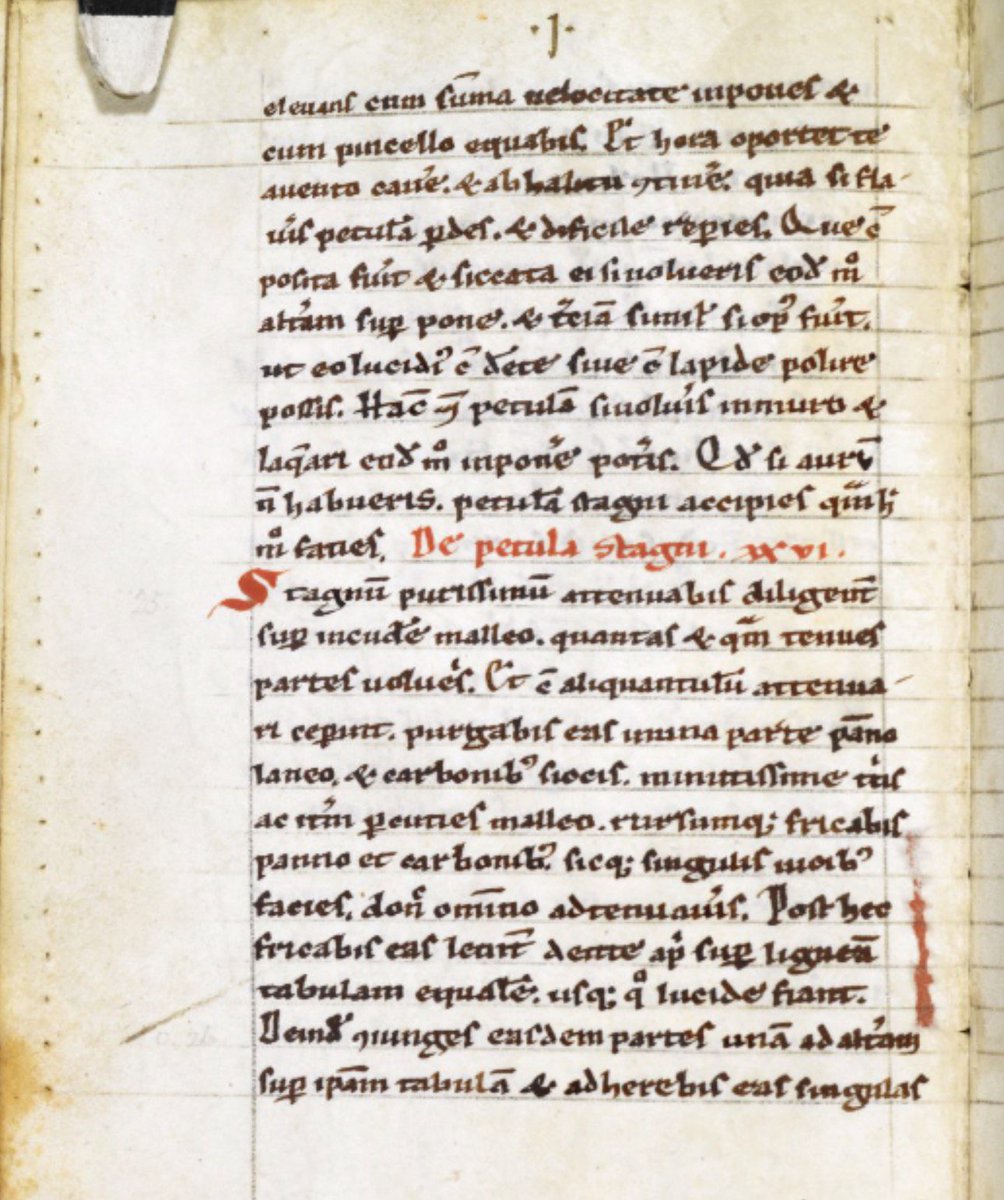
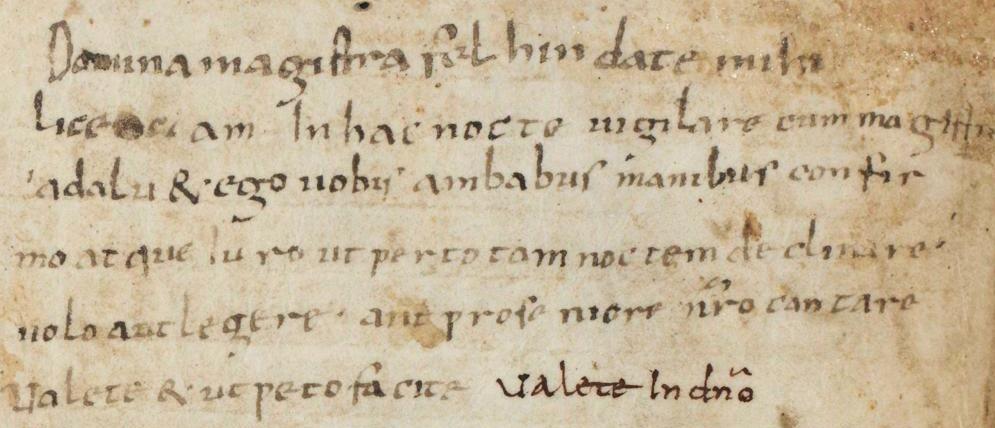
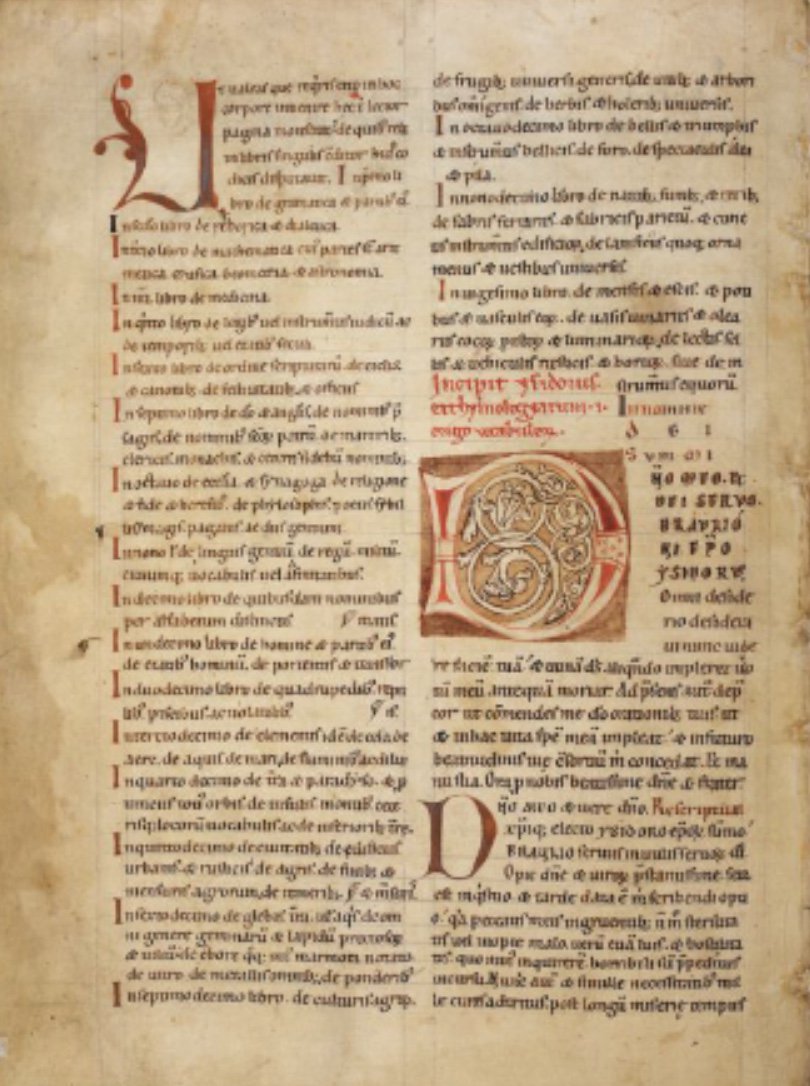
3. In book 6.14.3 of his Etymology he writes - Instrumenta scribae calamus et pinna (the scribe’s tools are the reed-pen and the quill). This 12thC copy is a particularly #nuntastic example, written by 8 female scribes from Abbey of Munsterbilsen (BL, Harley MS 3099, ff.1v,45r-v)
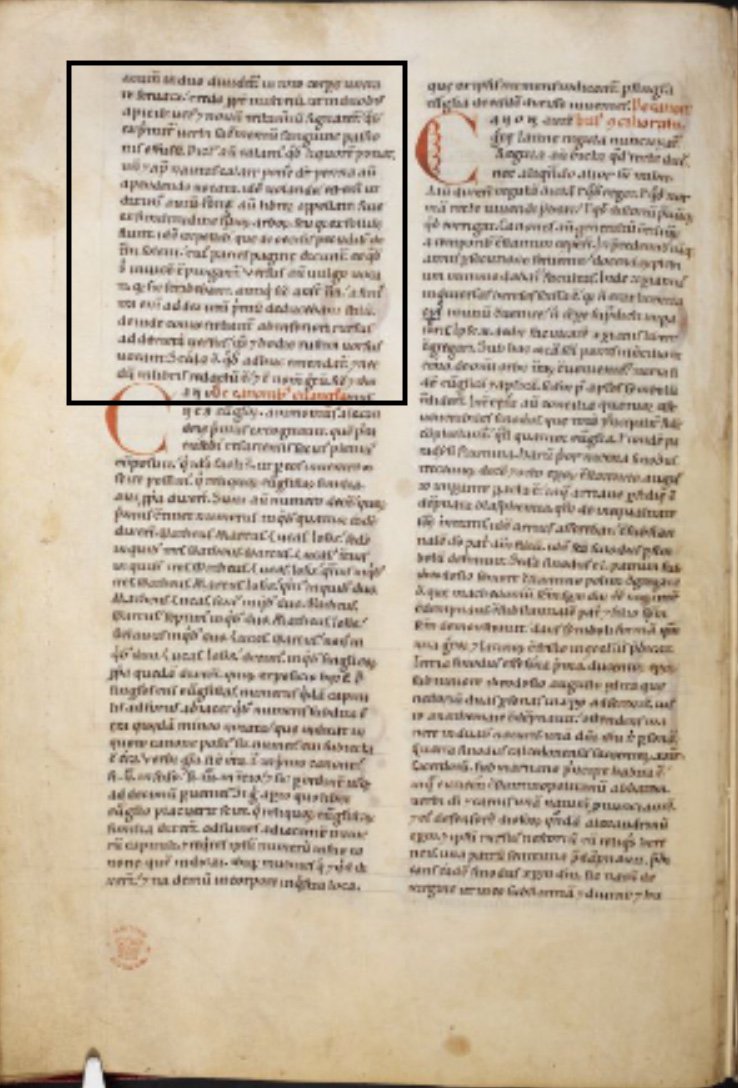
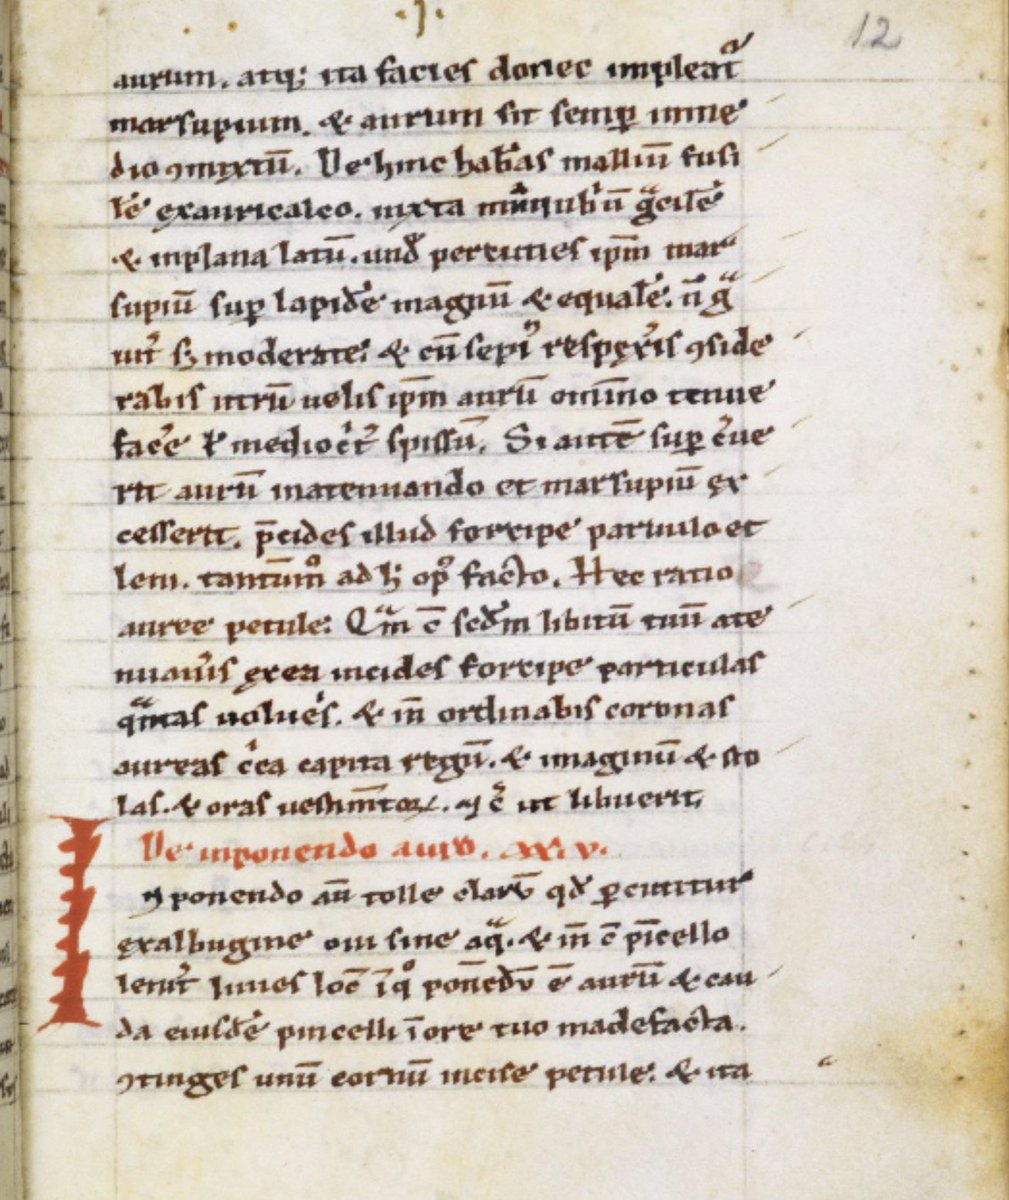
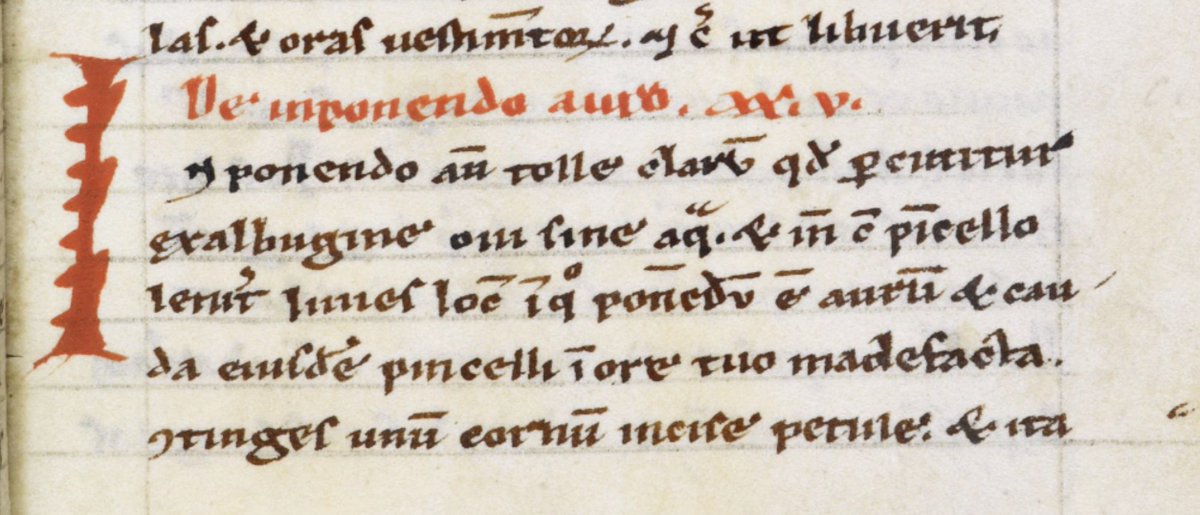
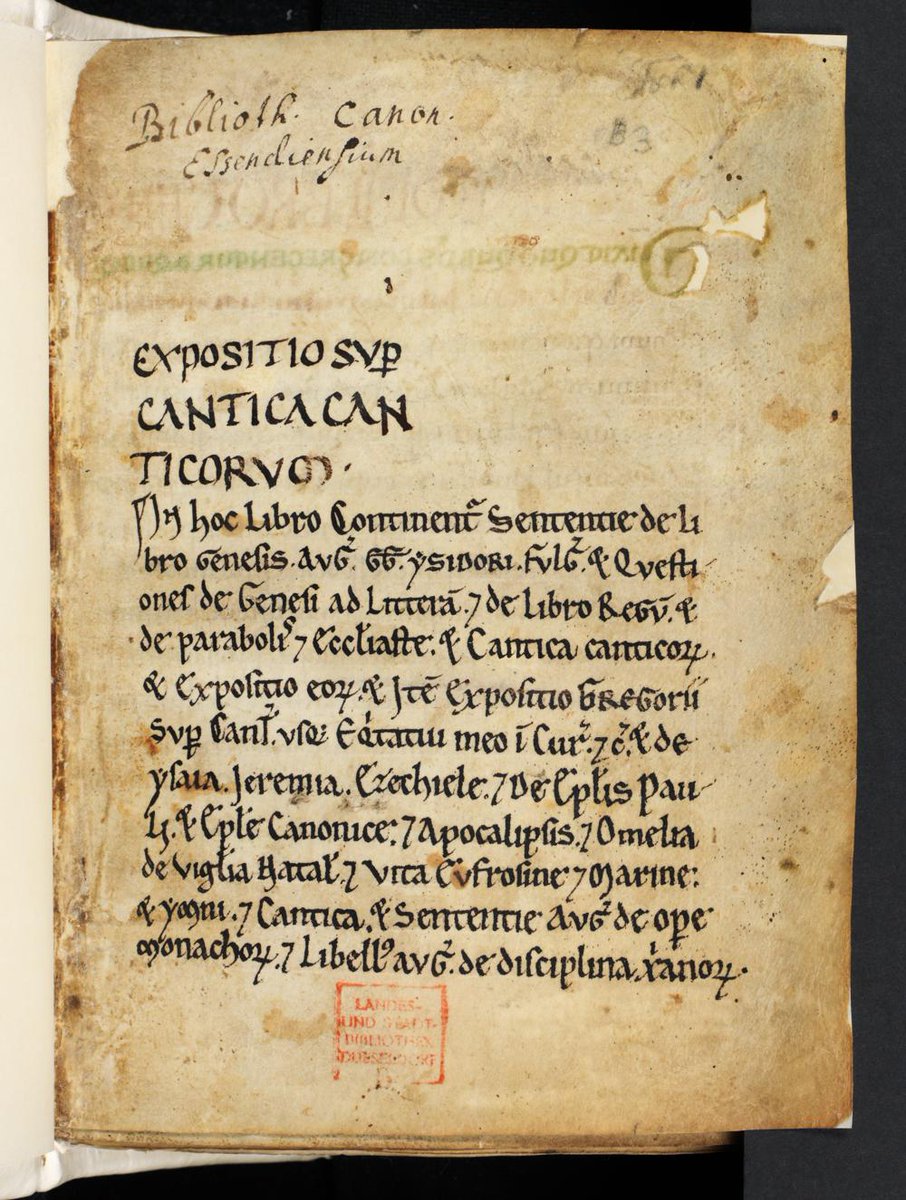
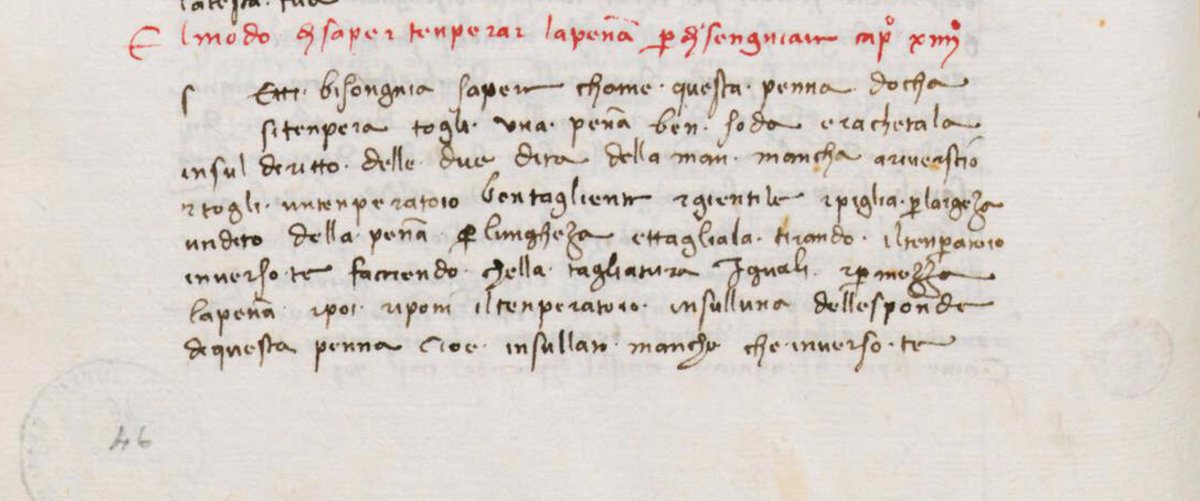
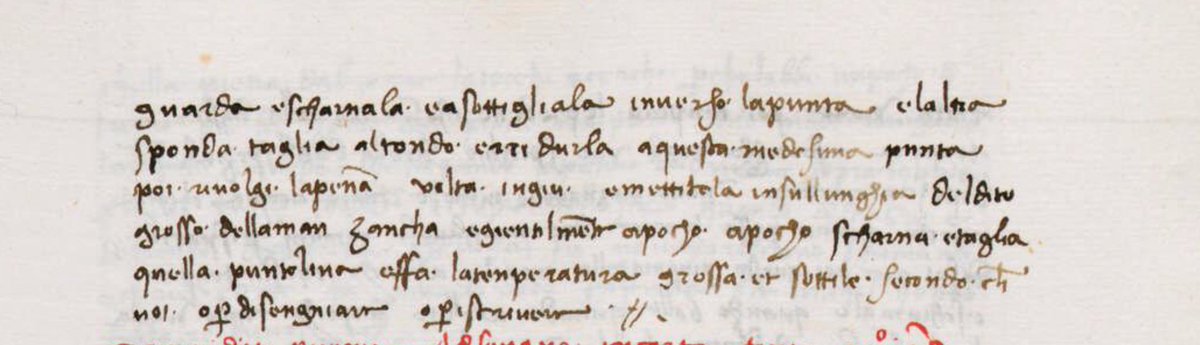
4. There is nothing on cutting quills in Theophilus' De diversis artibus, but Cennino Cennini gives instructions in his 14thC Il Libro dell'Arte (Biblioteca Medicea Laurenziana, Plut.78.23, fol. 46v-47r) bit.ly/2HcWHCS
archive.org/details/bookof… …
archive.org/details/bookof… …
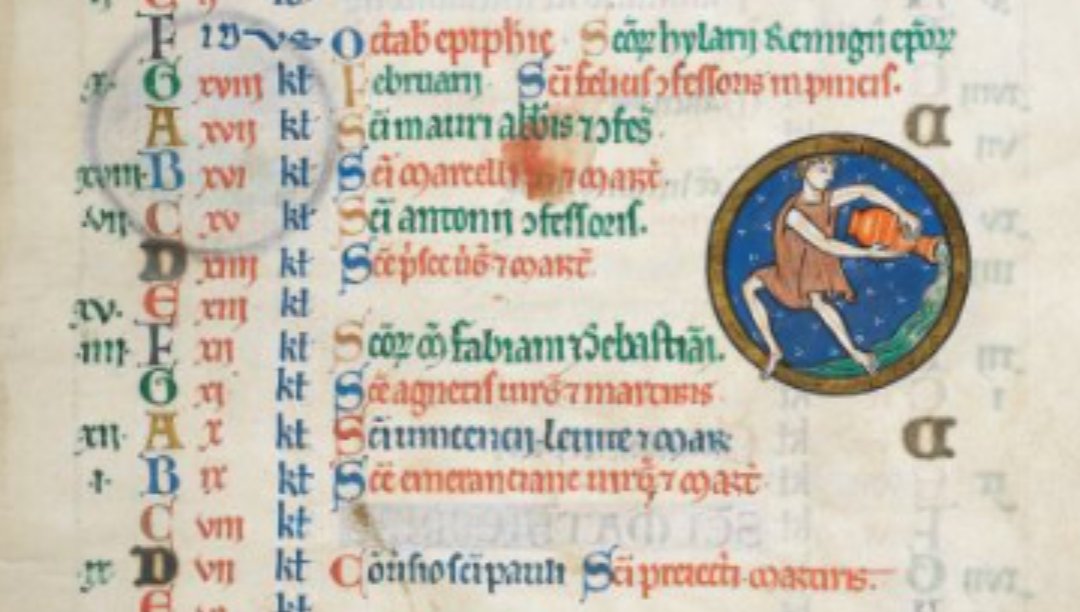
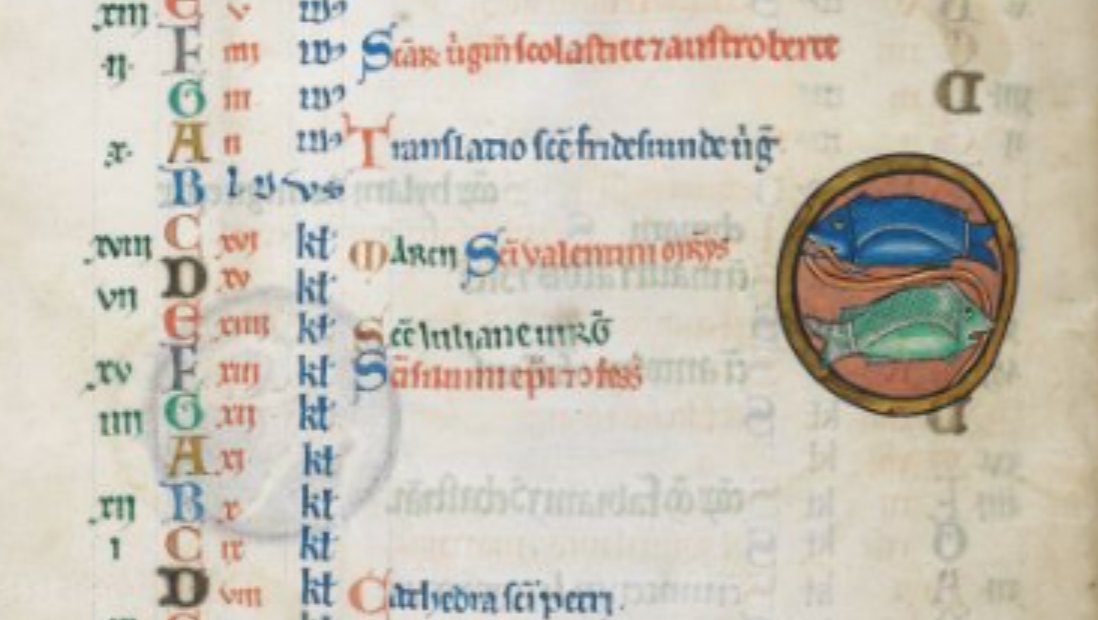
5. There are many images of scribes holding quill and knife, the knife is used to sharpen the quill and also erase mistakes from the parchment by scraping off the top layer of ink (BL, Royal 19 C II, f.48v; Royal 13 B VIII, f.22r; Royal 10 A XIII, f.2v; CTC R.17.1, f.283v)


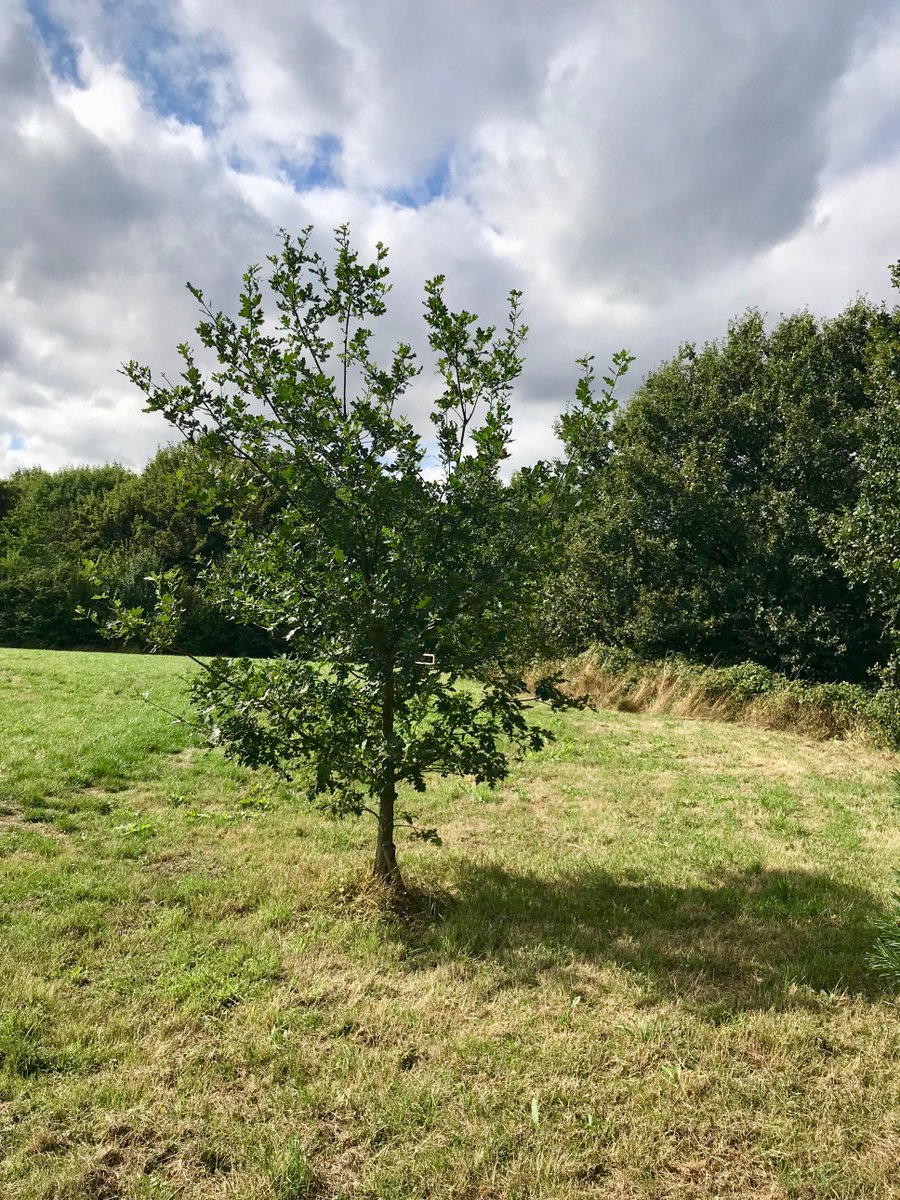
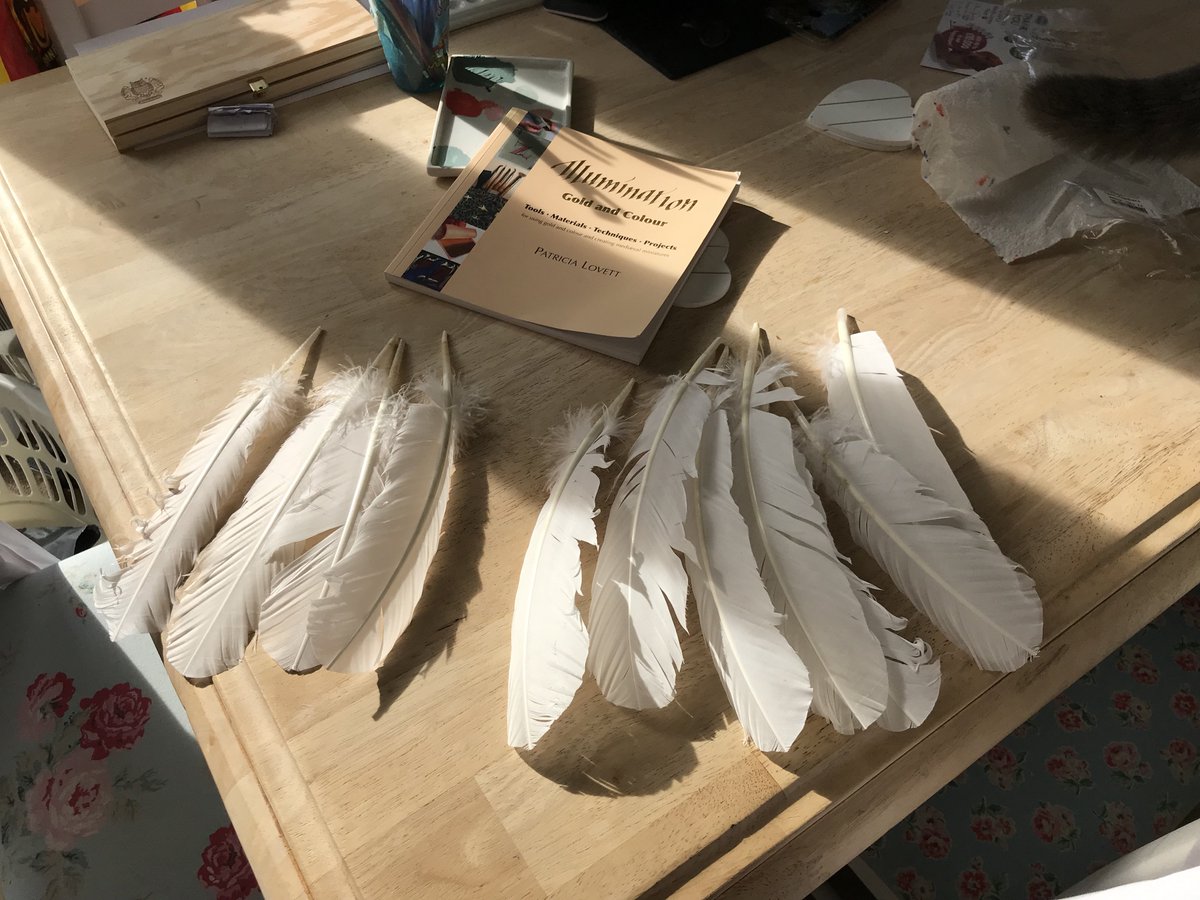
6. So, I got some swan feathers. I wasn’t too bothered about the quality of them at this stage, because this is just a practice. You need a long feather, like goose, swan or turkey, and the first five flight feathers are best.

7. Quills are left- and right-handed. With the tip at the top, underside underneath, if it curves to the left it’s left-handed and if it curves to the right…well, you know. Basically, you want the feather to be curving away from you when you write

8. First of all, soak the feathers in cold water. The girls are amazed - AMAZED - to have found a water source in this arid desert (their brimming water bowl doesn’t count). The general consensus is that it tastes better if you get a bit of feather in there too


9. A few hours later, time to cut the feathers! About 20cm is a good size, and trim the tip of the barrel as well. Remove the barbs (not too enthusiastically). Although it is quite satisfying when a big bit comes off (apologies for my big fat sausage fingers in the pics)
10. I quite liked this bit - scraping off the waxy coating. I don’t have long nails, so I first started with scissors, but felt I was being too heavy-handed. As ever, it’s always easier to judge pressure when doing things with your own hands (side-eye to the white glove brigade)


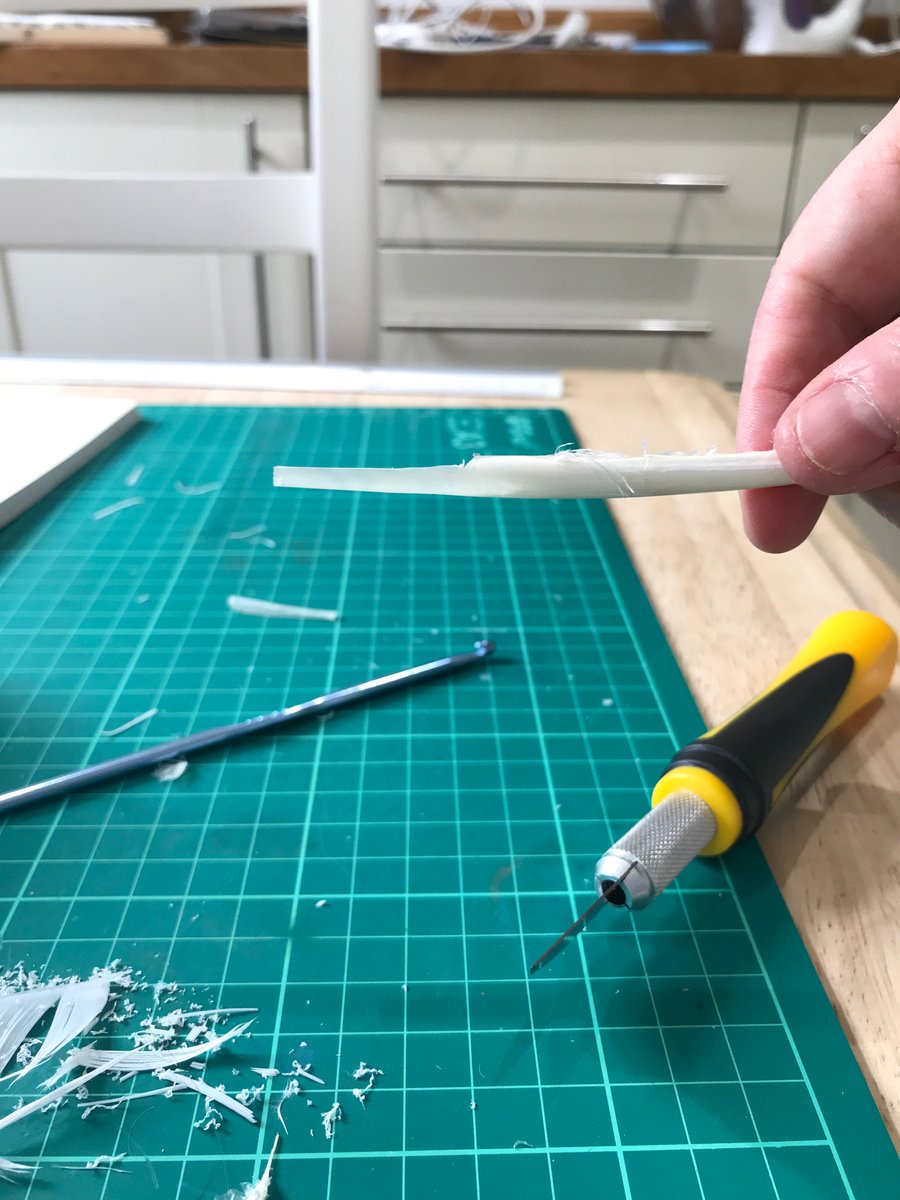
11. Next you need to remove the inner membrane - a crochet hook is the preferred tool. I had an ill-judged foray into knitting a few years ago and still had all the kit, so well done ’Simply Knitting’ magazine for supplying the goods.


12. I liked this next bit too - the membrane came out easily. Hurrah! Unfortunately so did a deeply unpleasant aroma and a sharp reminder that these are organic products

13. Then you have to cure the feather with heat to harden it. You can either do this with a fiddly process using hot sand, or, as Patricia Lovett recommends, an iron on a medium setting. I heated the end of the crochet hook and stuck the feather on…

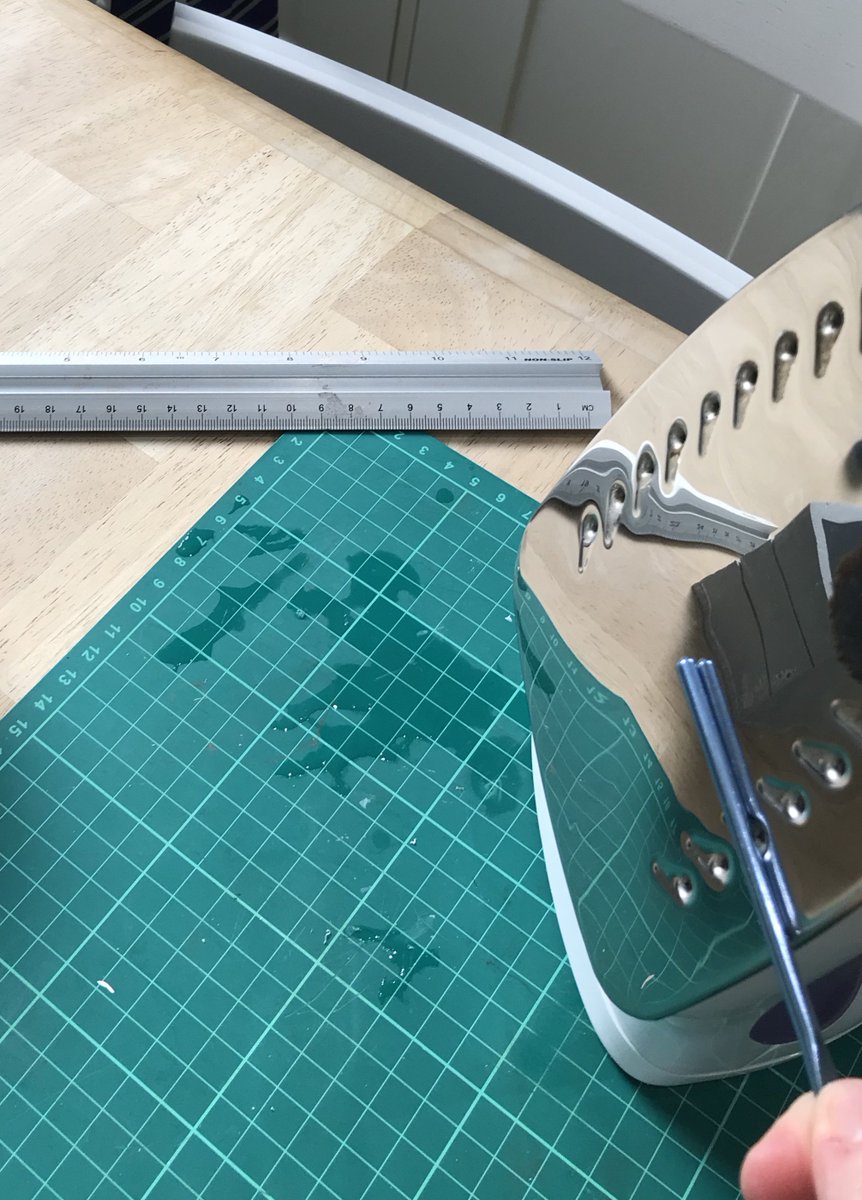
14. …and rotated the feather over the iron. I didn’t really know what I was doing here. I didn’t know how long to do it for. The feather is supposed to turn translucent and slightly yellow, but I couldn’t really see a difference. Anyway, then I burnt myself, so I stopped.

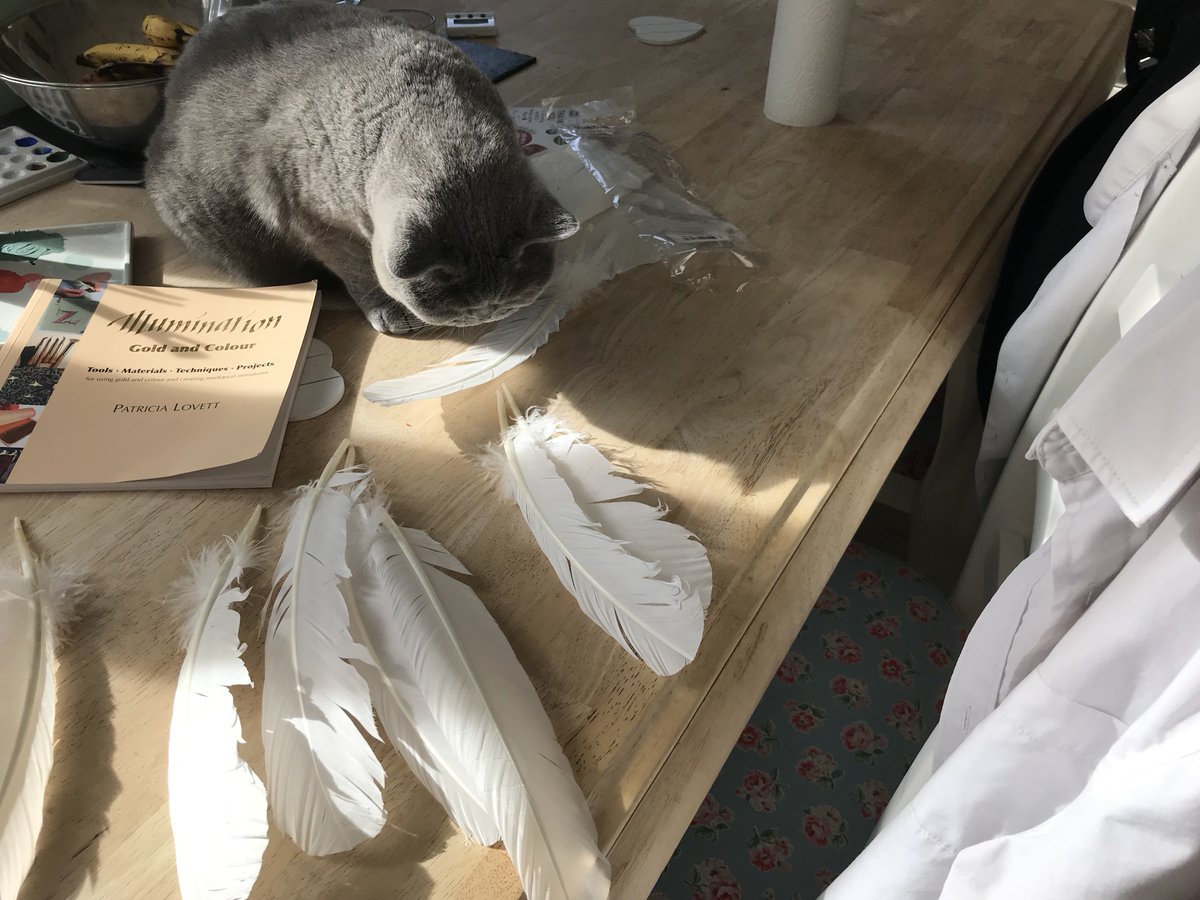
15.Luna decides that now is the perfect opportunity to roll around on the table


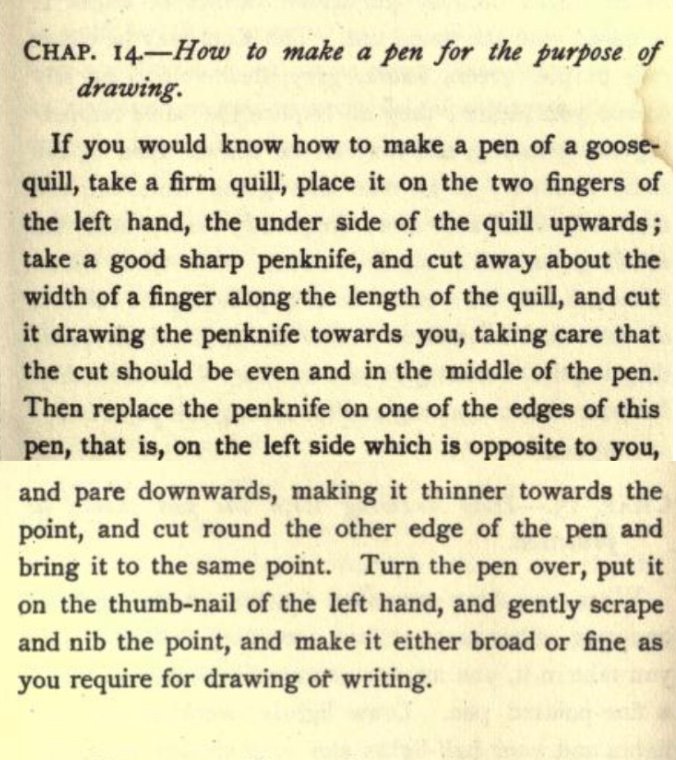
16. Time to cut the nib. Seeing as I’m not to be trusted around sharp or heated objects, I made sure I cut with the blade facing away. About an inch from the tip, making a scooping motion. I was surprised how quickly the blade went through once it had got its initial purchase

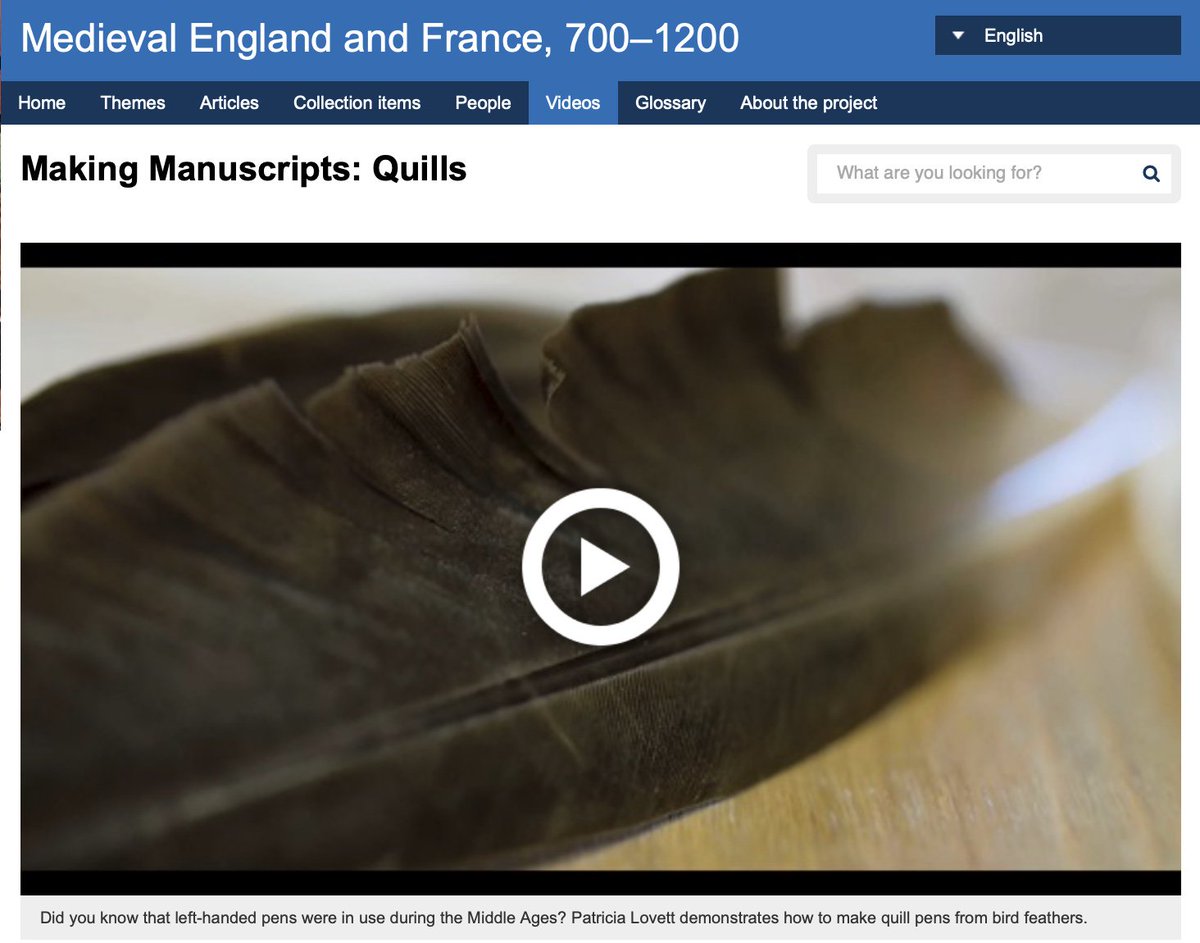
17. Make sure you are cutting the underside of the feather. You want to be left with the top half. This is quite difficult to see, so I strongly recommend watching @LovettPatricia’s excellent video on quills. Actually, you should watch them all bit.ly/2Ty2SIc
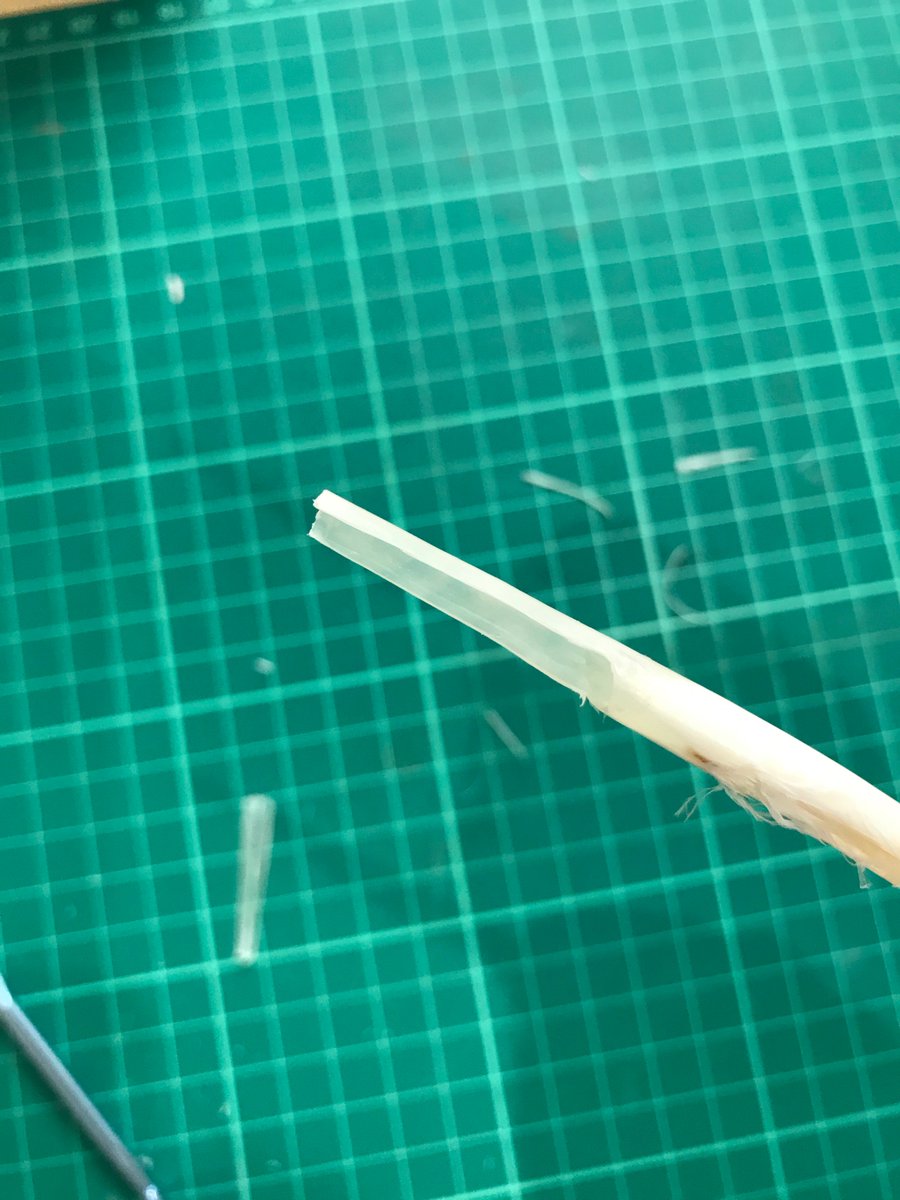
18. Then another cut, about 1.5 cm from the tip on both sides. So you have a staggered effect, like this


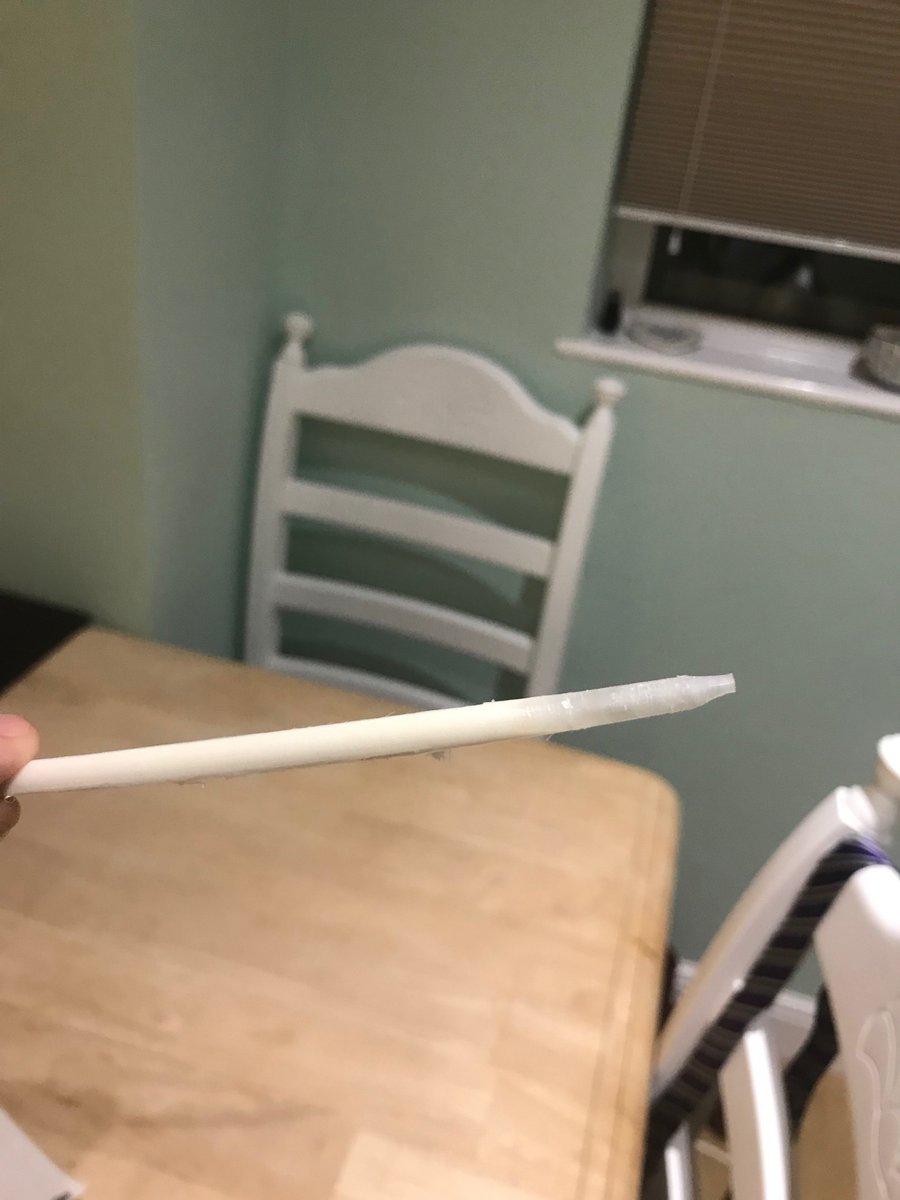
19. Almost done! Cut about 1cm off the end. If you have a tile or a cutting mat, use this underneath and then press down until you hear the nib crack. It’s such a good sound! It's quite tough, so stand up and get your body weight behind it if need be

20. Same again for the slit in the centre that will be the reservoir for the ink. Make sure that the nib is straight, and trim any straggly bits. Tada - it actually looks like a quill! And my fingers are still attached to my hands!


21. Alas my efforts are not up to Chloe’s rigid standards and she wholeheartedly rejects my effects
22. But after consultation with Luna she decides they just about pass muster
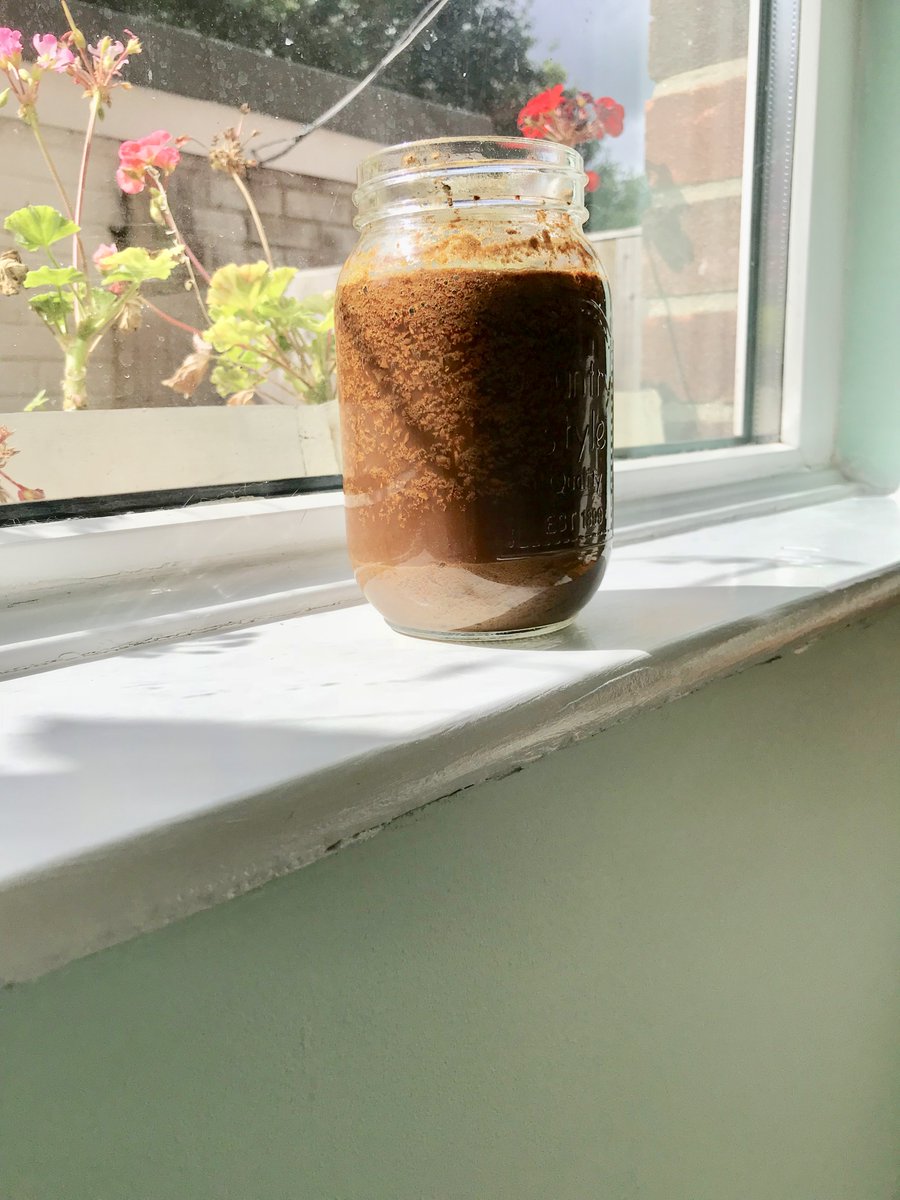
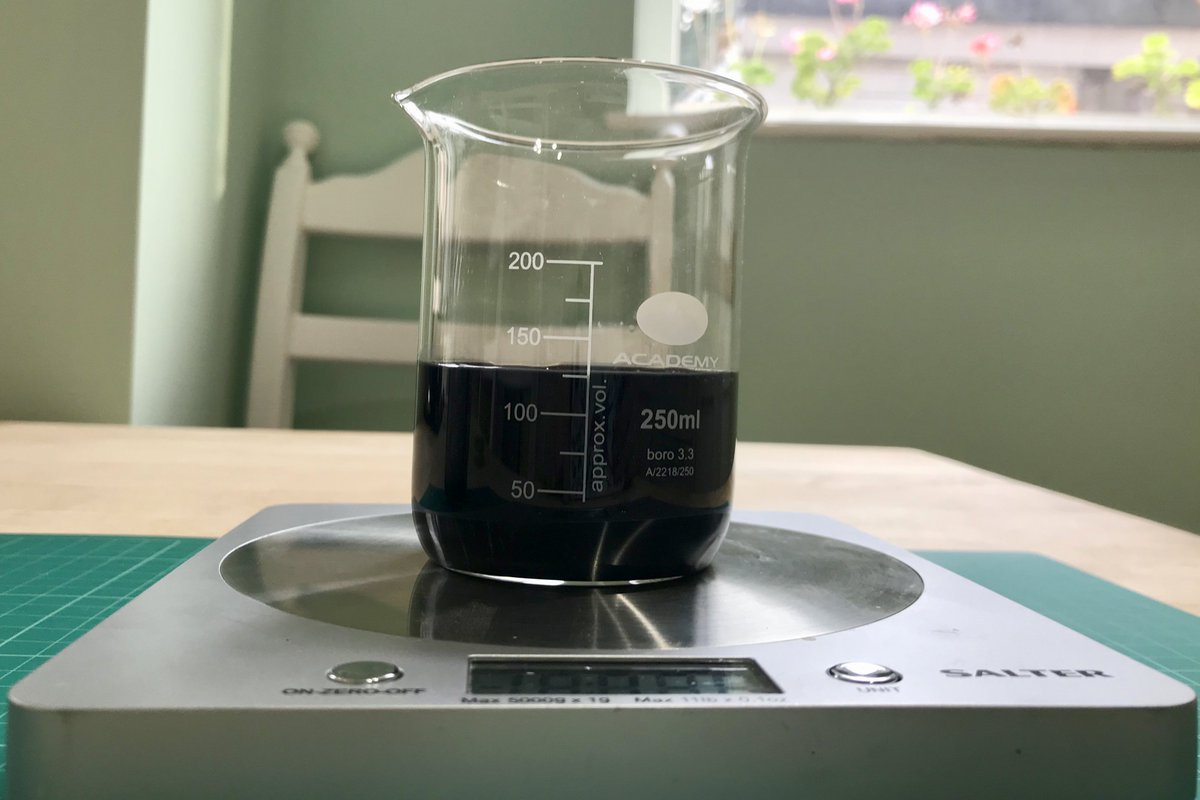
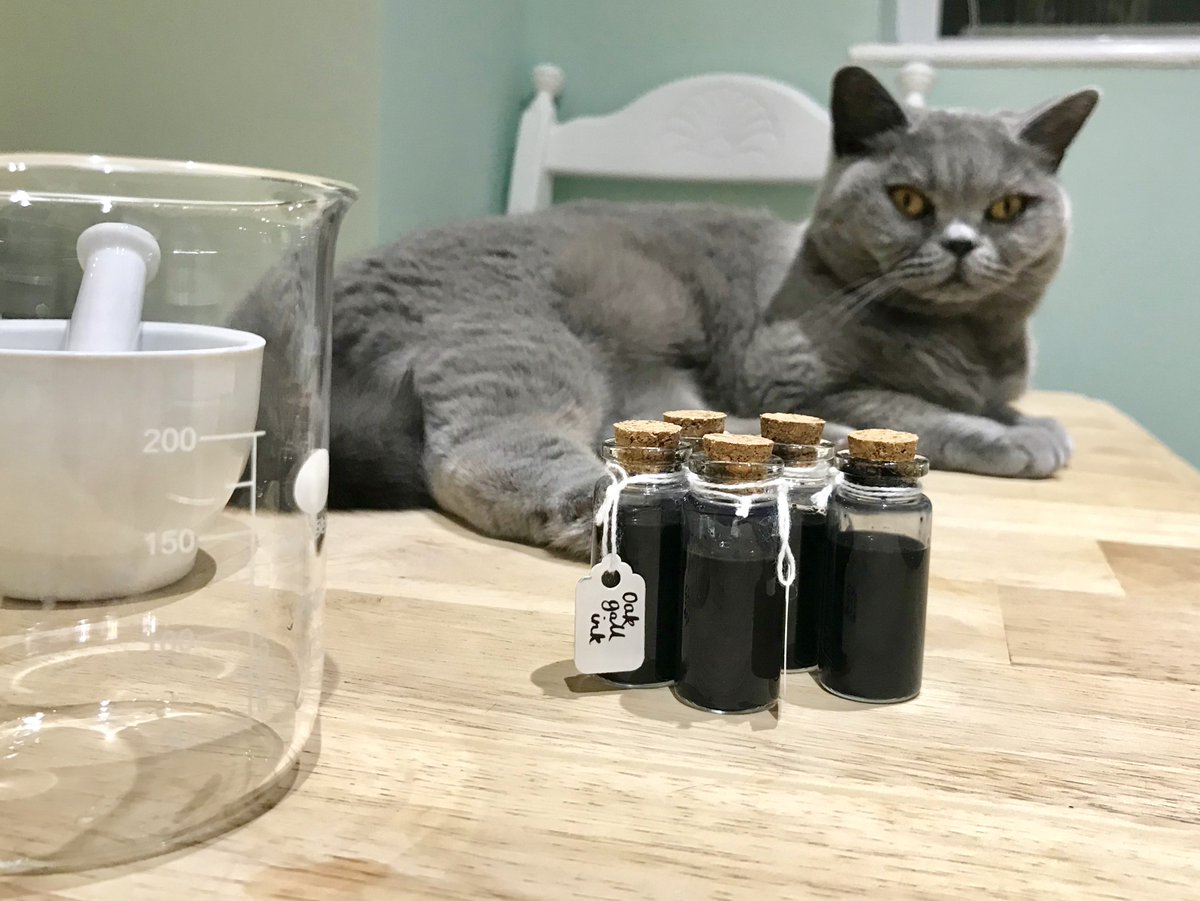
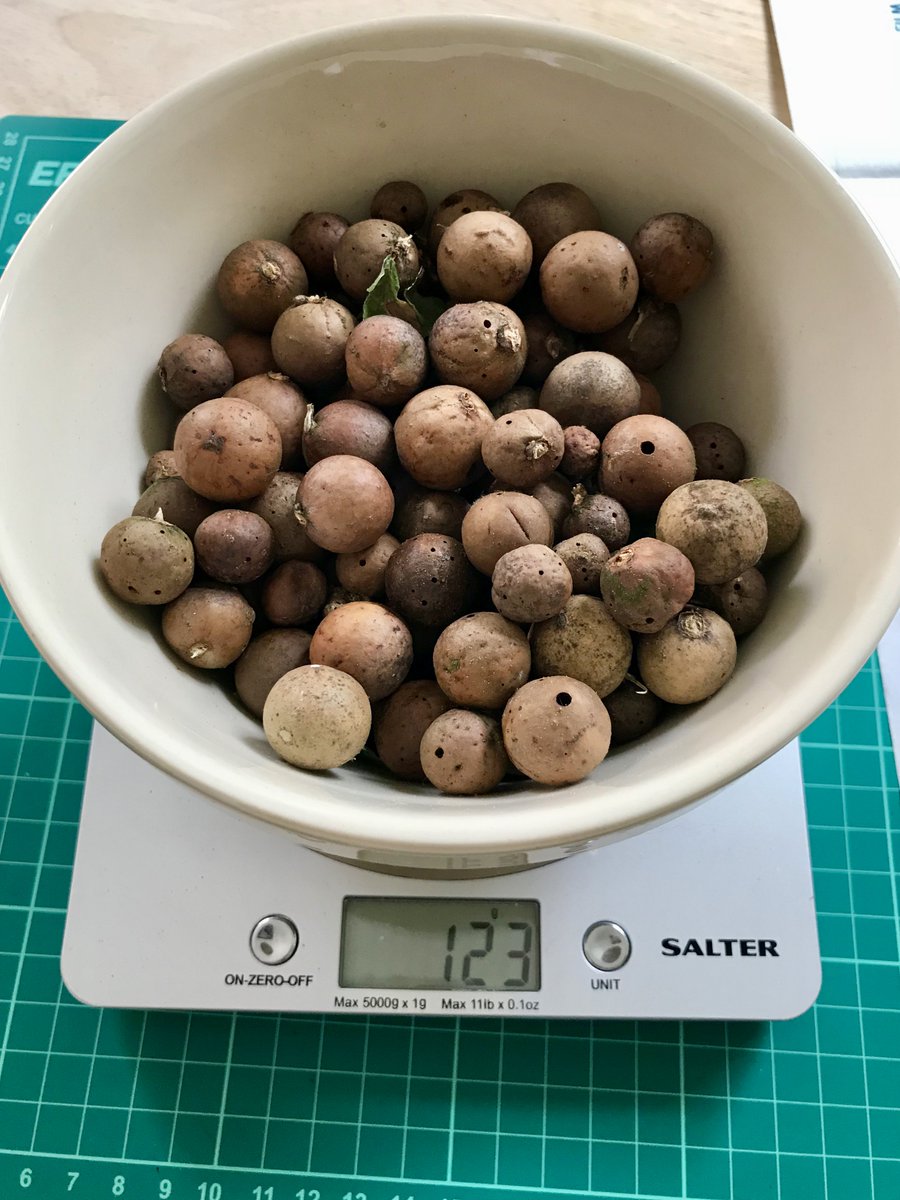
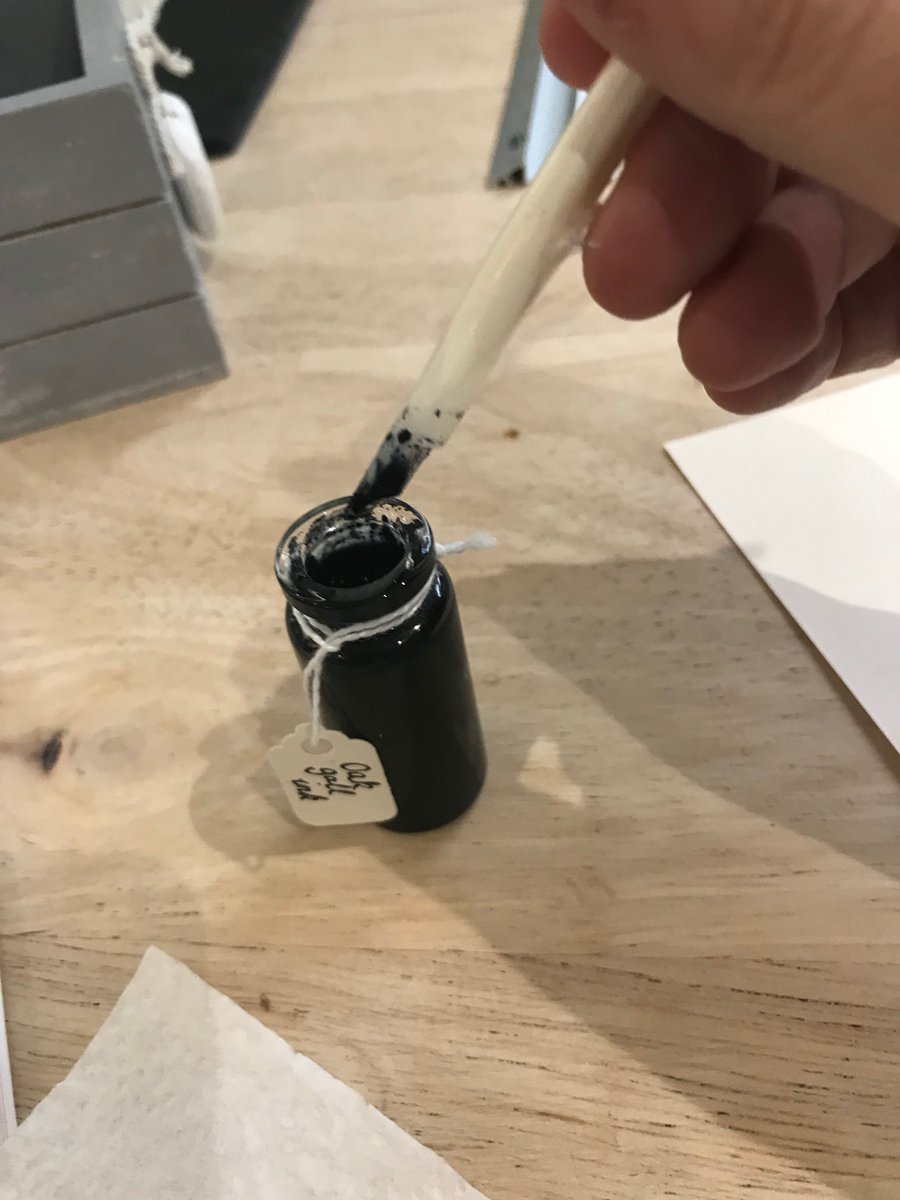
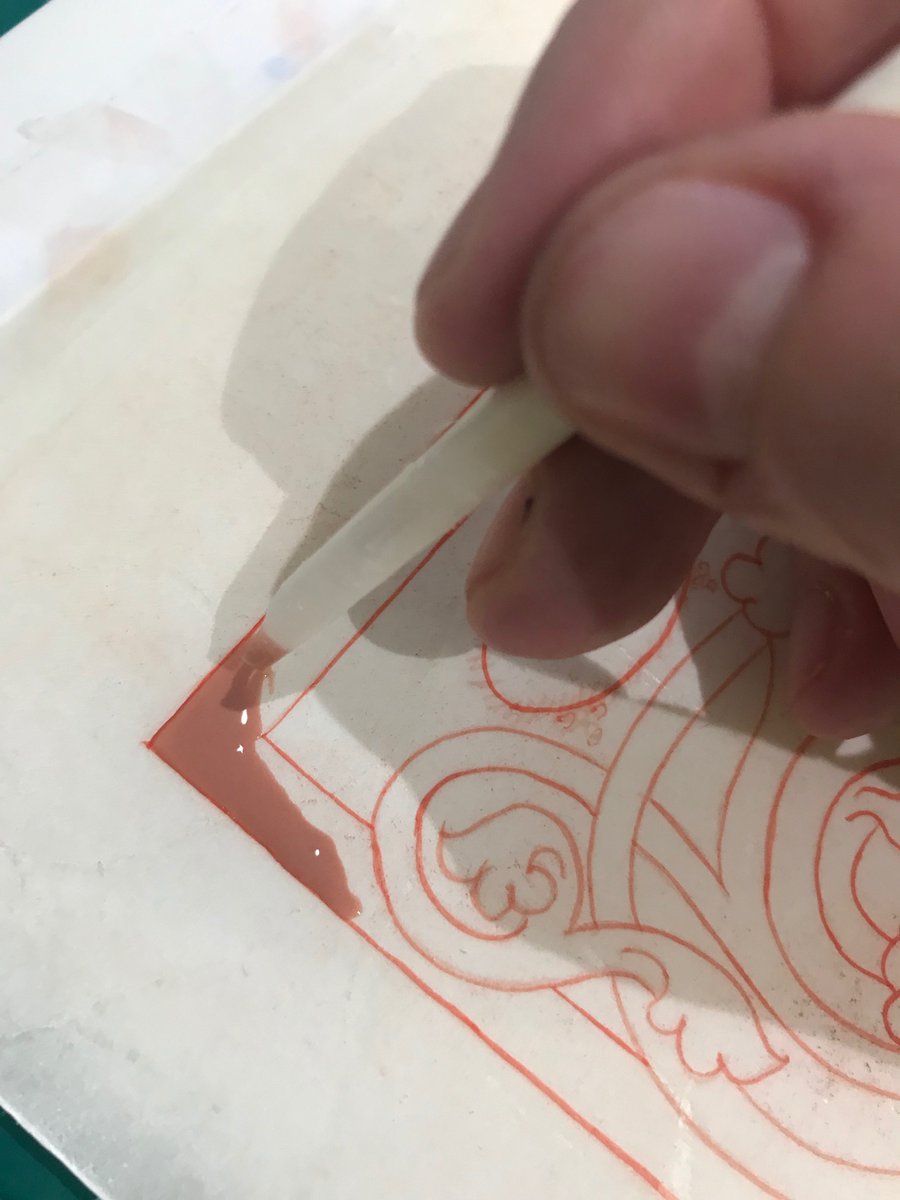
23. I tried the quills out with my iron gall ink, and with some gesso for an illuminated miniature


24. So - have a go! It's a fun thing to do in an afternoon, and as long as you concentrate when you are using a sharp blade, it's quite easy. And you have something useful at the end of it. If you like this, I have another thread on making iron gall ink
25. And another one on gesso. They both have cats in. Thanks! #medievalstuffwithcats
unroll @threadreaderapp