Here's a thread about the iron gall ink I have just made. I’m not artistic, crafty or very in tune with nature, but as someone who researches medieval manuscripts, I wanted to experience the process. And surprisingly, so did my cat #heritagecrafts #irongallink #medievaltwitter 


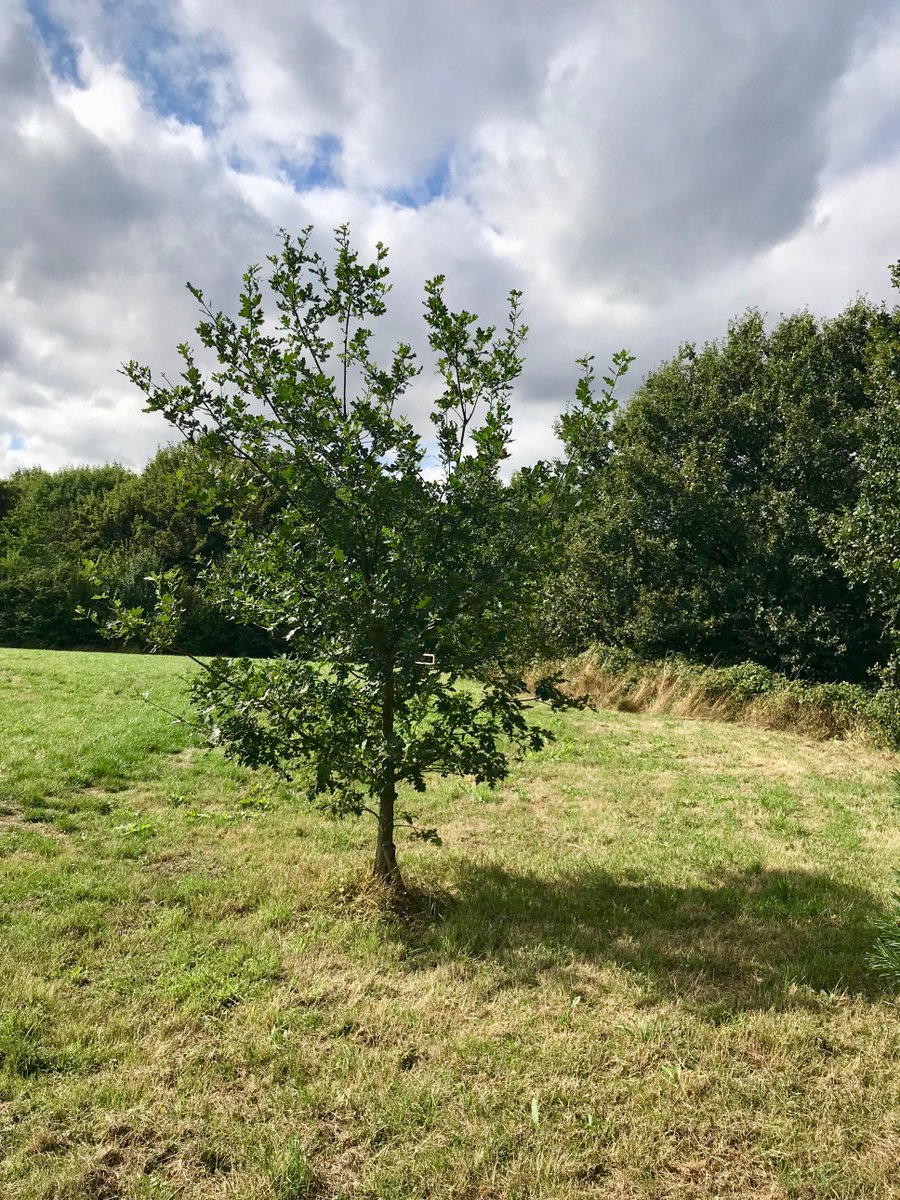
2. There is some open ground behind my house, so I went for a forage for some oak galls. I didn't really know if I would be able to recognise what I was looking for, and it took me a while to find any. But, once I had spotted one, I got my eye in
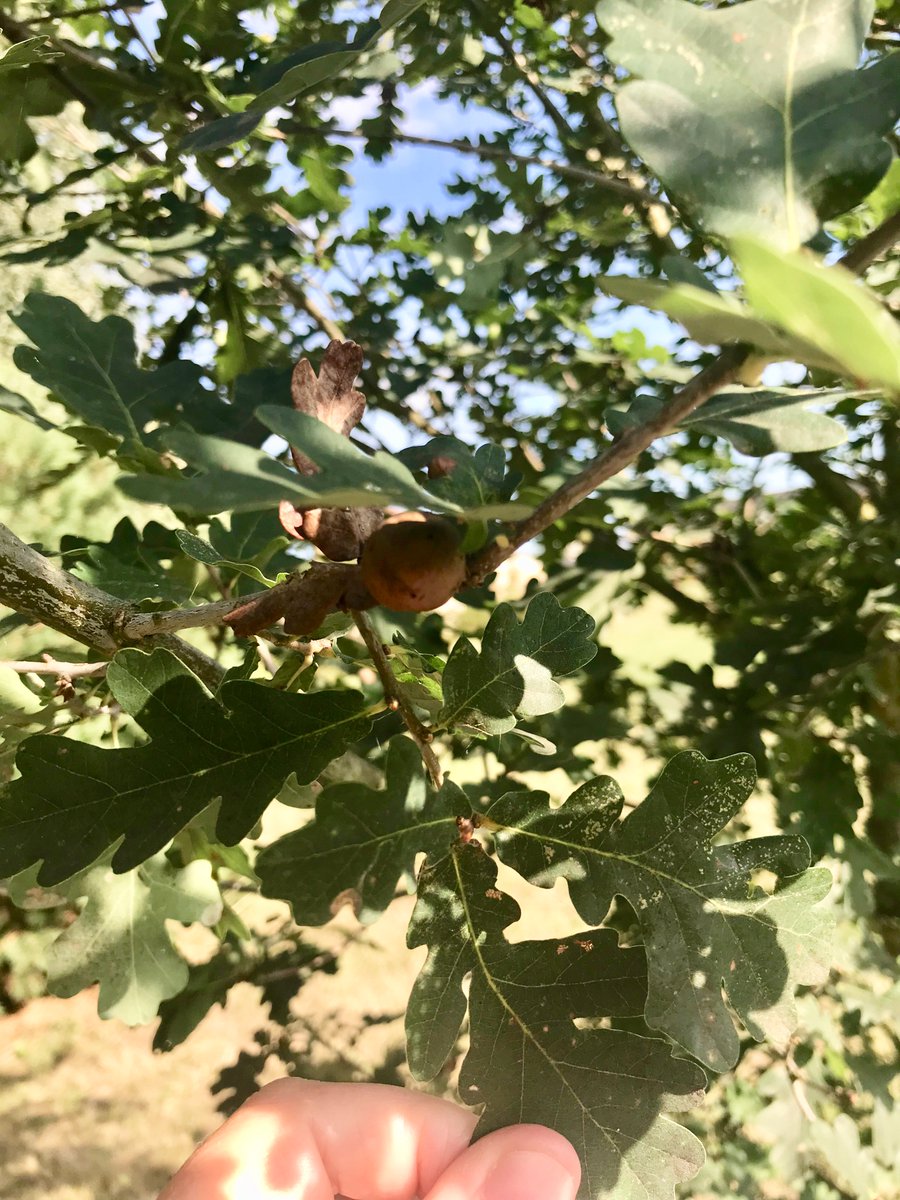
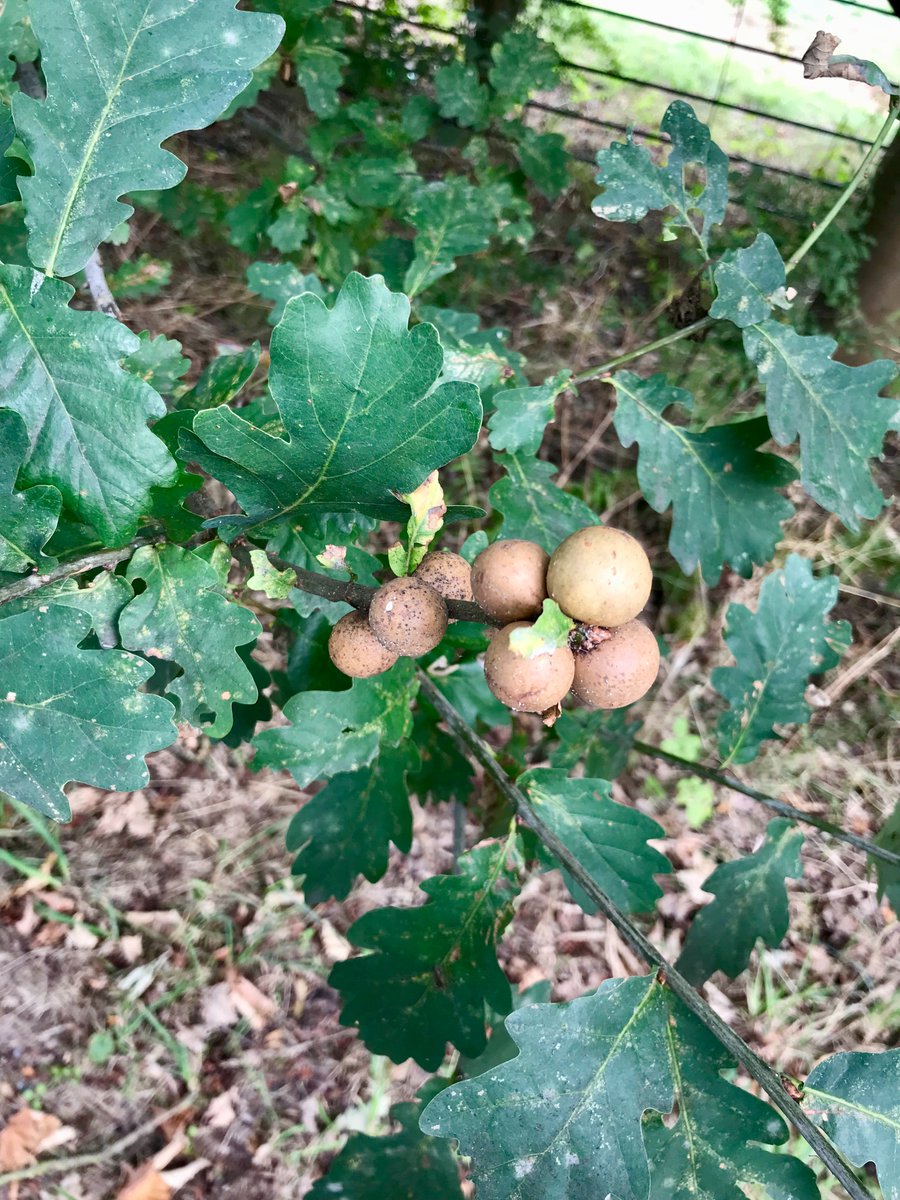
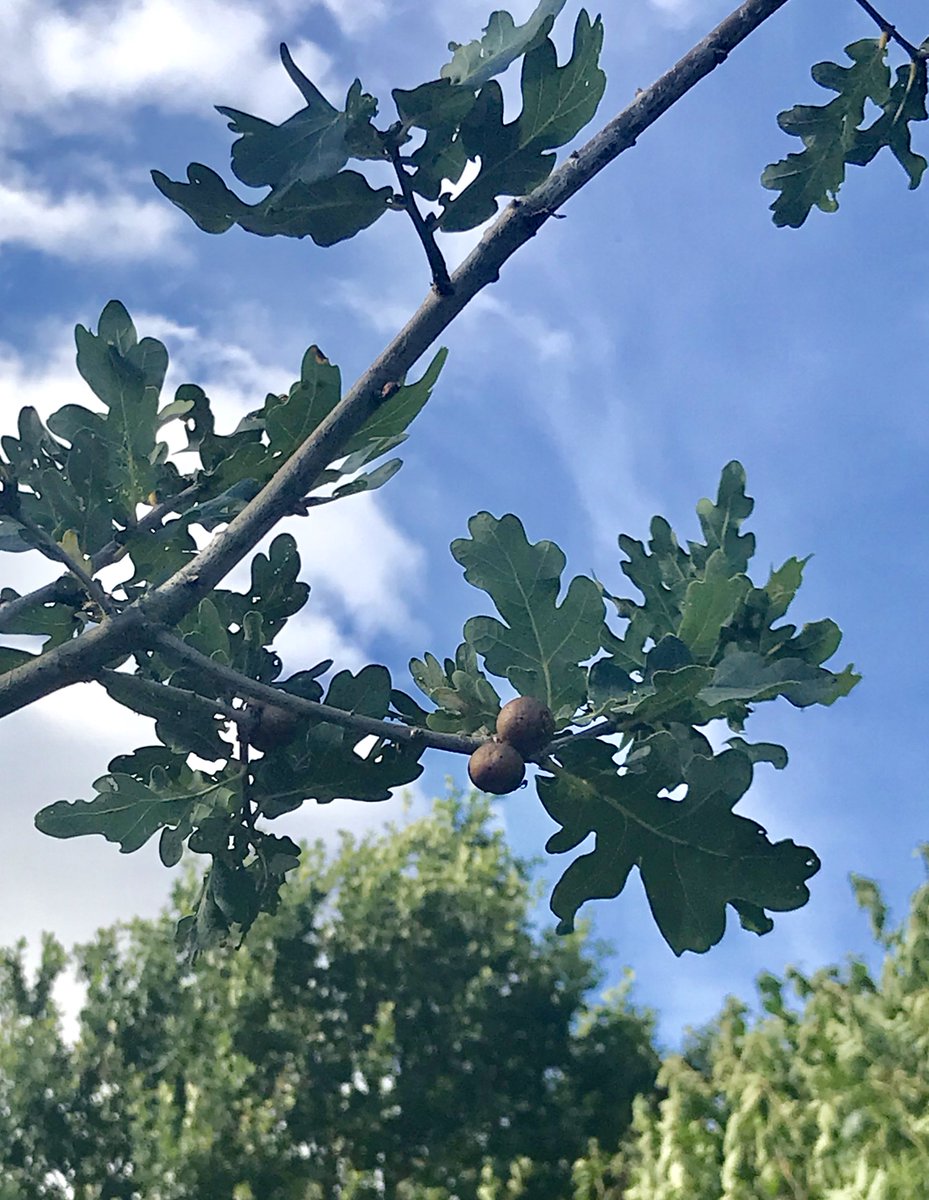
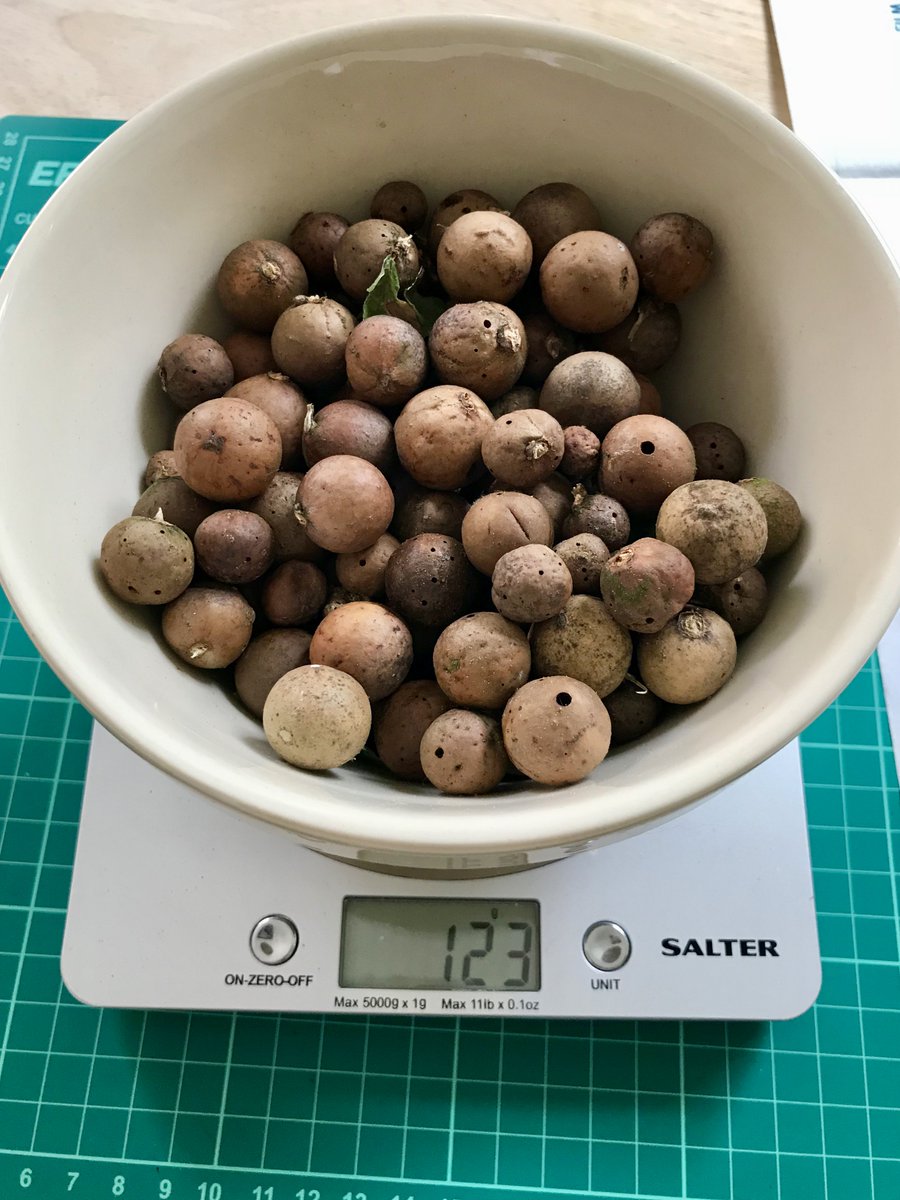
3. Based on my vast experience of one foraging trip, I found them much easier to spot on smaller, younger oak trees. This little one in particular had loads - I got about twelve from it. In less than an hour, I had collected this lot - 123 grams

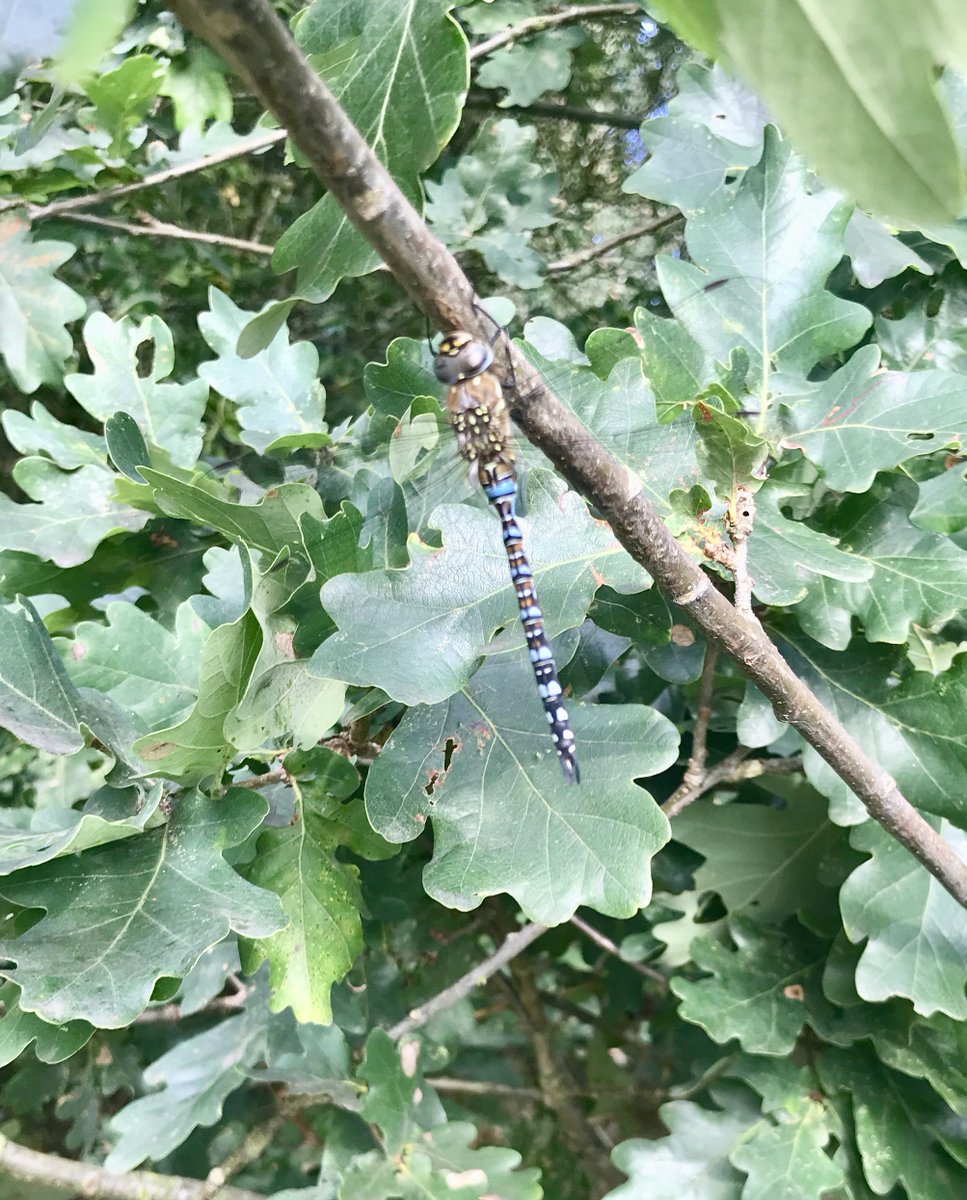
4. At first I was terrified that a wasp would emerge as I was separating a gall from a branch, or I would get swarmed by angry wasp parents, but after a while it all felt lovely and I felt tuned-in to nature and the past. Although I did scream when a dragonfly flew near my face.
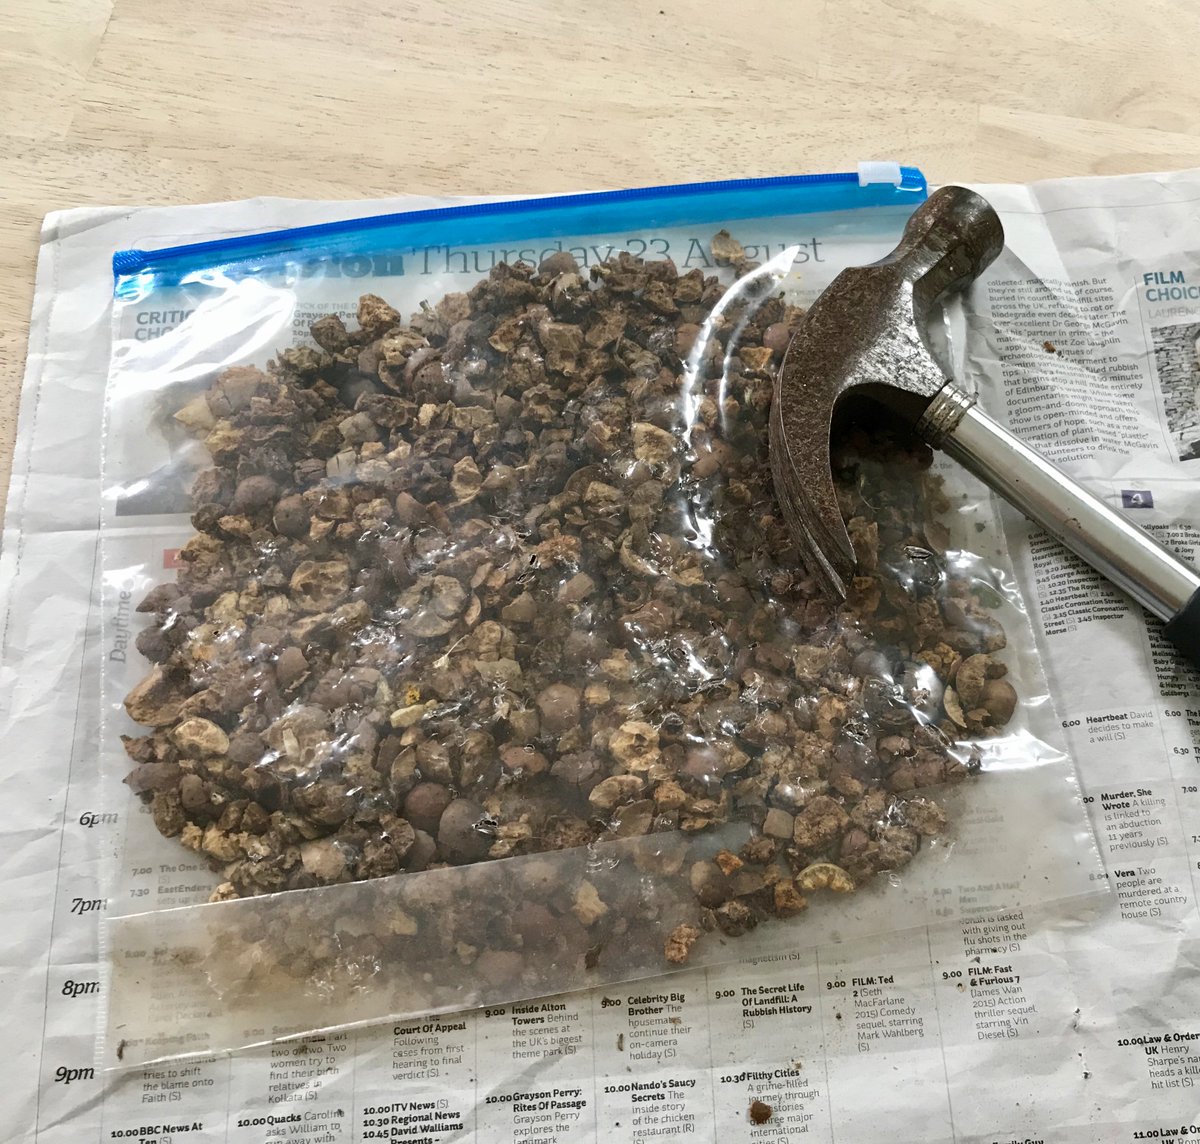
5. I loosely followed the recipe from @LovettPatricia's book ‘Tools and Materials for Calligraphy’ (there are plenty of other recipes - the Iron Gall Ink website is very useful irongallink.org/igi_index.html). First, the fun part - smashing up the galls. I weighed out 80 grams
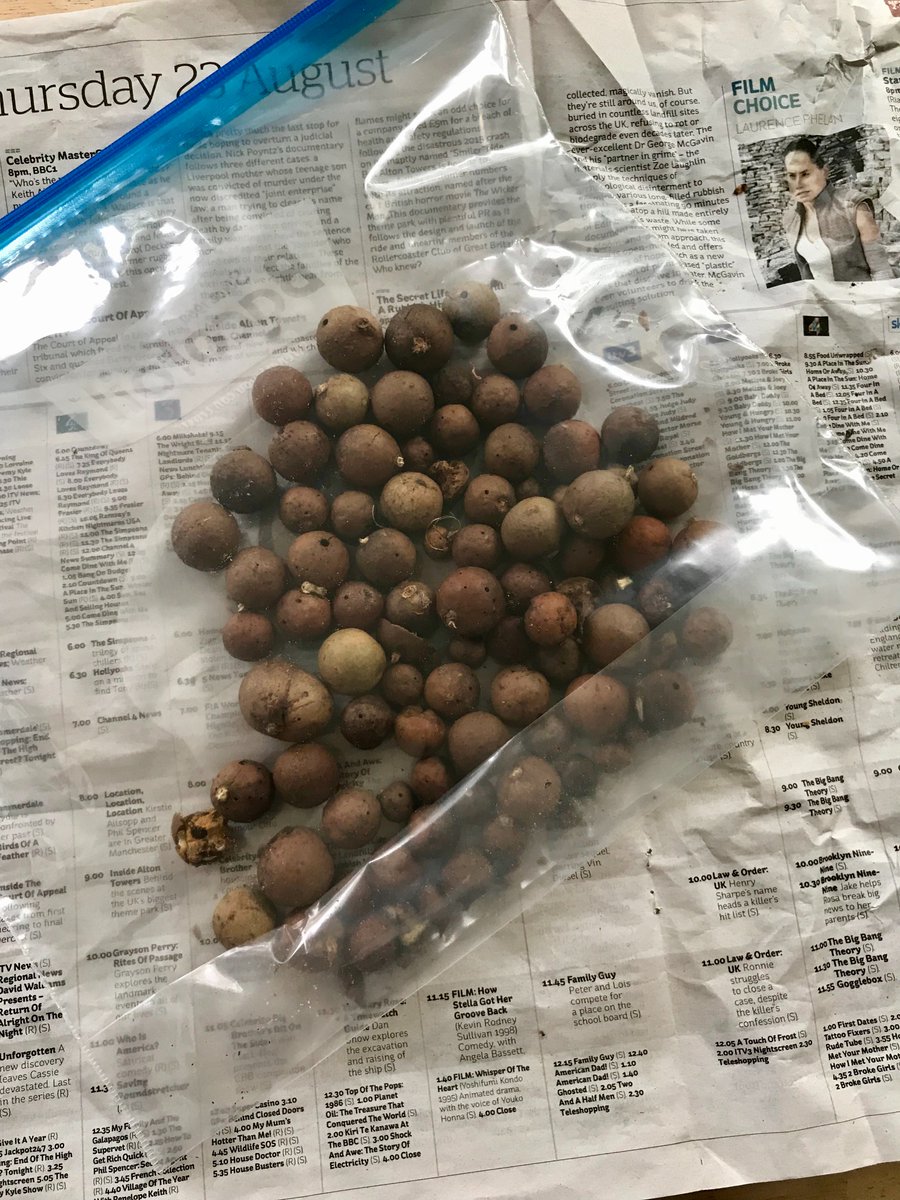

6. I put them in a clear plastic bag rather than a newspaper, mainly because I wanted to see what was happening. Still worried about baby wasps, but apparently this did not bother medievalists, they actually preferred the grub still inside 😬
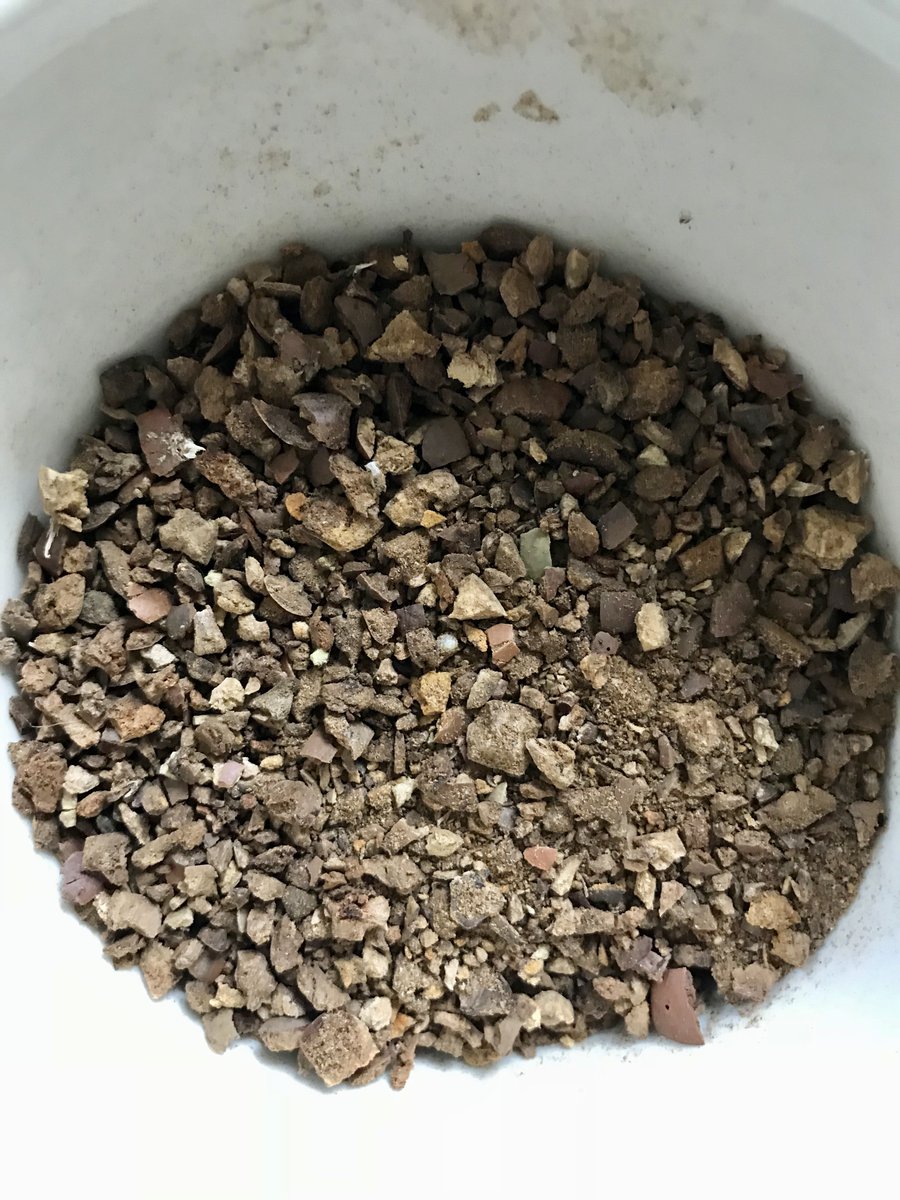
7. So, after some cathartic smashing and freeing of small insects that crawled out (no grubs, just earwigs) in 5/10 minutes I had this bag of small chunks. I liked Patricia’s recipe because you didn’t have to grind them down into a powder. Then I poured them into a jam-jar
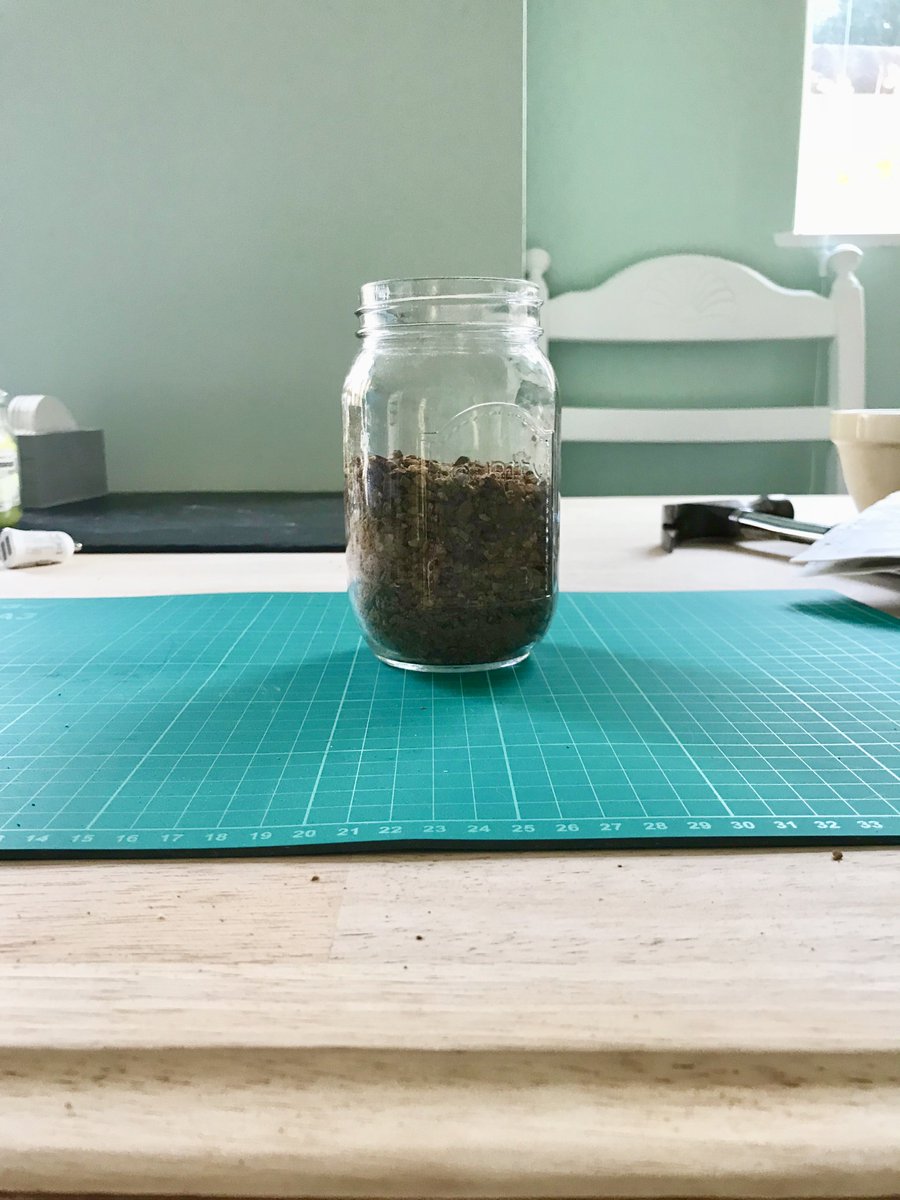
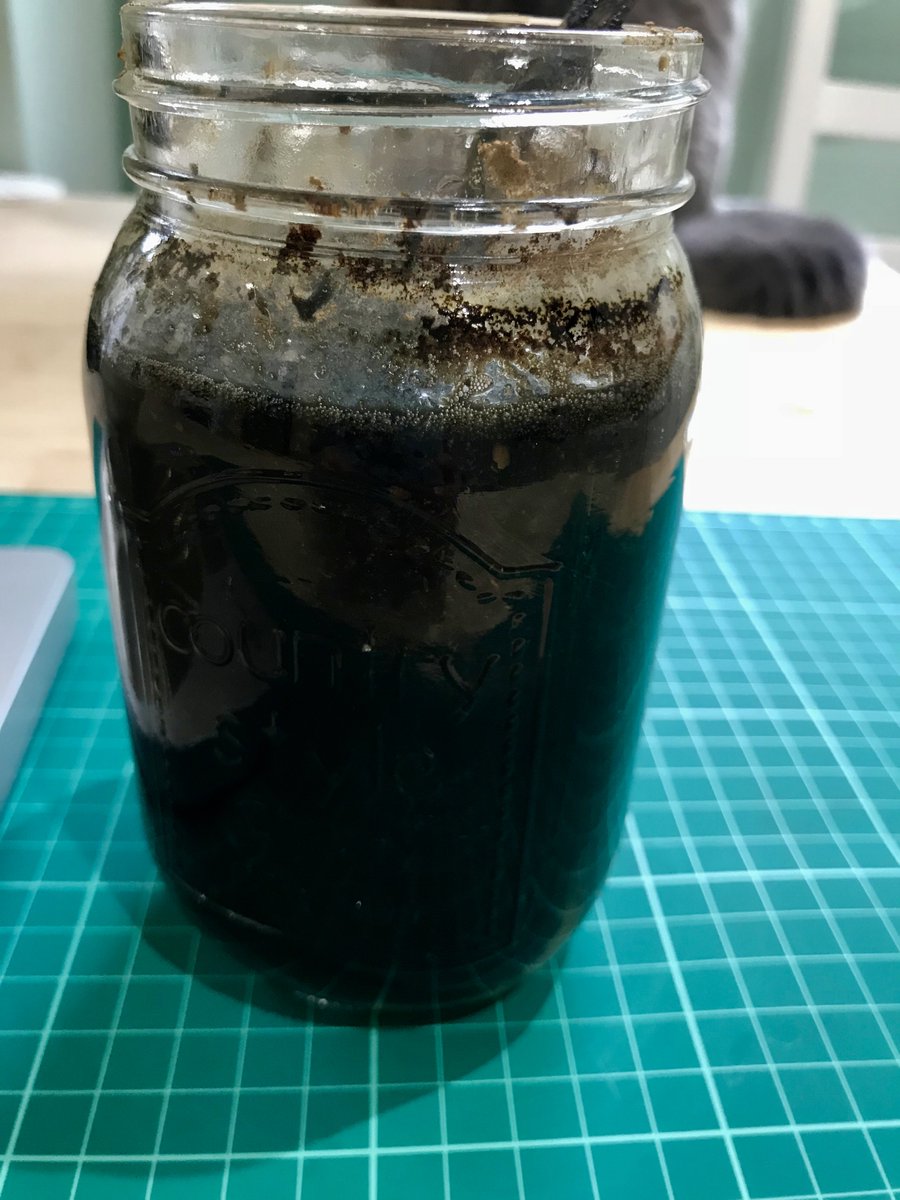
8. Most recipes recommend rain water, but it's been a long dry summer and I think our rainwater is probably more polluted than medieval rain, so I used distilled water (about 300ml). Gave it a quick stir with a lolly stick and then left it on a sunny windowsill for three days
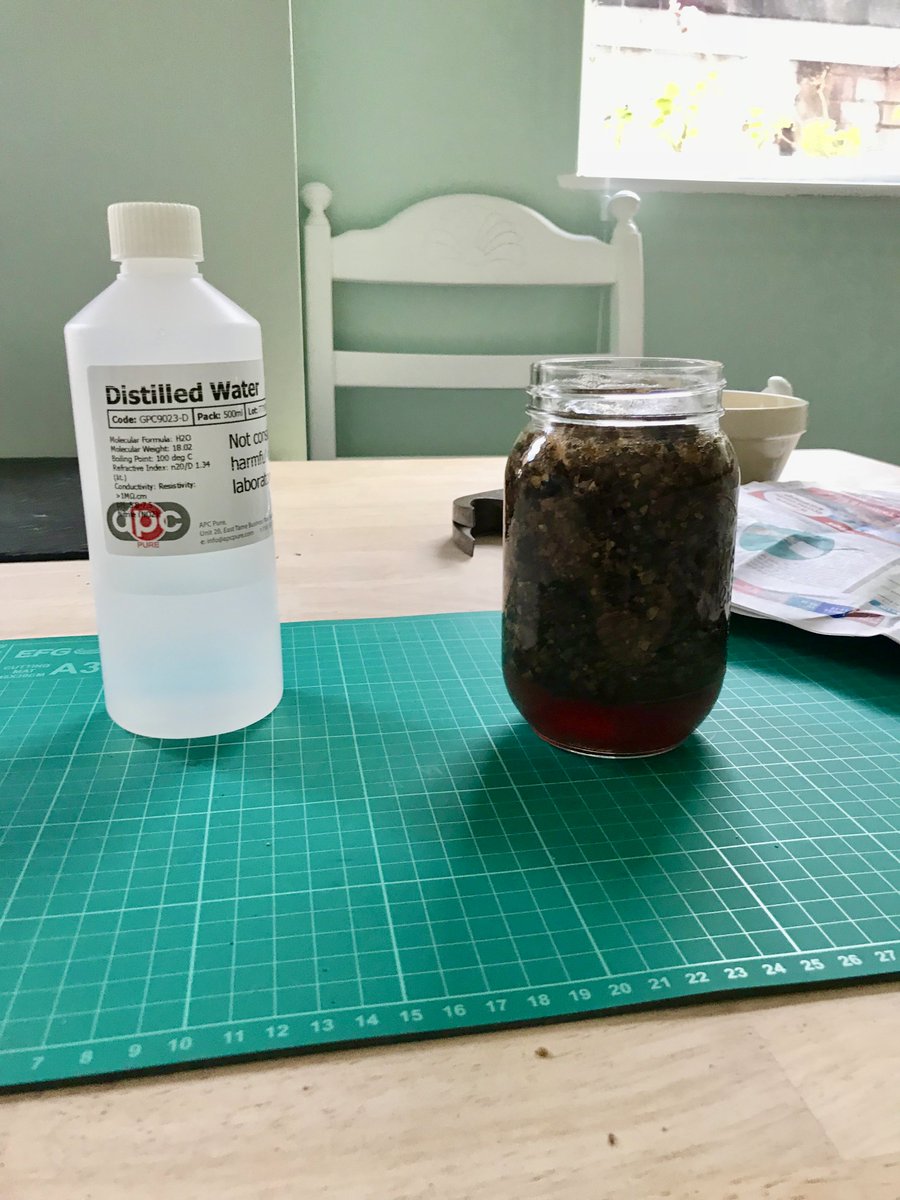
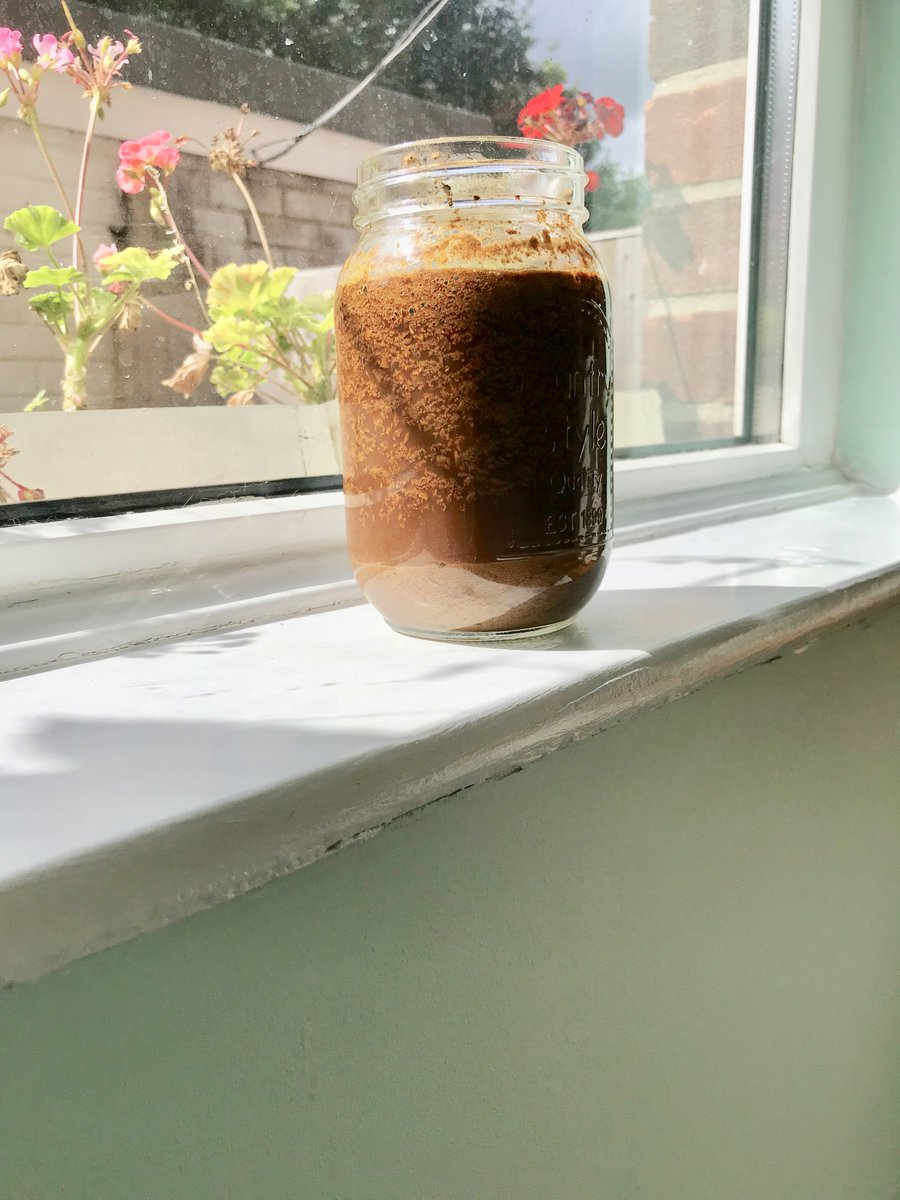
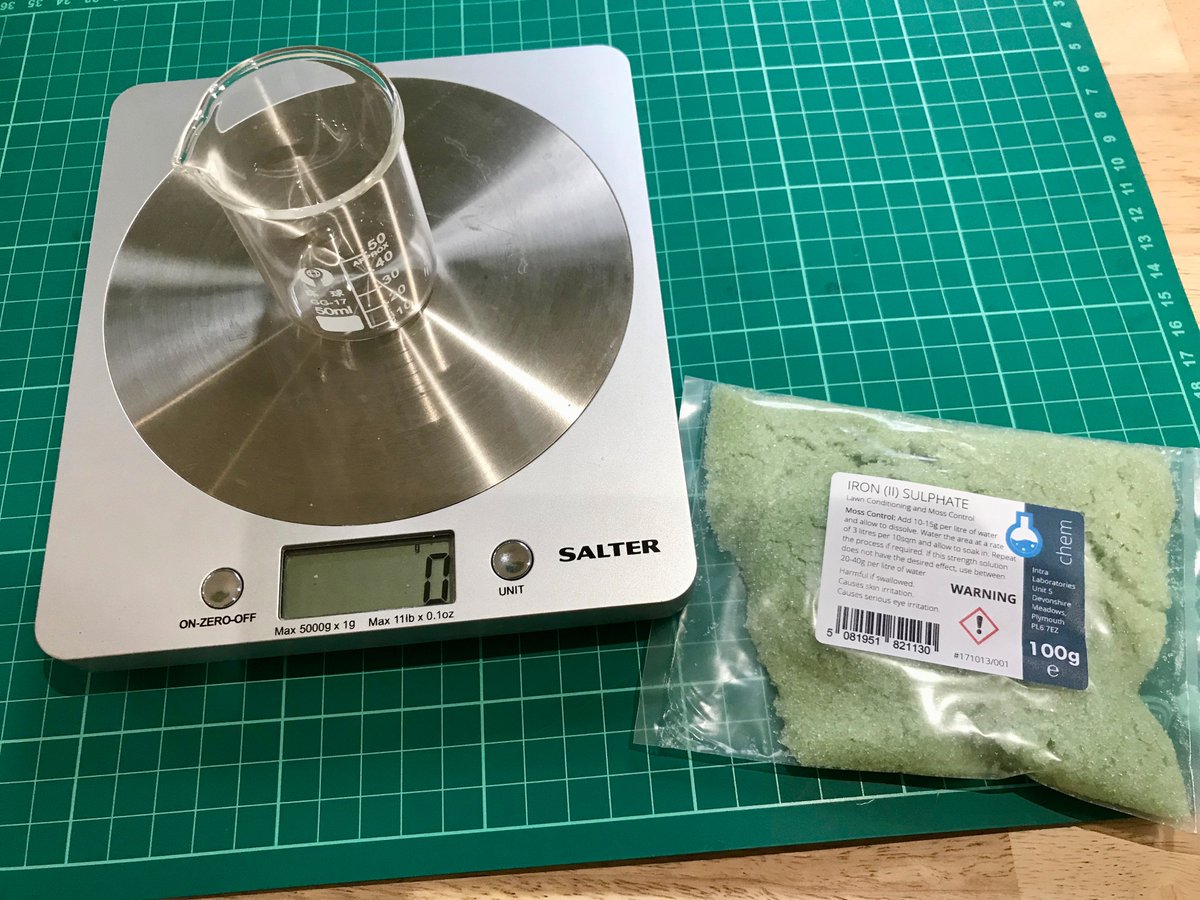
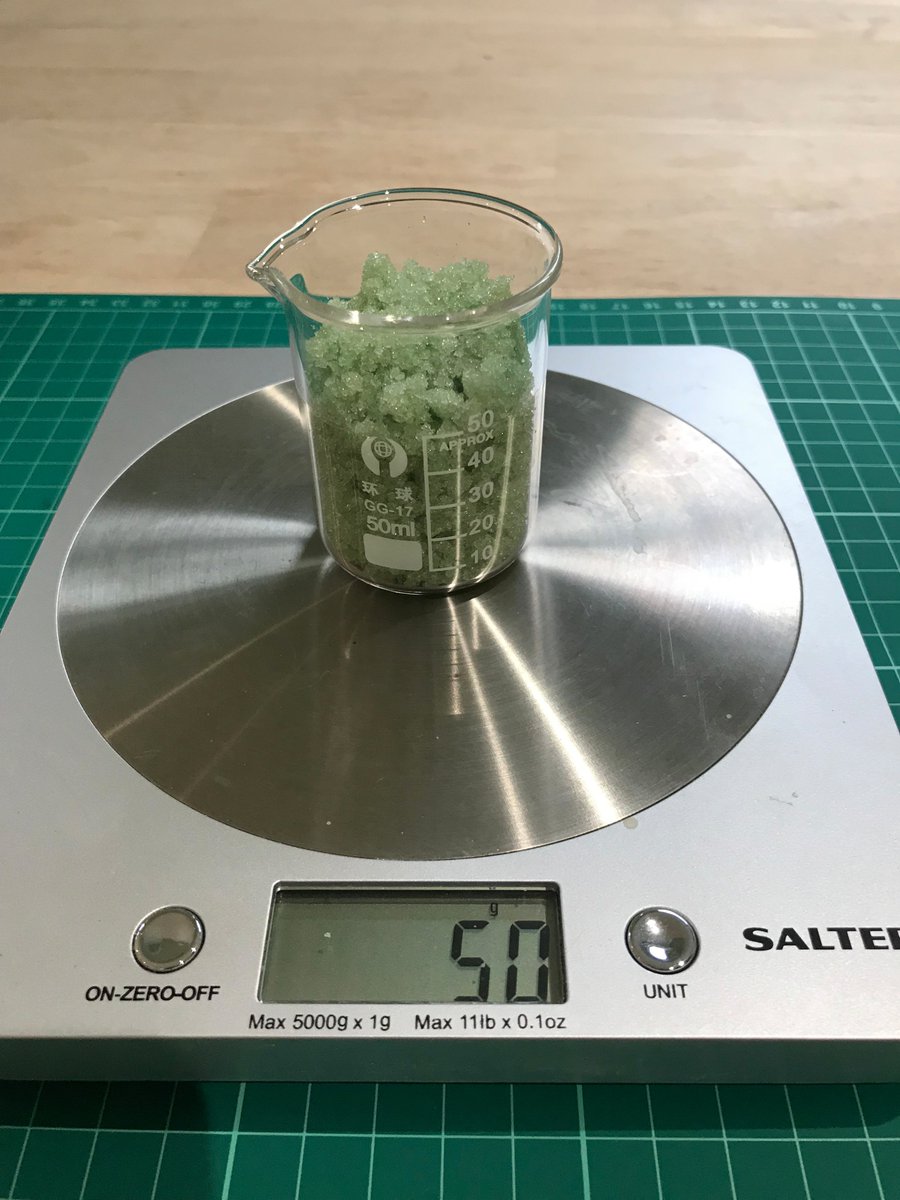
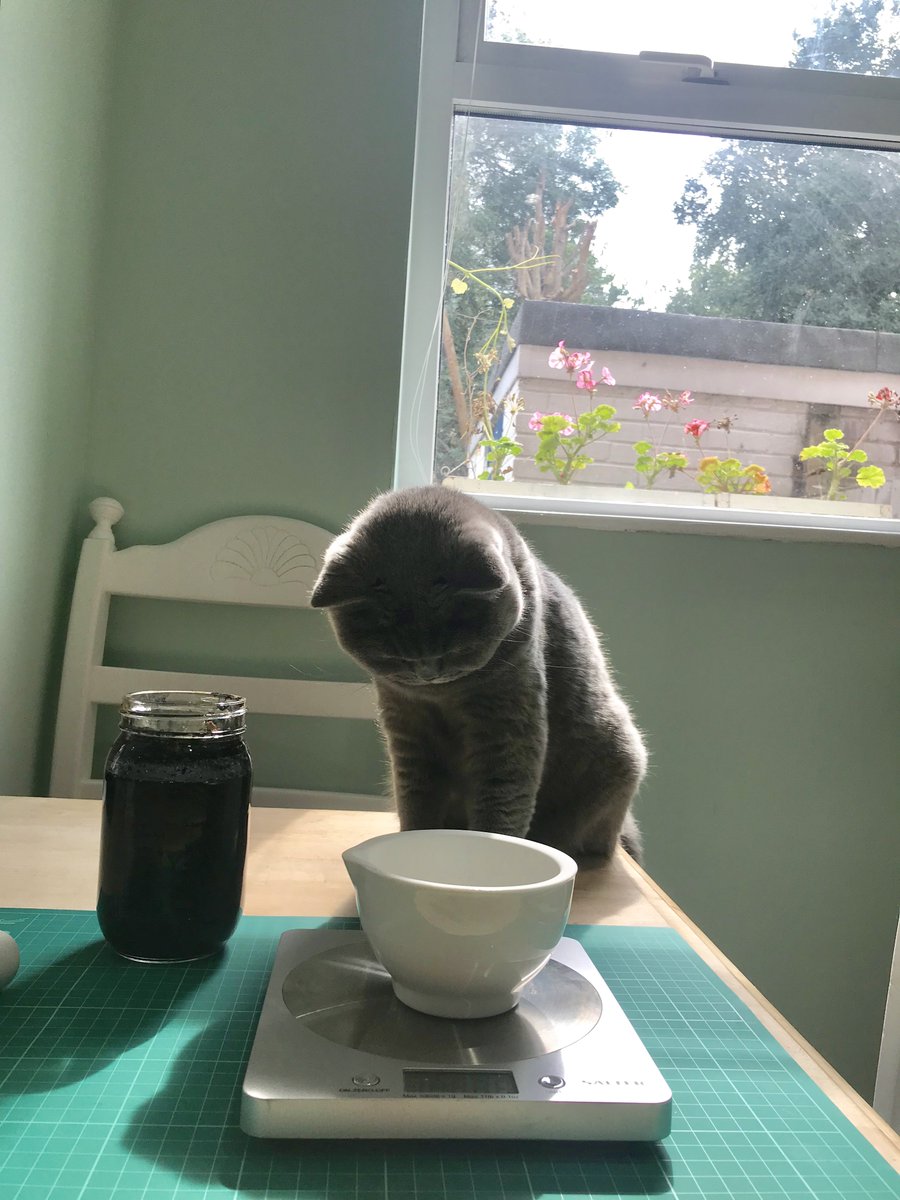
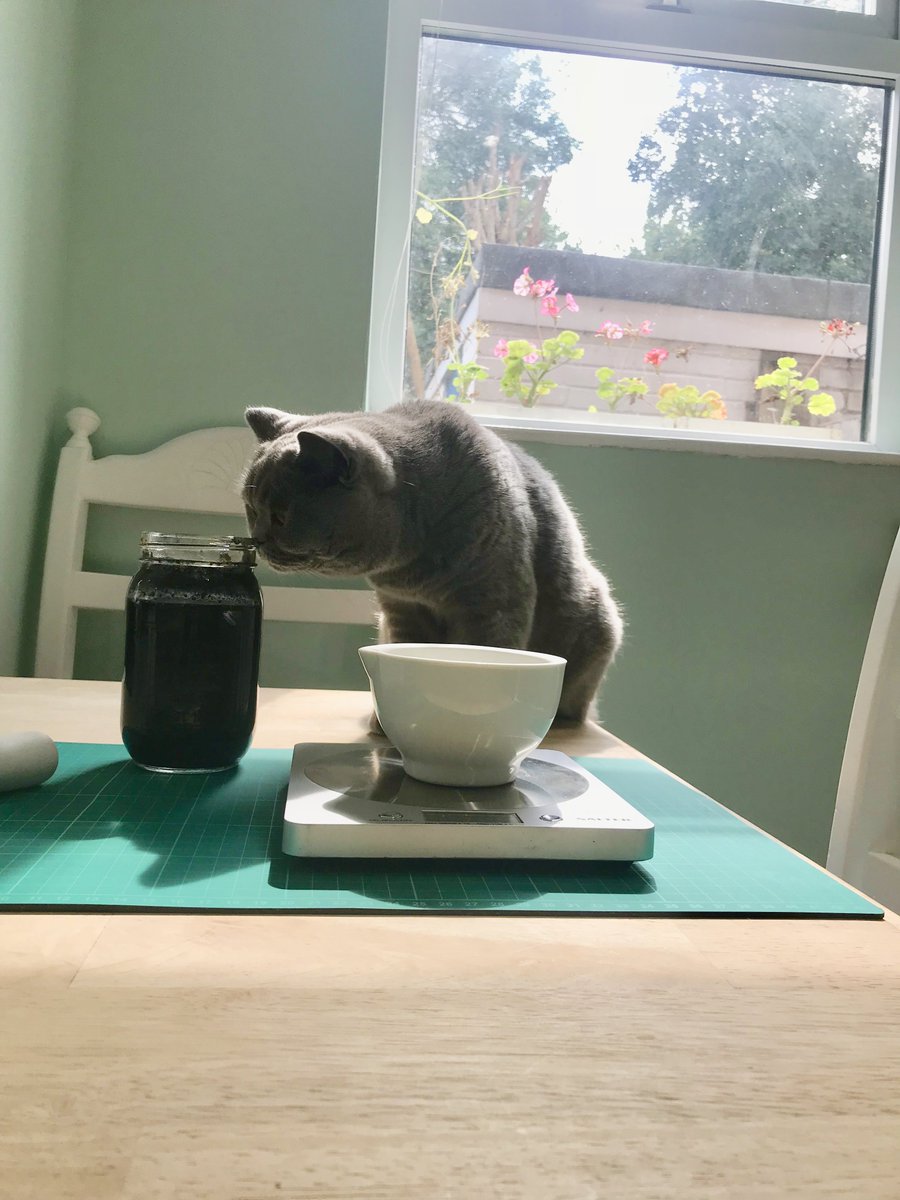
9. It went such a lovely deep brown. Next step was adding the ferrous sulphate (50 grams). Also known as copperas or green vitriol. I just got this off ebay. Apparently you can make your own with rusty nails, but I really wouldn't recommend that

10. The video shows how instantaneous the colour change is. At this stage my cat decided to get involved. NB - now the mixture stains, so mind your fingers. And your cats.
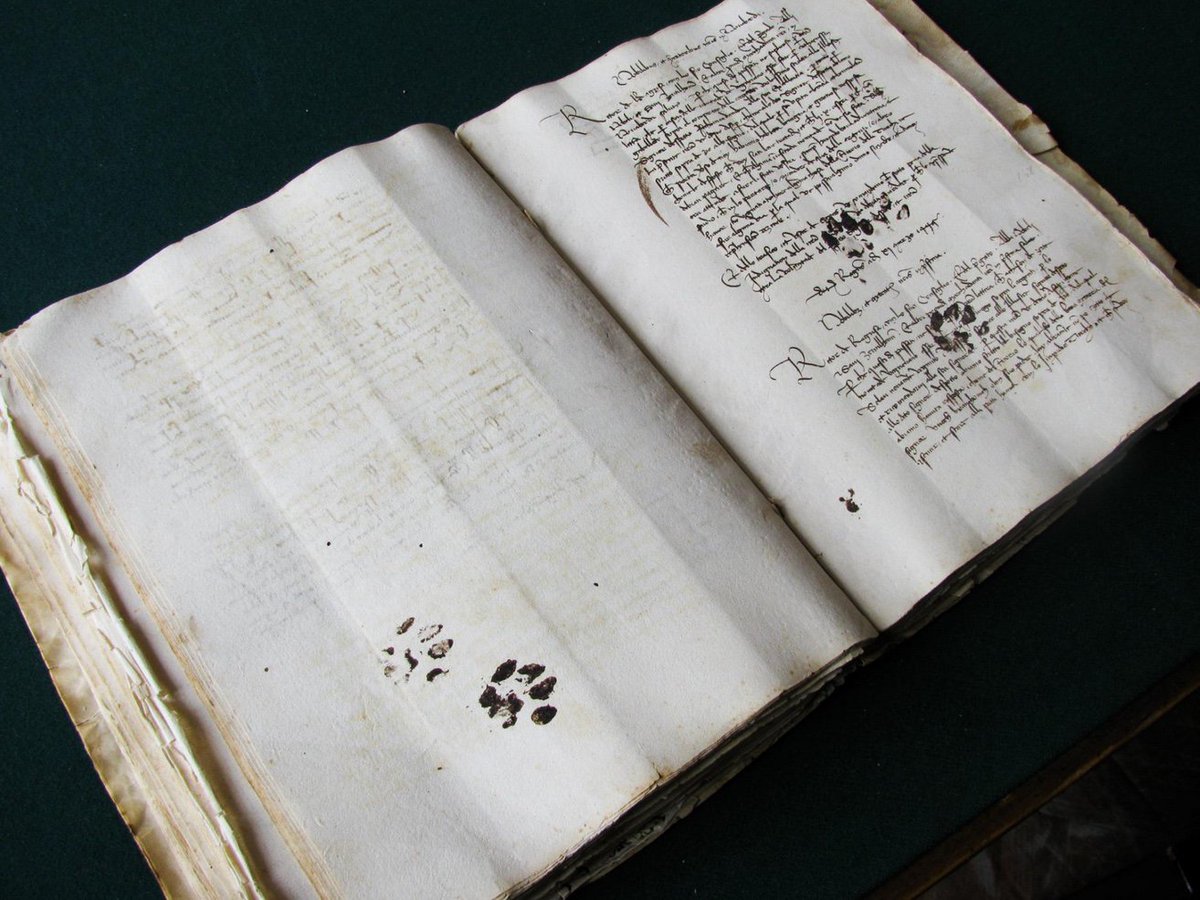
11. We don’t want a repeat of this:
museum-of-artifacts.blogspot.com/2015/10/inky-p… Photo: Emir O. Filipović
museum-of-artifacts.blogspot.com/2015/10/inky-p… Photo: Emir O. Filipović
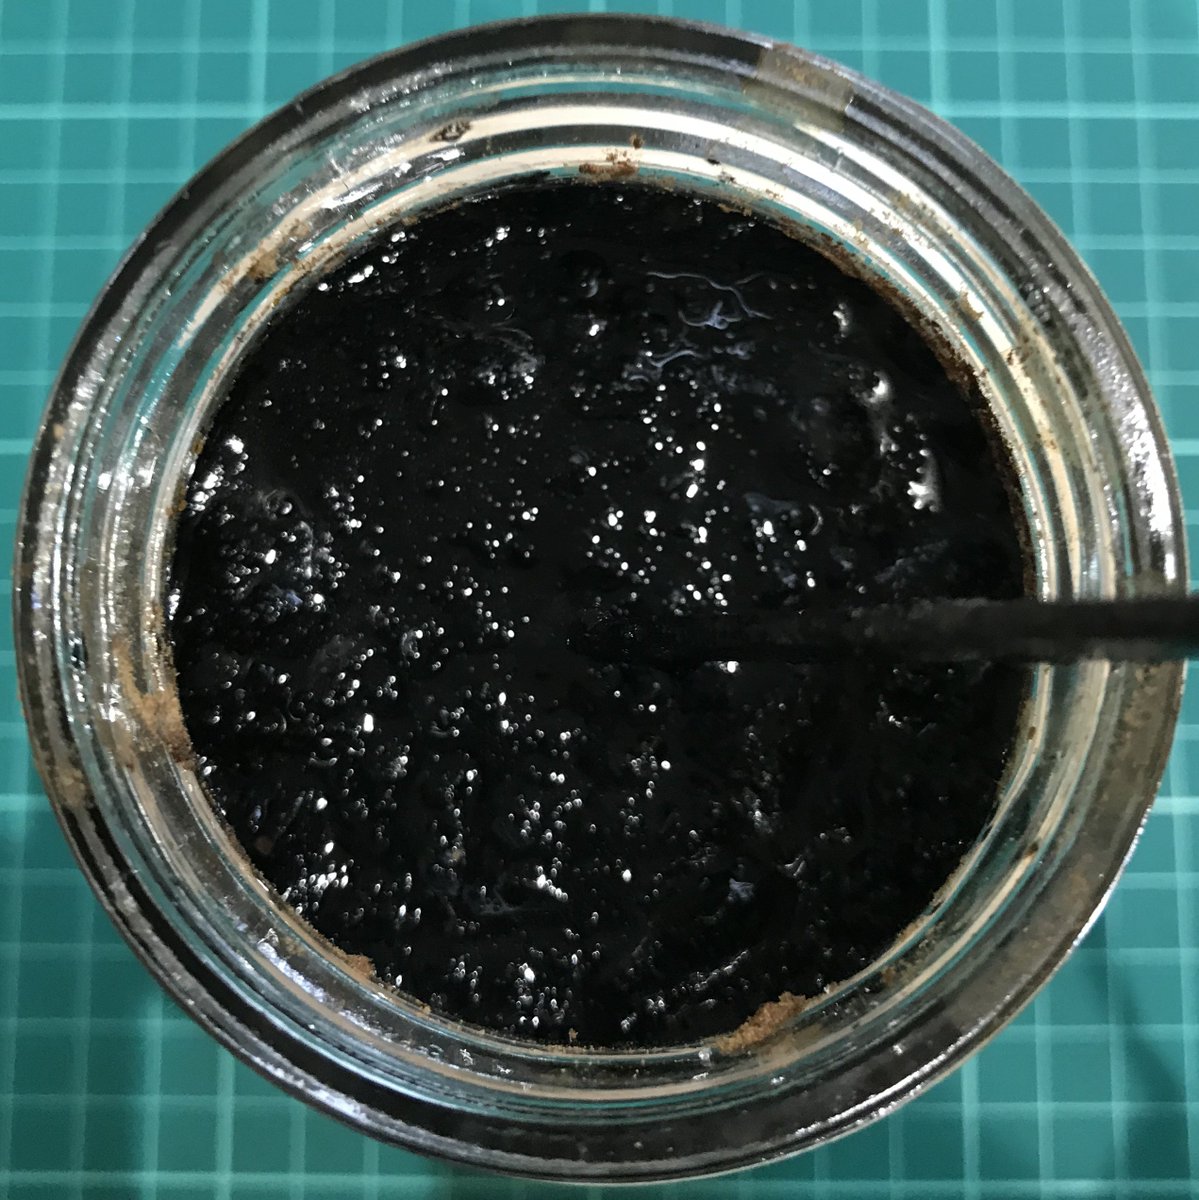
12. The mixture went a really intense black. Almost blue-black. The cat was forbidden to go near the windowsill. The lolly stick was stained beyond redemption.

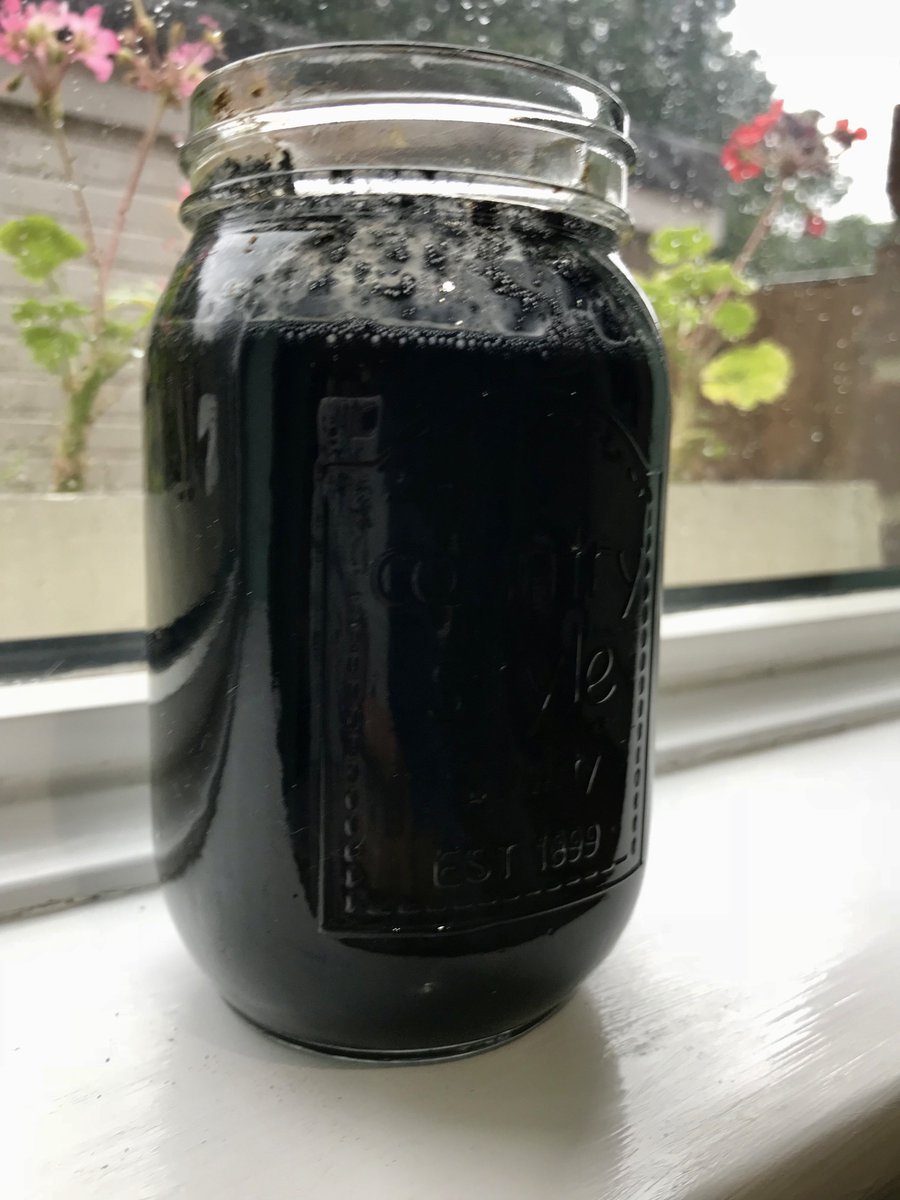
13. Let’s take a moment to stare into the abyss…
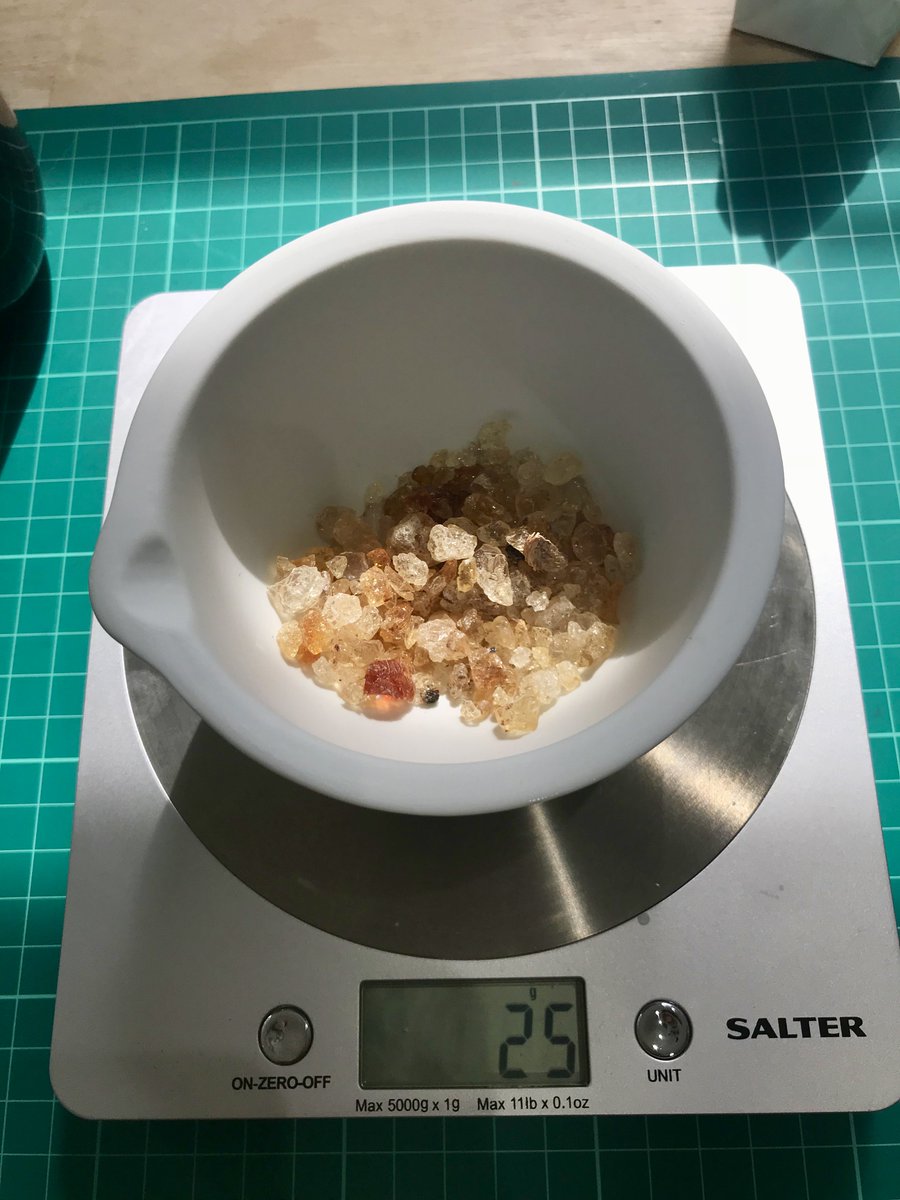
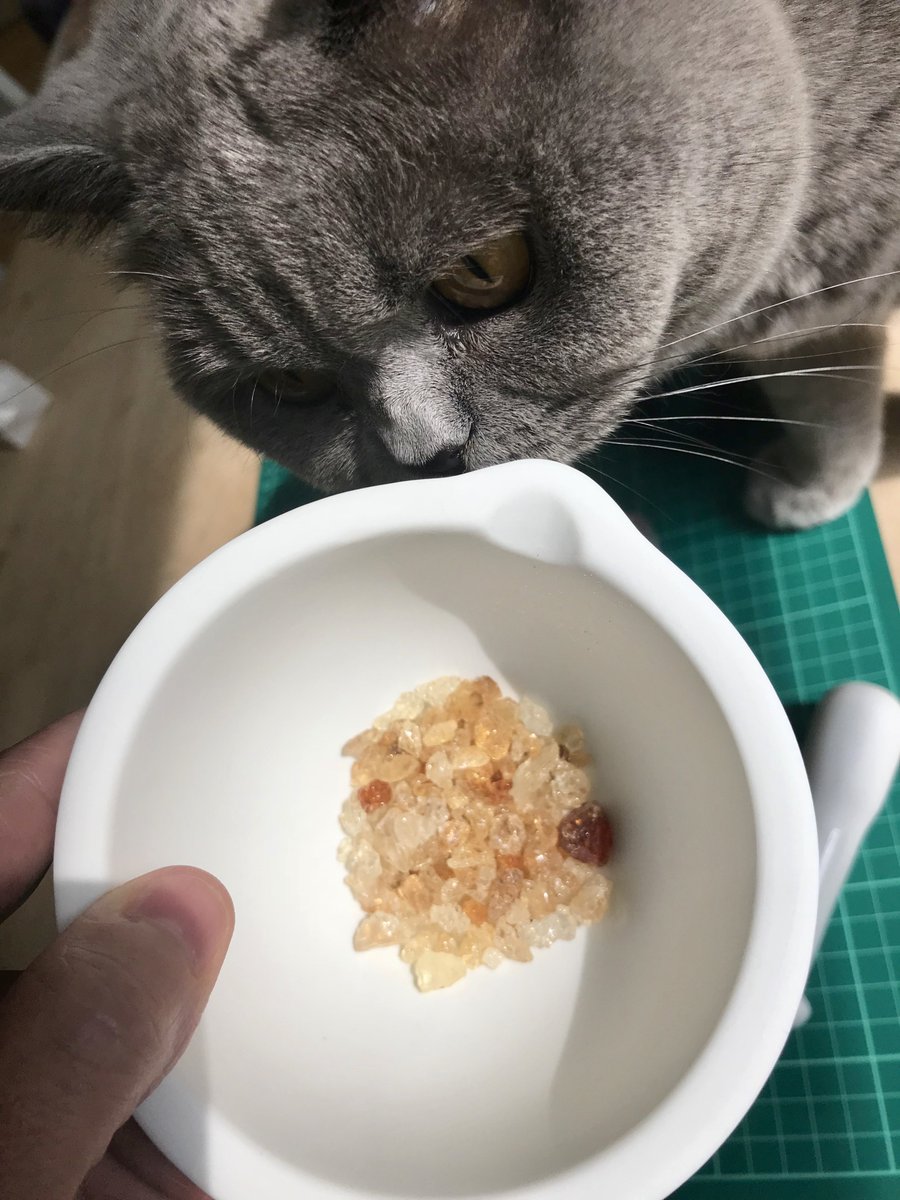
14. After a few more days, the next step was to grind up 25 grams of gum arabic into powder. Chloe was now fully onboard with the ink-making process.
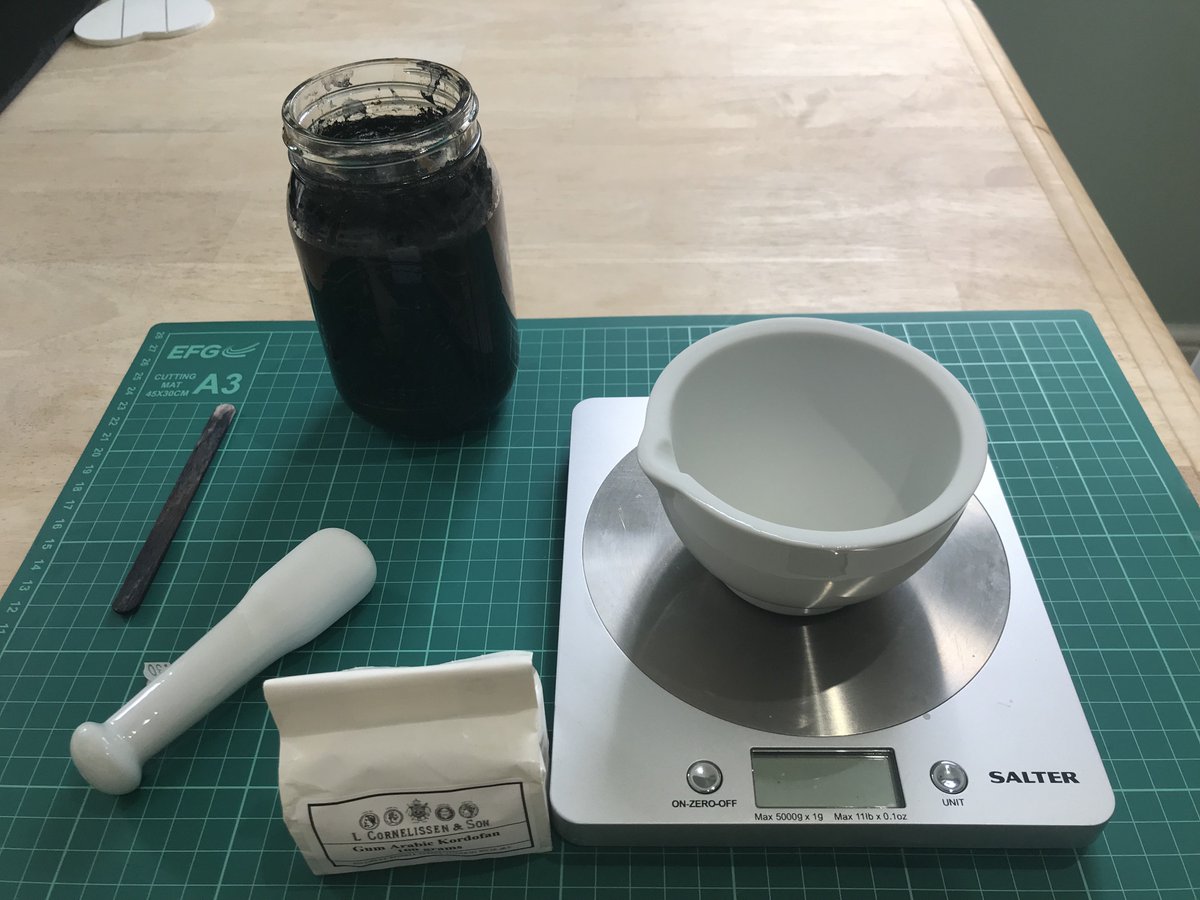
15. The gum arabic was beautiful and sparkled like jewels. Chloe approved. Gum arabic thickens ink and enables to it adhere to the writing surface.
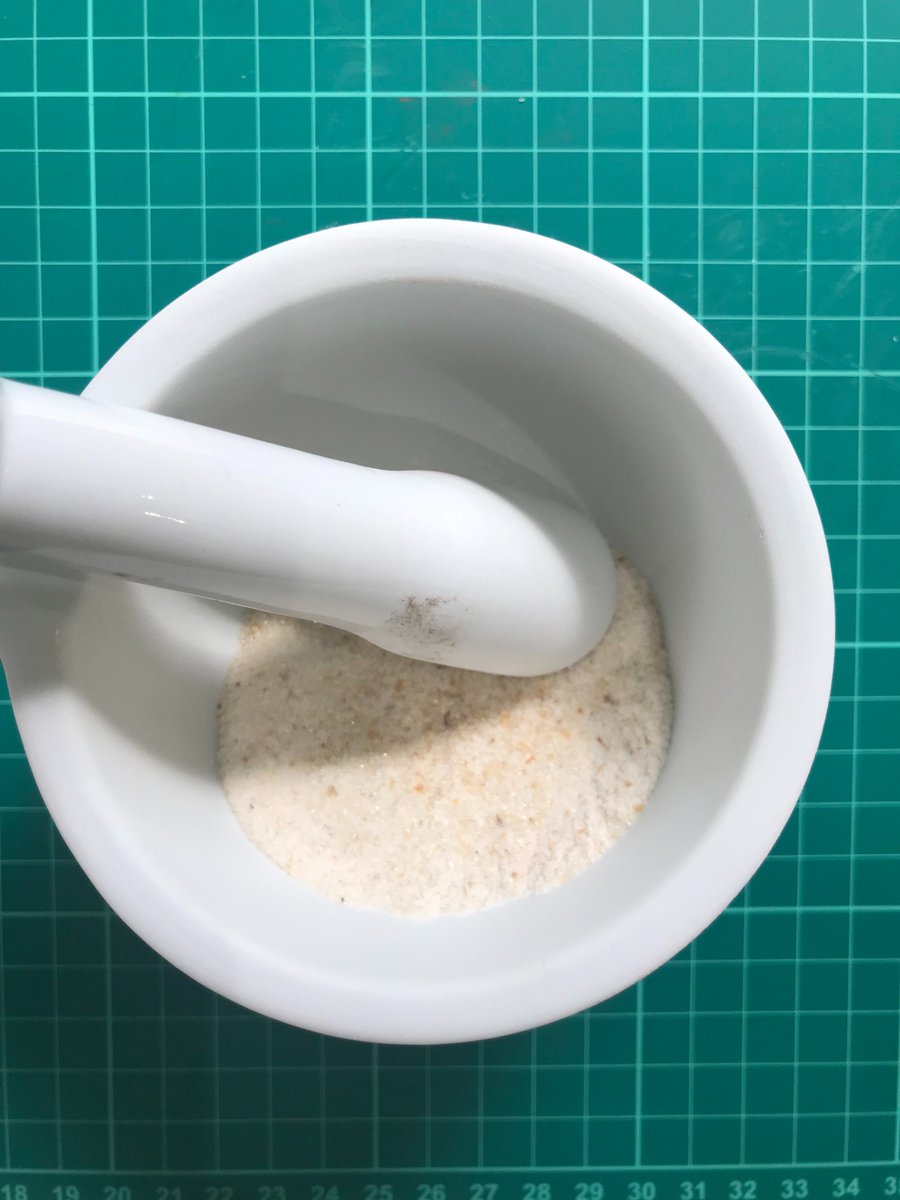
16. After I had ground it down to a powder, I added it to the mixture of oak galls and ferrous sulphate. Once again Chloe photobombed the video. Not sure that I could see that much difference in the mixture, but left again for a day on the windowsill
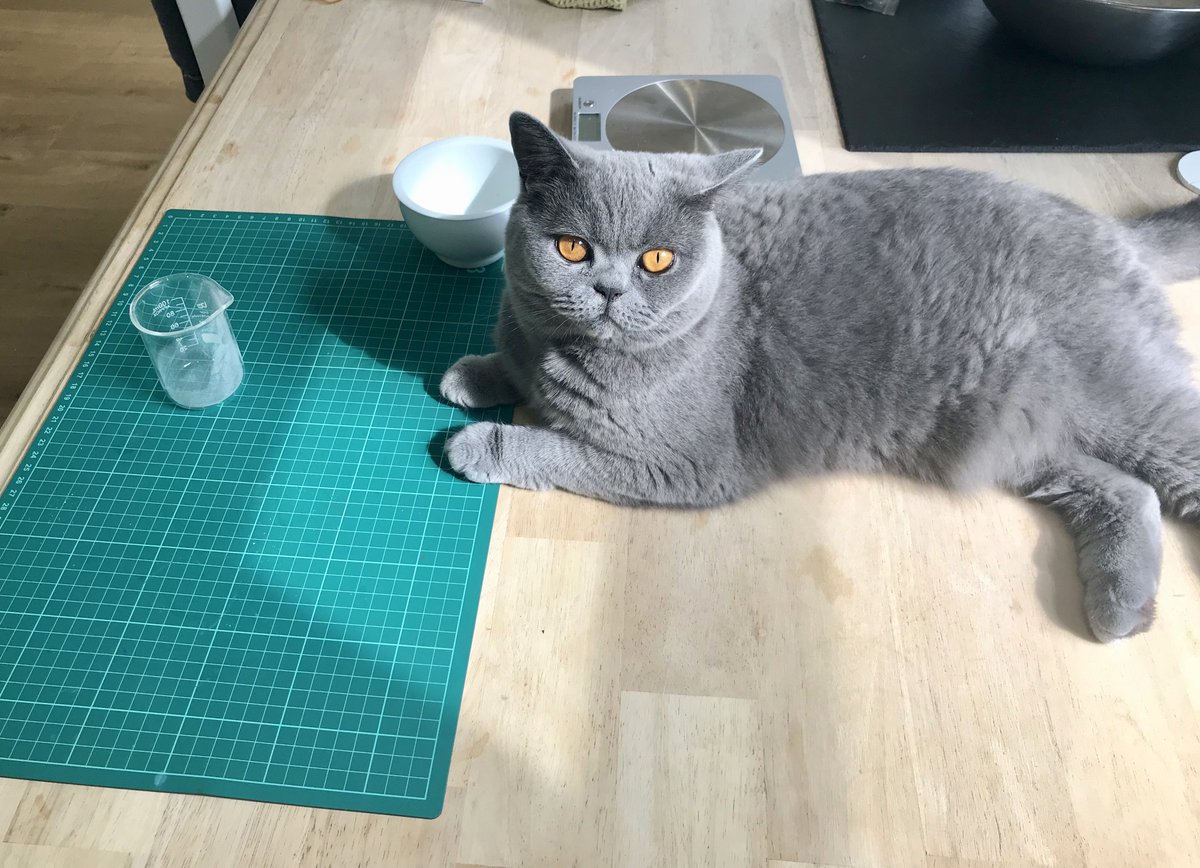
17. Luna was sad she’d missed all the fun
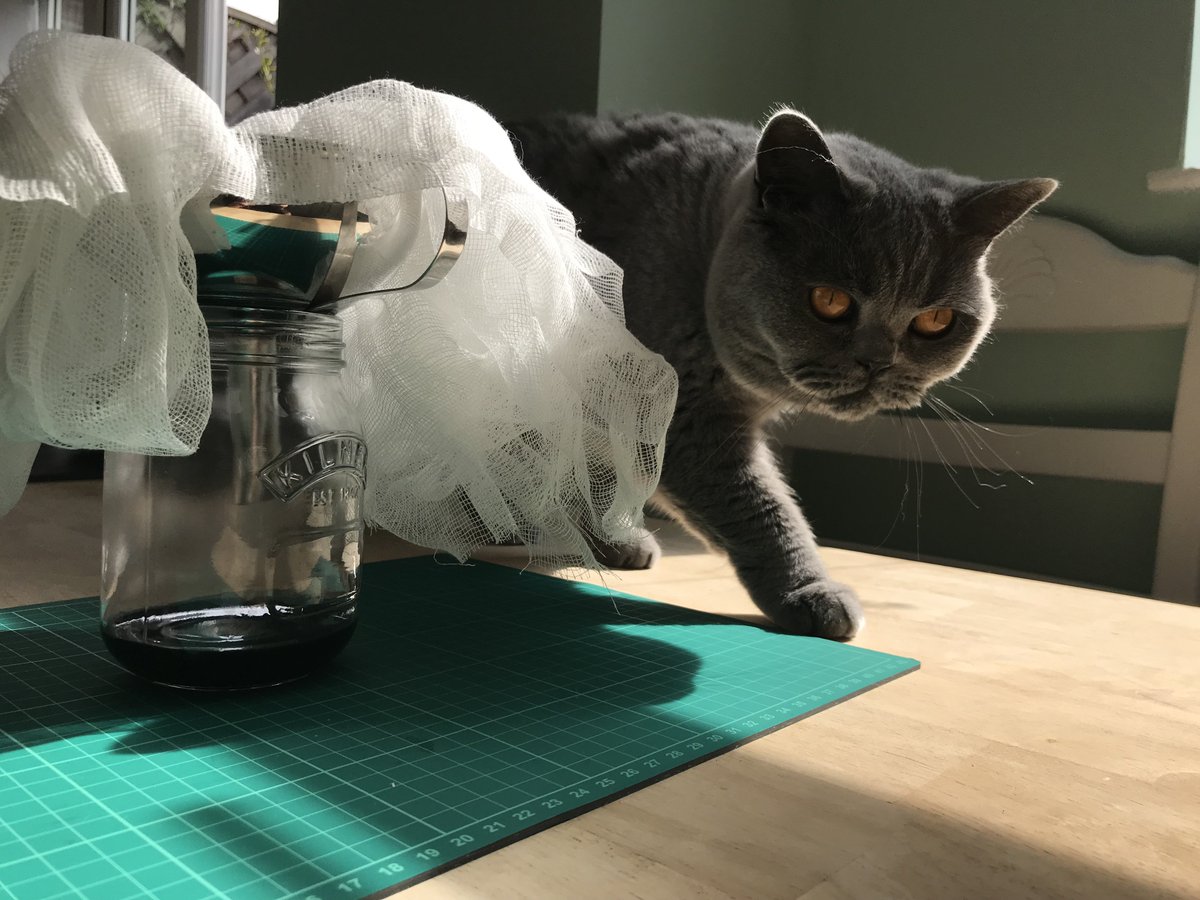
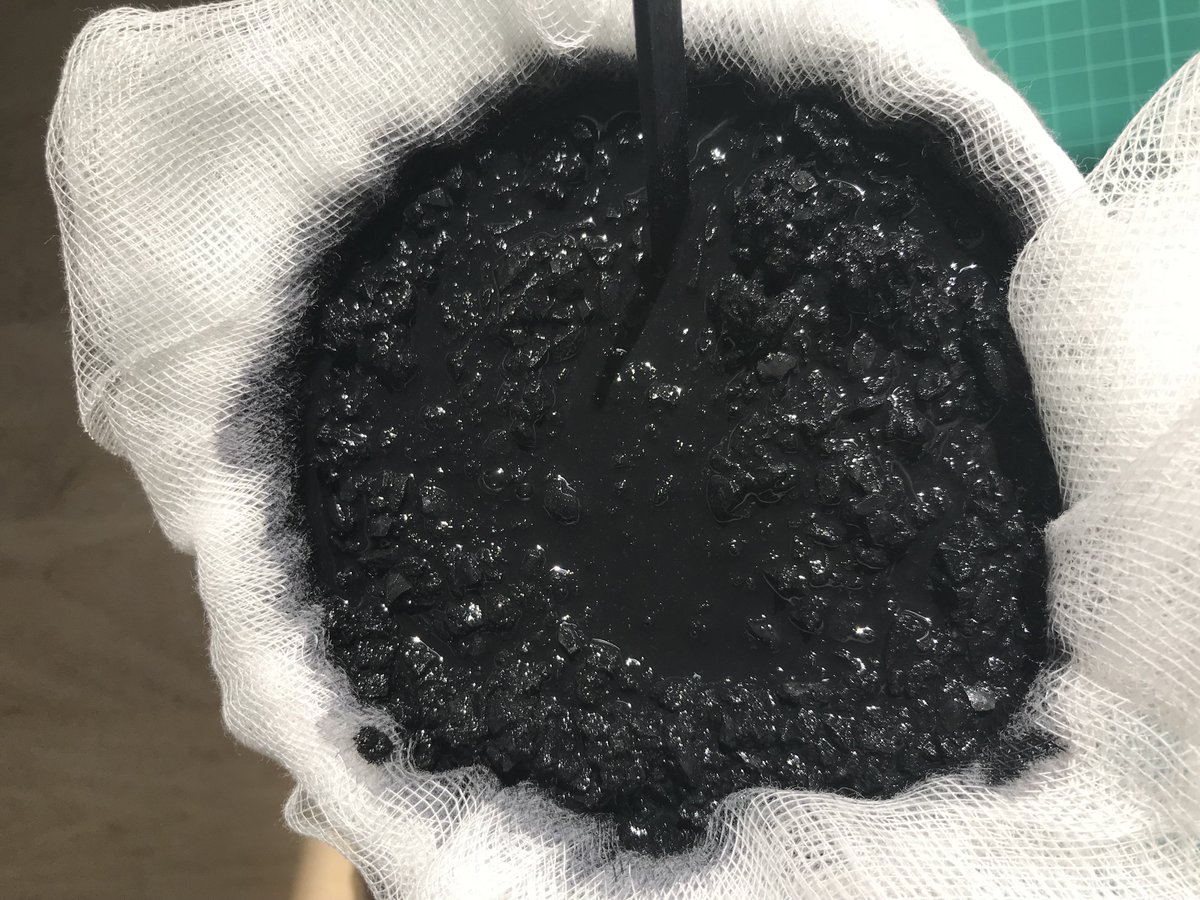
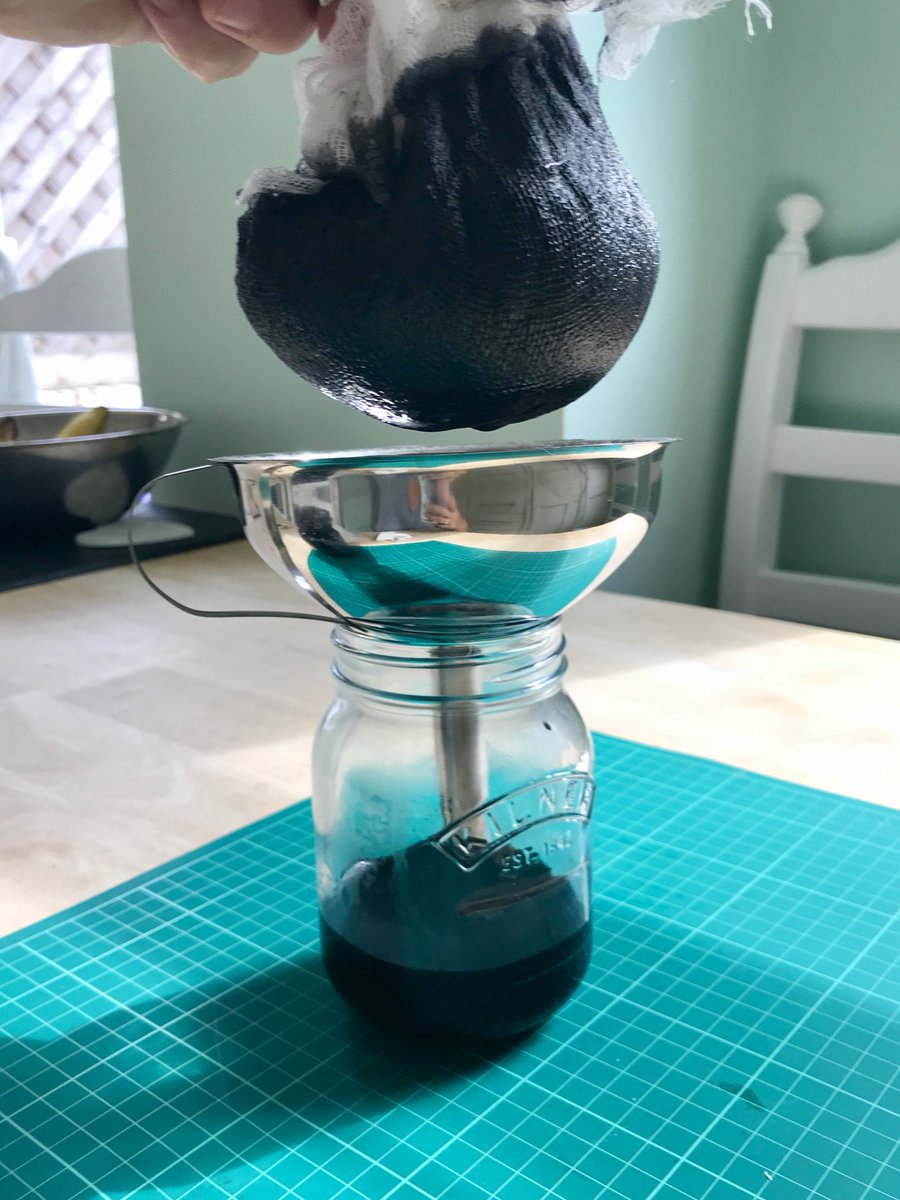
18. Last stage! (Thanks for sticking with me) I strained the mixture through a muslin cloth using a funnel. More sensible people would probably use gloves for this part. I left it for a while to let gravity do its thing. Chloe stealthily checked my progress.
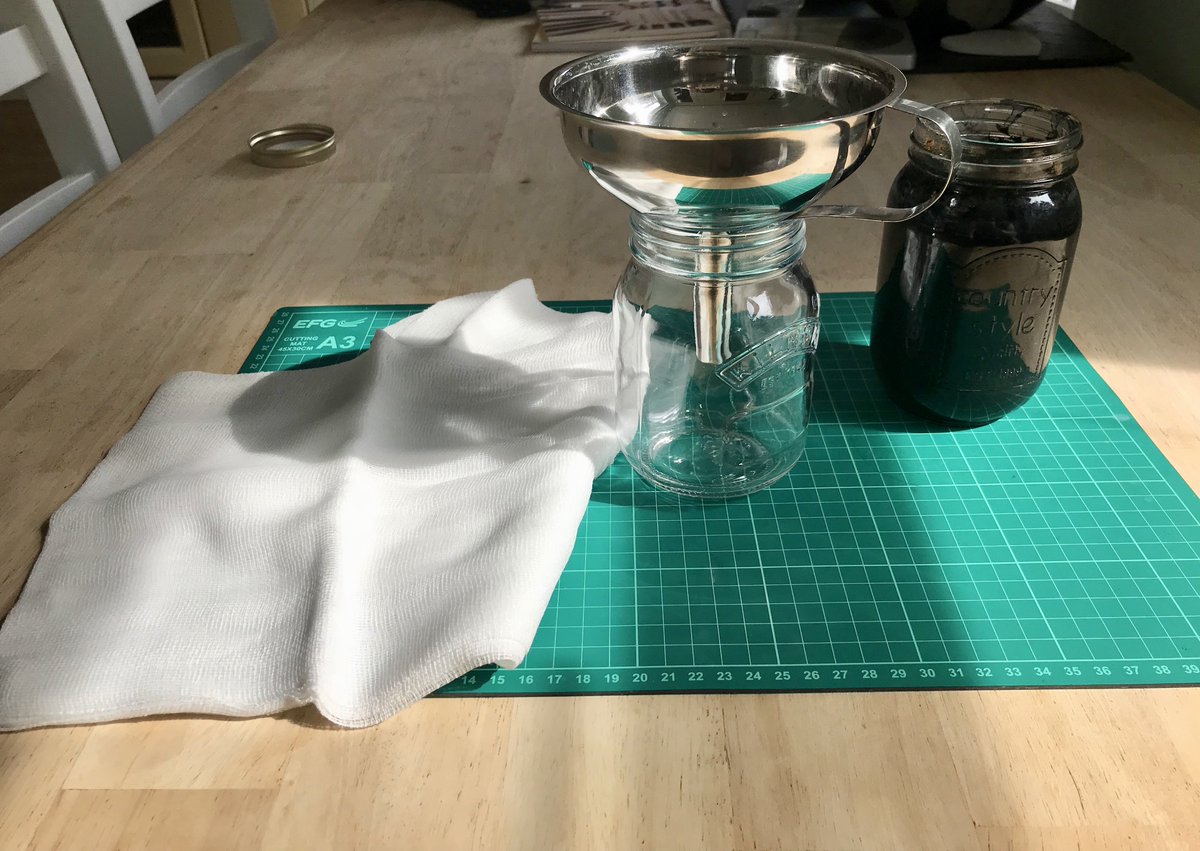
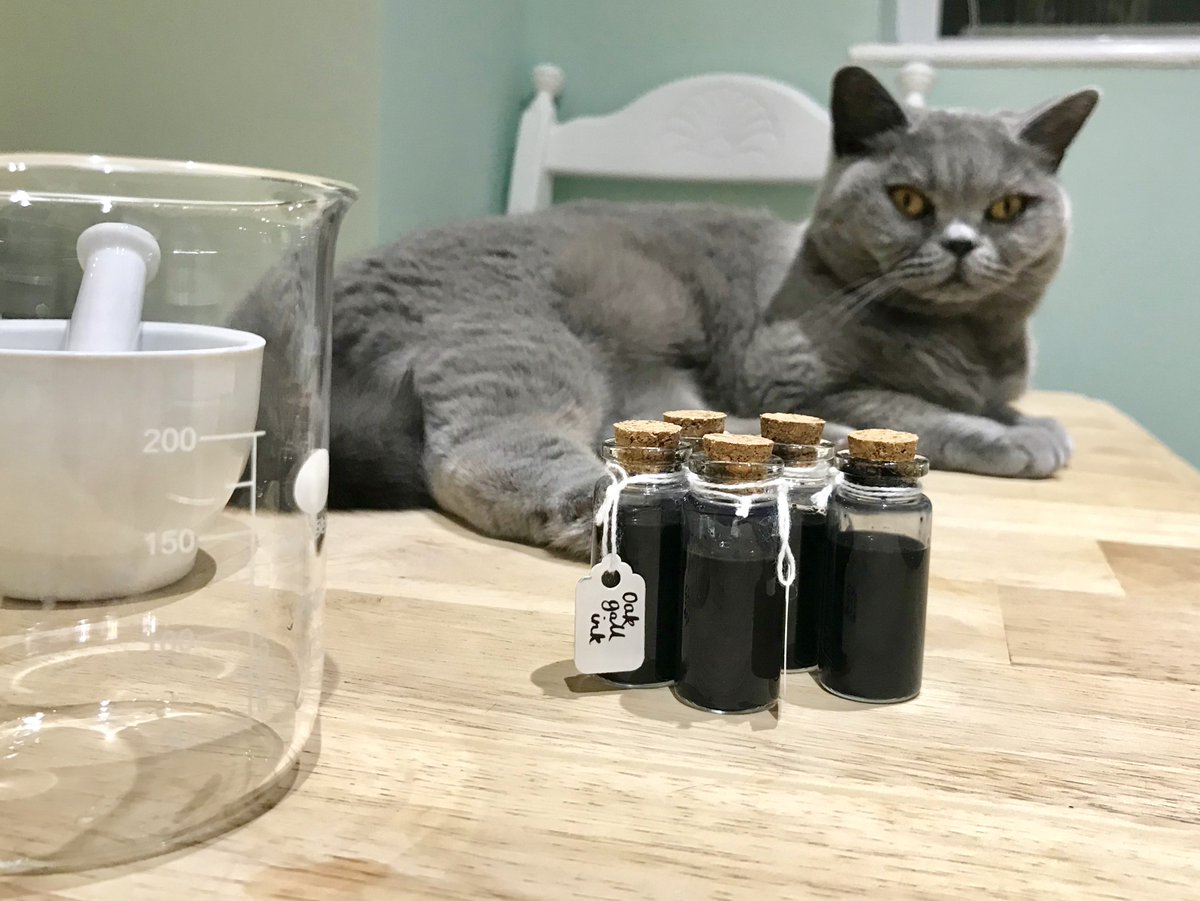
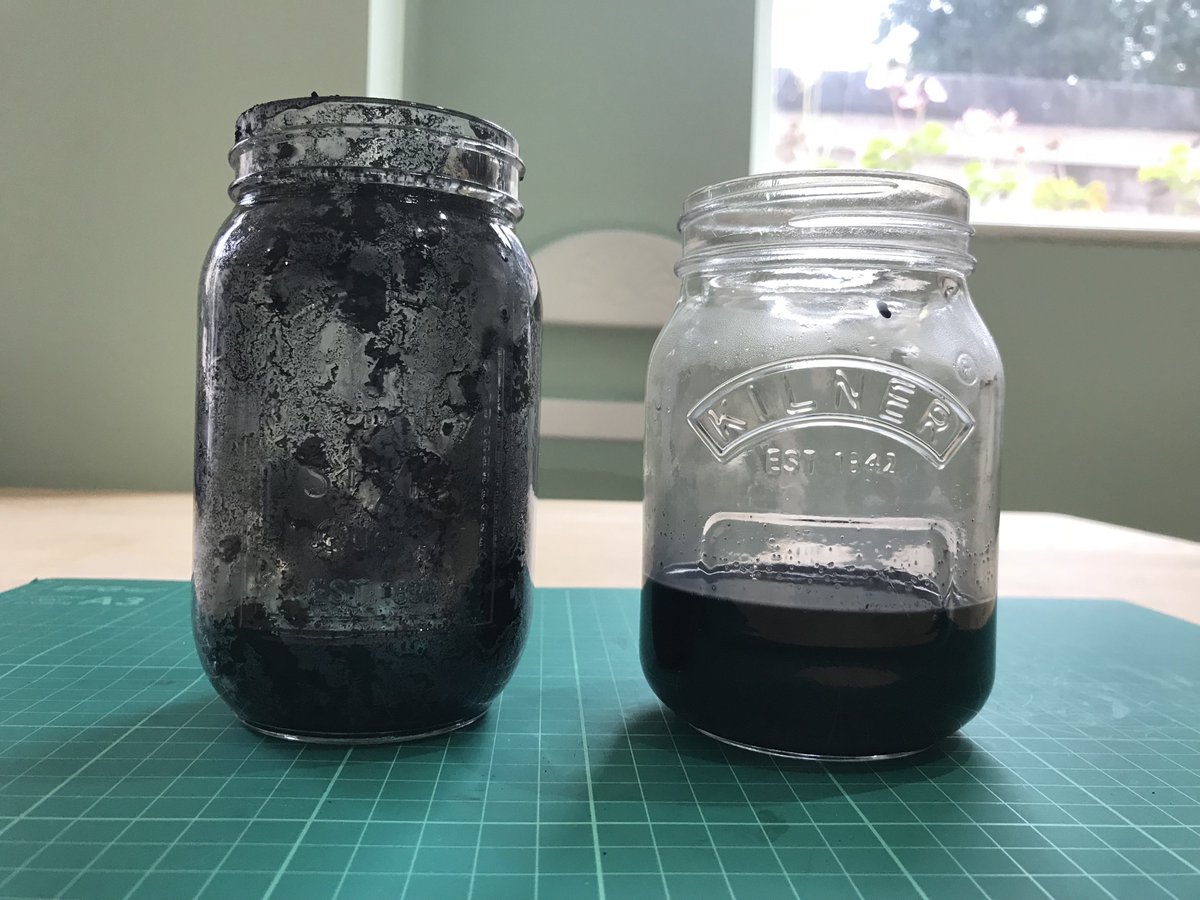
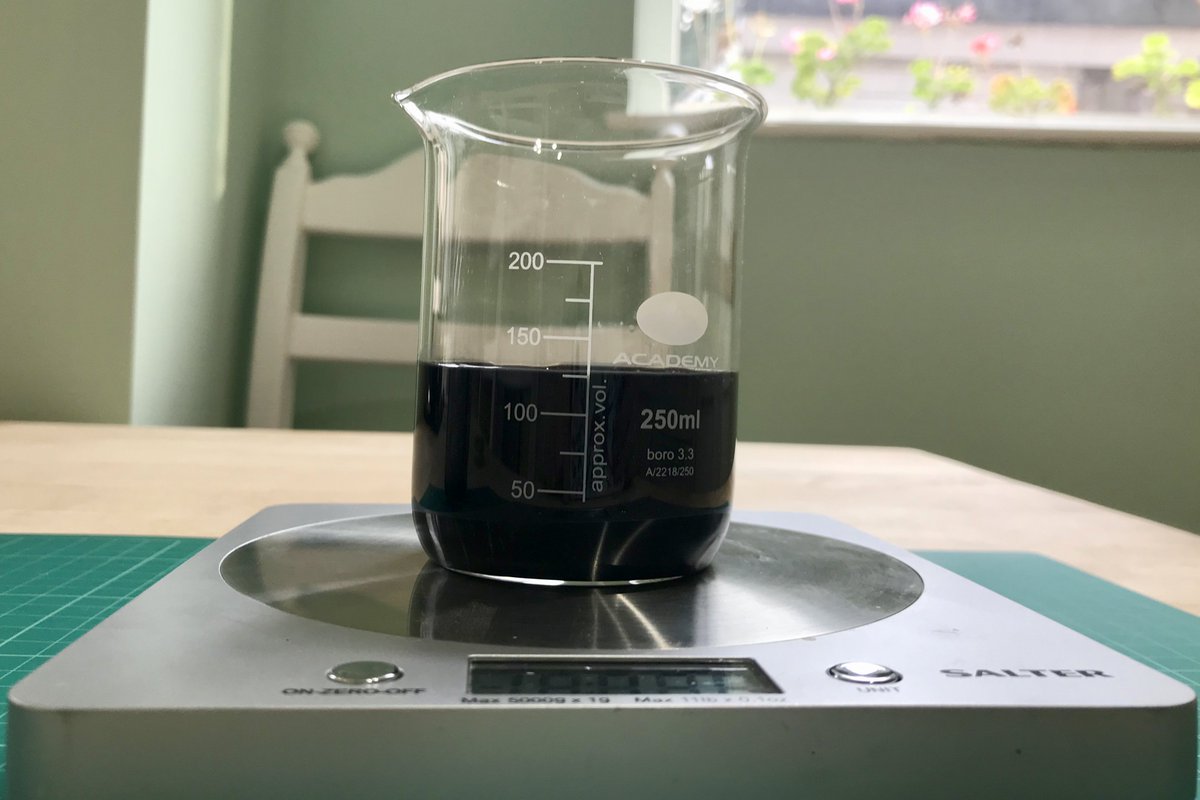
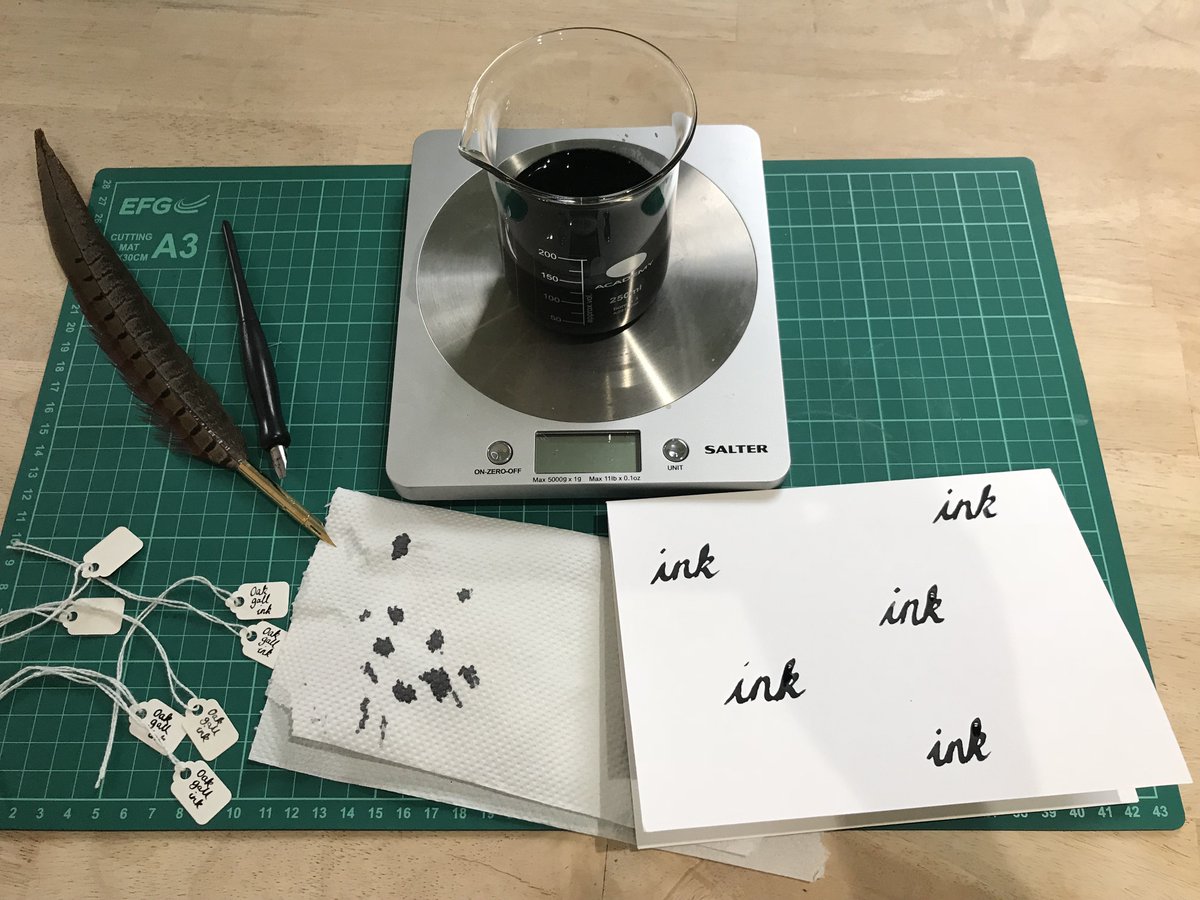
19. After about an hour I gave the muslin a final squeeze. I ended up with about 125ml of ink.
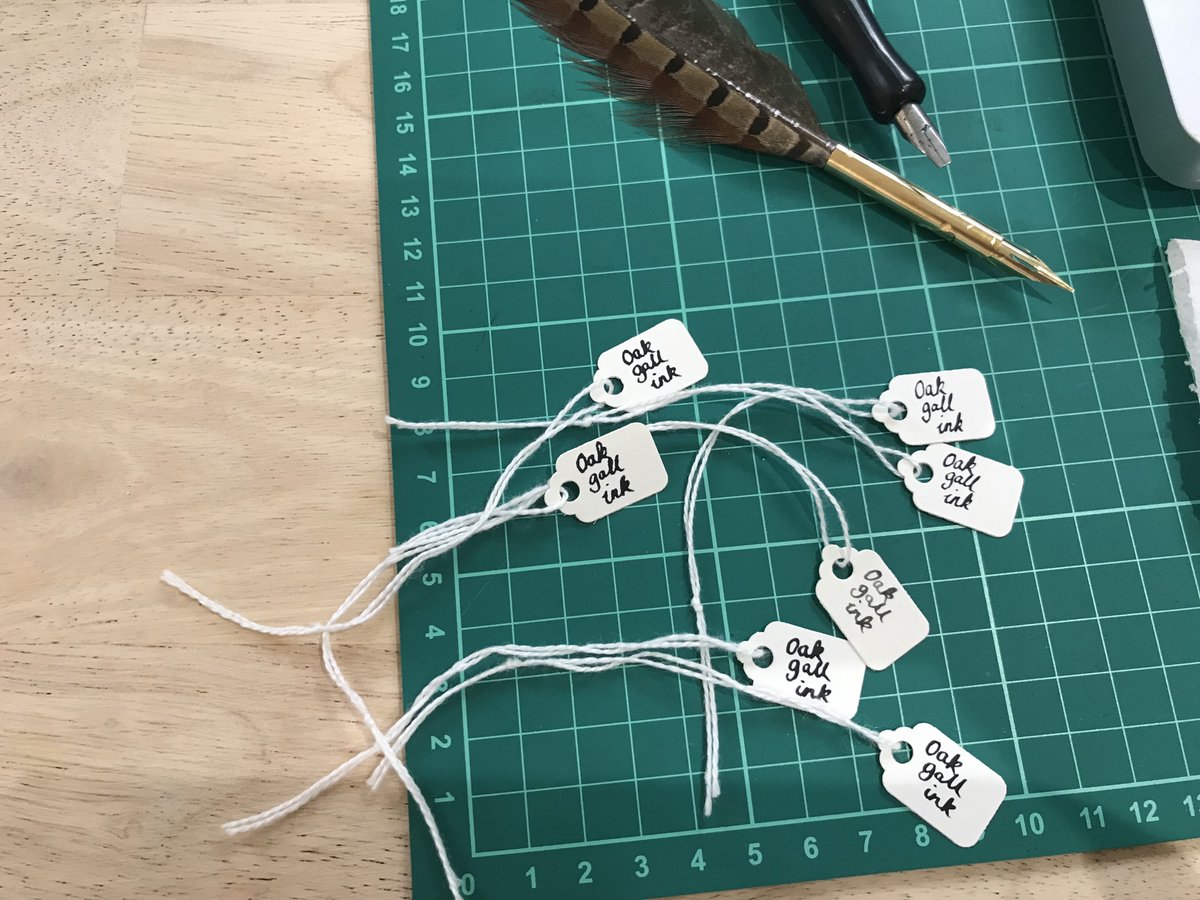
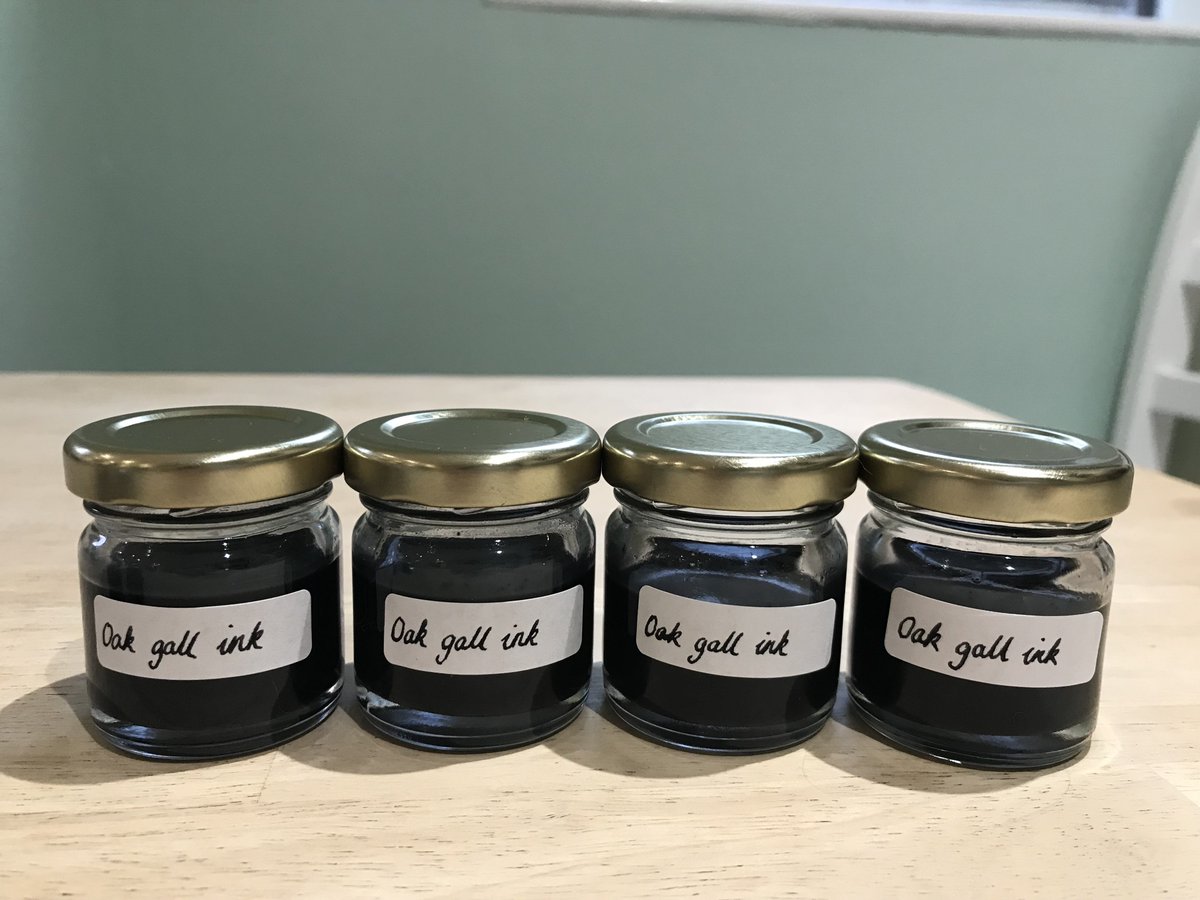
20. Time to test - and ... success! The ink was a lovely black, and it seemed to flow nicely. I unashamedly used a quill pen I bought from Harry Potter world to write the labels. Calligraphers will probably be horrified.
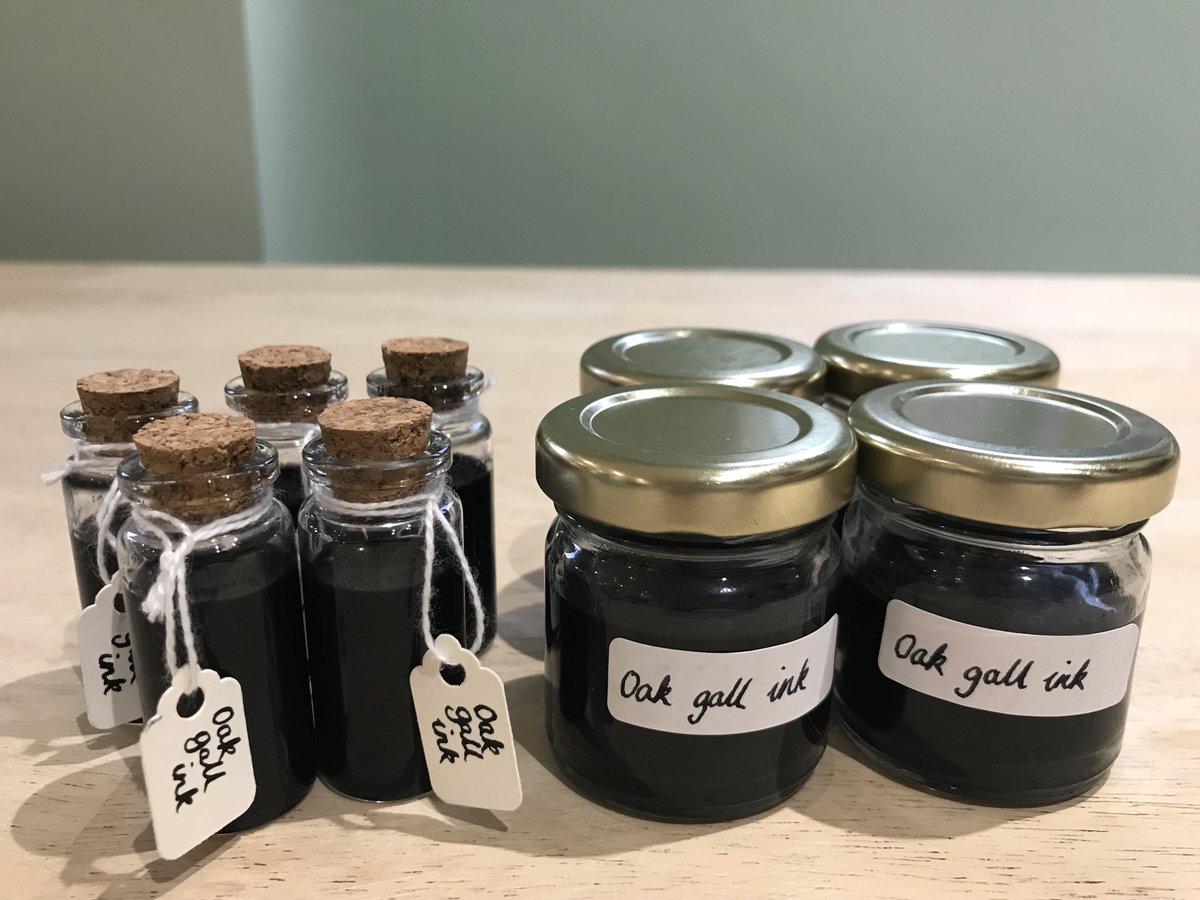
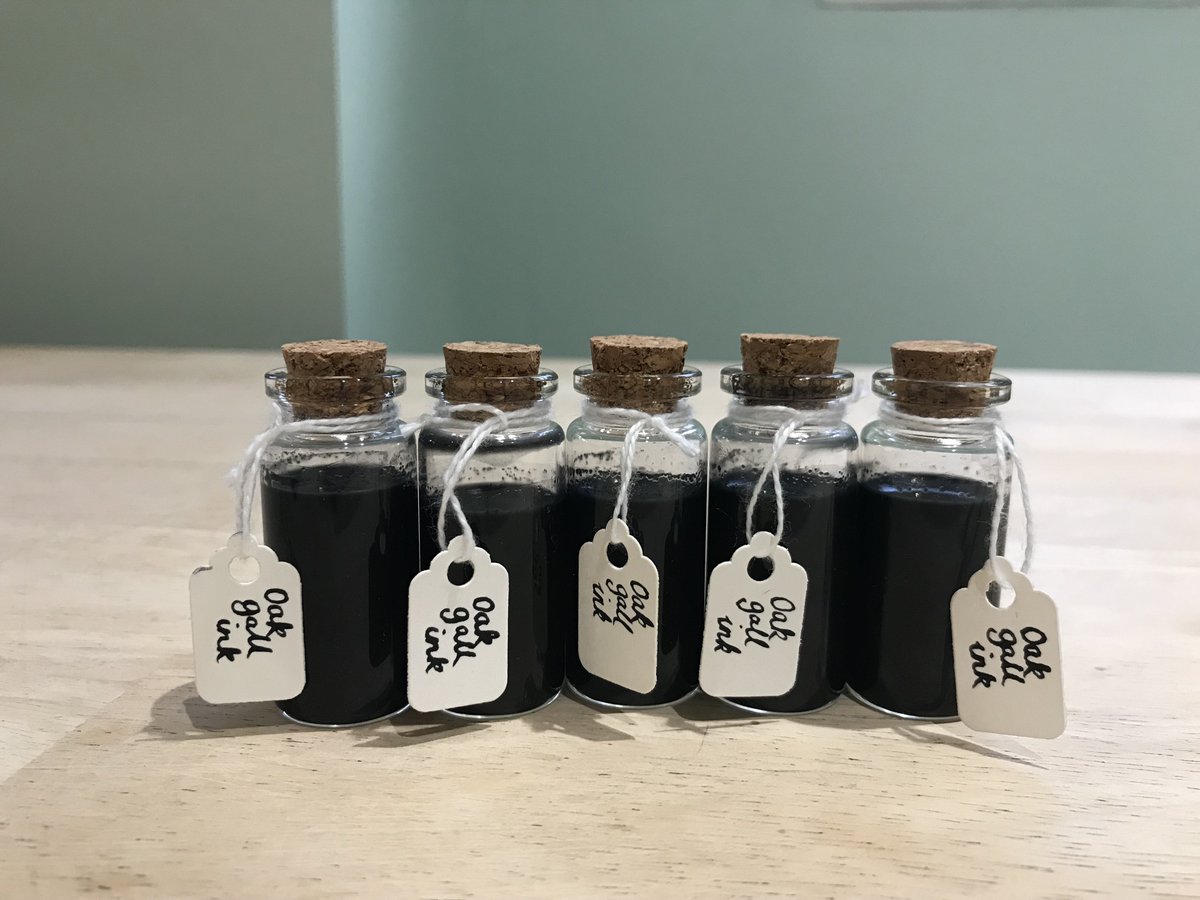
21. So now I have lots of ink and some lovely gifts for my friends. The process took about a week, but most of that was standing time. It wasn’t too messy and no inky pawprints. (Although it was no coincidence I did this in the week my children were away...)
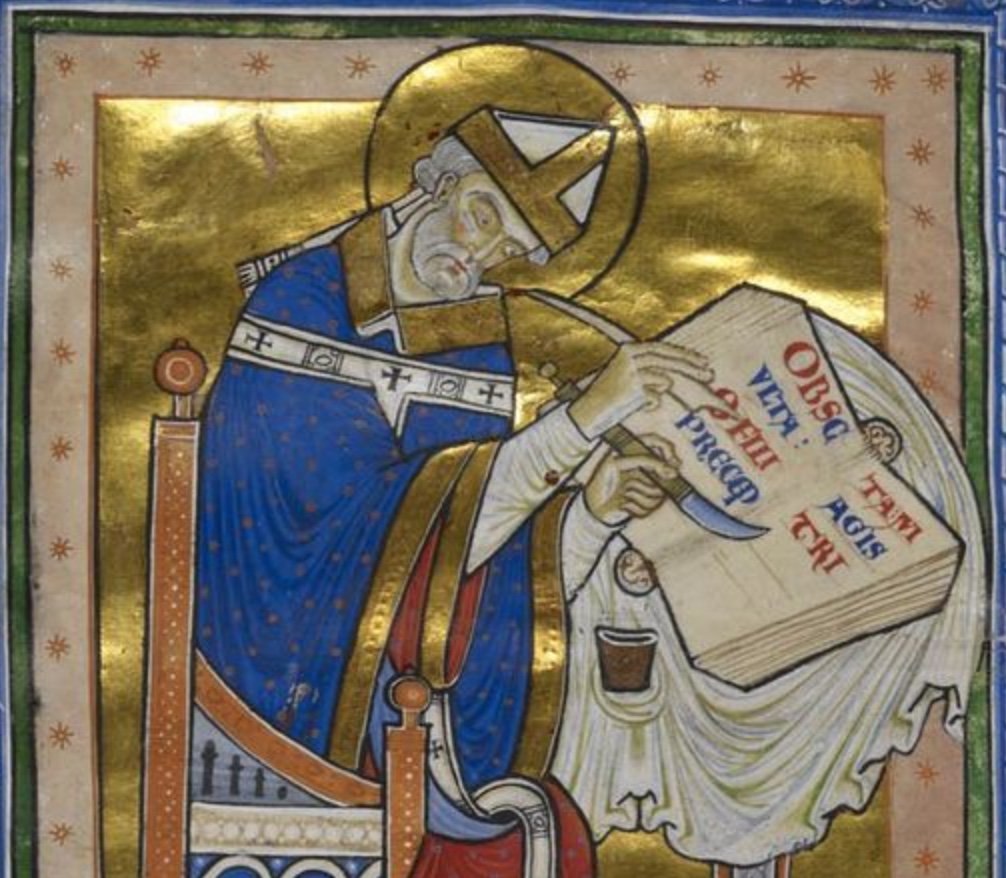
22. I wanted to do this to get a better understanding of the medieval process, and I really did. Its amazing that I’ve ended up with something I can use. And it was really easy. And - I have a surprising new respect for wasps. blogs.bl.uk/digitisedmanus…
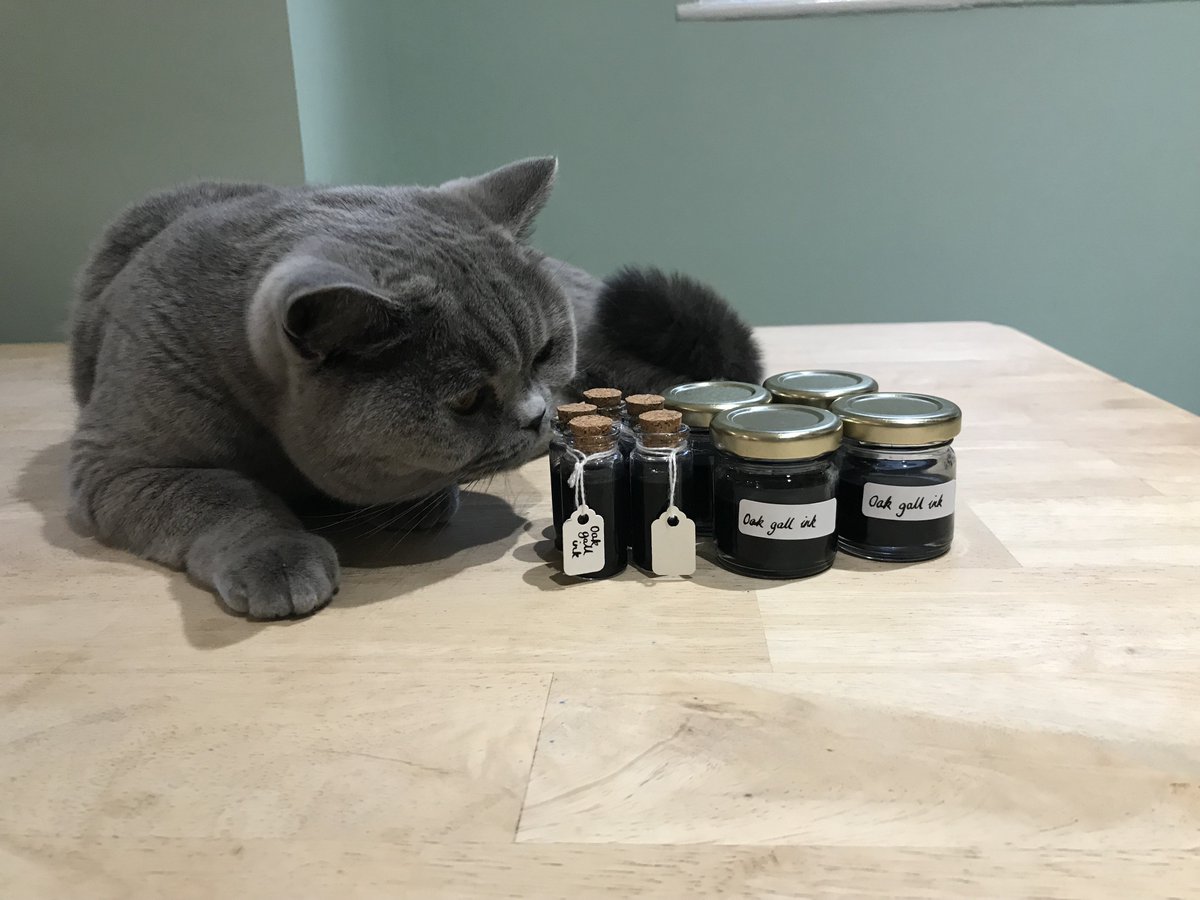
23. Quality control from Chloe. She is happy to answer any ink-based queries. /End
You might also like this thread on making gesso #medievalstuffwithcats
And this one on cutting quills #medievalstuffwithcats
unroll @threadreaderapp