A Long Thread on How To Take Decent Cosplay Photos By Yourself on a Minimal Budget:
All of these were taken and edited with my 4+ year old iPhone 6. If you have a Bluetooth camera phone, you can do this.
All of these were taken and edited with my 4+ year old iPhone 6. If you have a Bluetooth camera phone, you can do this.


Will they be professional, print quality photos? Absolutely not. Will they be good enough for social media? YES. And we’re gonna do this all in the range of $50 to $150 depending on what equipment you choose or have on hand.
I wanted to do this because so many “cheap” beginner studio tuts start with “grab your DSLR camera!” & that’s not exactly budget. If you have access to a good camera, SWEET. But dropping $500+ on one isn’t in most cosplayers’ budget so I want to share an ok looking alternative.
Step 1: grab your camera phone. The newer & better quality it is, the higher quality your pics will be. I use my iPhone 6 so my quality is meh, but I have friends with google Pixels and holy shit they are damn near professional. Any camera phone works though, rock what you have.
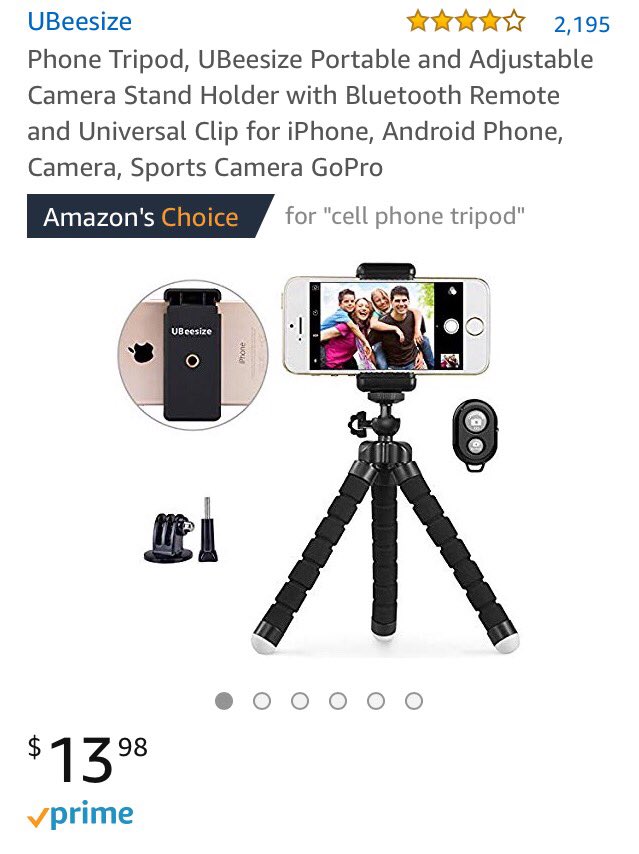
Step 2: a phone tripod. I use this one - it is falls apart easily but it’s cheap and holds my phone so it works just fine. It lets you work (mostly) hands free and get wider shots.

Step 3: a Bluetooth wireless remote. It’s finicky but cheap and gets the job done. You synch it to your phone, palm it, pose, hit the button, and it snaps a pic. You do have to work on posing with it & sometimes you can see it but it helps a lot. It runs on calculator batteries.


Step 4: backdrop. I literally started by duct taping a black blanket to my wall. Any plain cloth tacked up behind you works. Blanket, curtain, bargin bin fabric, sheet, whatever. Eventually I upgraded to a basic frame & backdrop which allows for more versatility at a decent cost.


I also recommend a steamer for your backdrop because your fabric is going to wrinkle easily. I don’t have one because it’s low priority in my budget and I haven’t set aside money for one yet, so I fight wrinkles CONSTANTLY. If you can budget it, GET ONE.
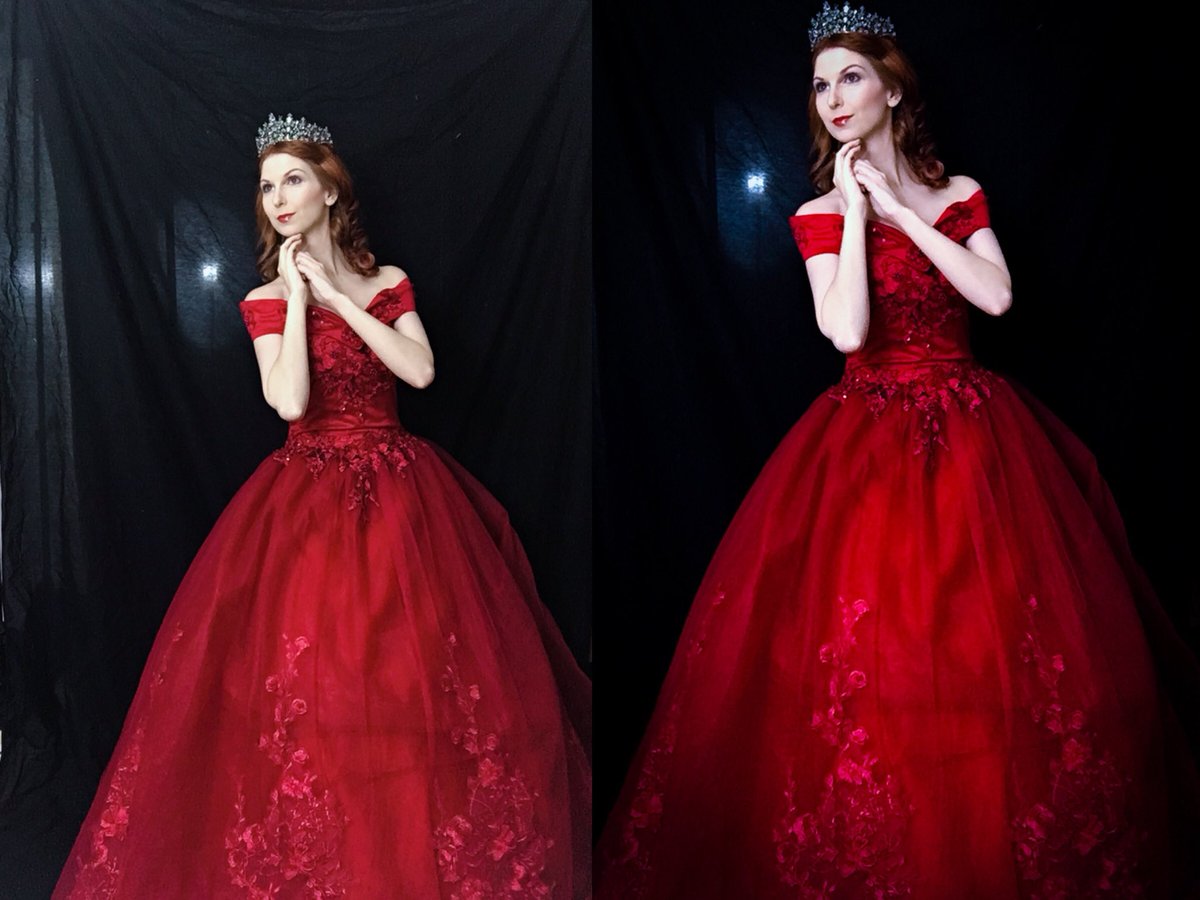
Step 5: lighting. Good lighting makes your pics 1000% better. Even the most basic lights can to be pricy at $35-75 so they’re your splurge item here but I swear they’re worth it. Even with just selfies you can see the difference lit vs unlit makes.


Step 6: set up. I move furniture and work with a roughly 5x8 space. Small spaces really suck but you can do it, I believe in you. I set my phone & tripod on boxes, block out other light sources, and test my lights with trial and error until I find what looks good.

If you’re like me and know nothing about photography, trial and error is the key. Mess with your setup, move your lights, google set ups as inspiration, & do test shots until you’re happy. Find what works in your space & remember that we’re aiming for good enough, not perfect.
Step 7: take a billion pics. You’re working kinda blind w/ trial and error but the lovely thing is there’s no one around to judge you for trying new poses, messing up, & taking 800 pics. You have so much freedom. From ~300 pics I then find 3-6 that are great and I want to edit.


Step 8: editing. Resist the urge to FaceTune. It’s always very obvious. We’re currently in an uncanny hellscape of pointy chins, big eyes, & people editing themselves beyond the point of looking like themselves. If you’re changing your bone structure, please stop & rethink.
Because not only is it obvious, but it’s going to breed dysphoria and you risk no longer being able to happily look at yourself in a mirror. Close the beauty apps. Please don’t go overboard with editing; it’s not normal or healthy. Your face is beautiful and perfect already.

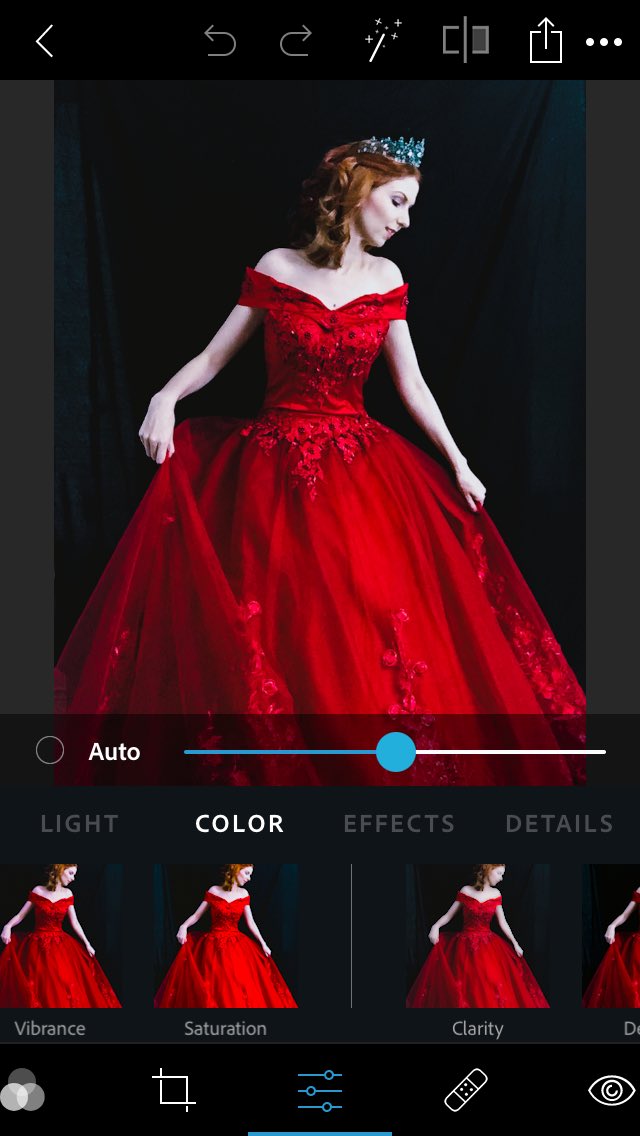
The only mobile editing app you need is PS Express. It runs on iOS and Android, gives you amazing color control, has only a spot fixing tool for minimal editing of blemishes or stray hair, and IT’S FREE. It will make you look better and smoother without reshaping who you are.

Then save your pics, post them, and congratulate yourself on getting some cool shots all by yourself! It isn’t a replacement for a good pro photographer with pro equipment & experience, but it is a nice option when you can’t wrangle a pro shoot or just need quick basic pics.
And it gives you good practice and a basic beginner set up for if you do want to save up $500+ for a high quality camera and take better photos. It’s a price and learning baby step!
Another tip to keep on budget is to build your set up as you go. You don’t have to buy it all at once. I’ve been building mine over 8 months as I have $ and work with what I have. I used a sheet until I had a backdrop, moved my floor lamp around until I had good lights, etc.
Overall it mostly just takes some helpful starting tools, ingenuity to work them into your living space, and patience while you trial and error your way through shooting and editing by yourself!
If you found this knowledge dump helpful please consider buying me a coffee! It helps keep all my content, help, and tutorials completely free and never ever behind a paywall 💕
ko-fi.com/arkady
ko-fi.com/arkady